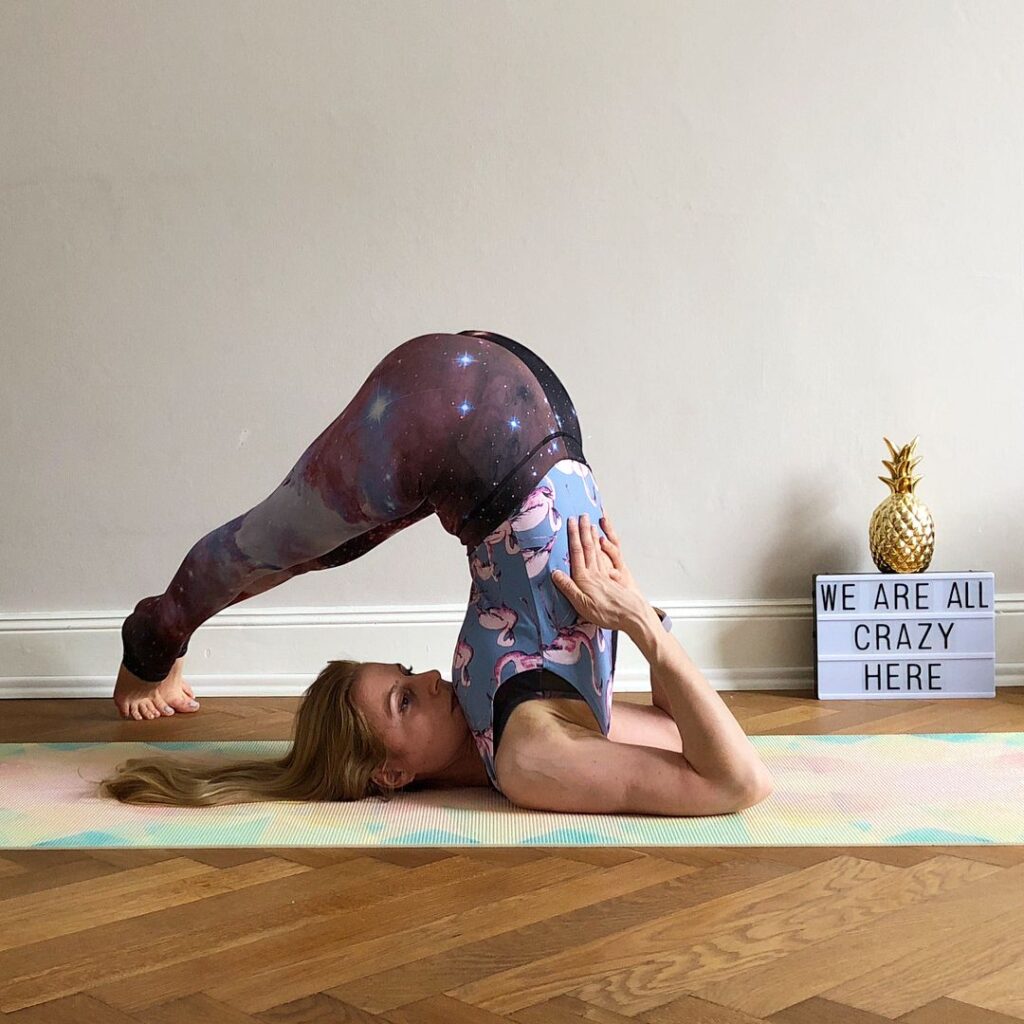
Parsva Halasana, also known as Revolving Plow Pose, or Side Plow Pose, combines an inversion, a twist, and a stretch of your posterior kinetic chain.
The pose shares the same potential benefits as other inversions such as Shoulder Stand Pose, Plow Pose, Half Plough Pose, Legs-Up-the-Wall Pose Headstand, etc. including beneficial effects on the autonomic nervous system. This yoga asana has the additional effect of a kriya that is formed across the abdomen by the twist.
Meaning
Parsva Halasana derived from the Sanskrit name that comes from three words — Parsva + hala + asana:
- “Parsva” = “side or flank”
- “hala“= “plow”
- “asana” = “pose or posture”
The Parsva Halasana is an advanced variation of Halasana (Plow Pose). Halasana derives its name from plow – a popular agricultural tool commonly used in Indian agriculture to prepare soil for sowing crops. Like its name, the pose prepares the ‘area or field’ of the body and mind for deep rejuvenation.
Information
| Known as: | Parsva Halasana, Revolving Plow Pose, Revolving Plough Pose, Side Plough Pose, Side Plow Pose, Lateral Plough Pose, Lateral Plow Pose, Twisted Plough Pose, Twisted Plow Pose |
| Sanskrit name: | पार्श्व हलासन |
| IAST: | Pārśva halāsana |
| Pronunciation: | PARSH-vah hah-LAHS-uh-nuh |
| Level: | Advanced |
| Total time: | 30 to 60 seconds |
| Drishti: | At the top of thighs |
| Chakra: | Sahasrara Chakra, Ajna Chakra, Vishuddha Chakra, Manipura Chakra |
| Focus: | Shoulder, Neck, Abdominal |
| Indications: | Modifications for high blood pressure, backache, restlessness, sinus problems, headache, stimulates thyroid; asthma |
| Counterpose: | Rest on your back |
| Preparatory Poses: | Supported Shoulderstand Pose, Bridge Pose, Pavan Muktasana, Ubhaya Padangusthasana, Plow Pose, Half Plow Pose, Turtle Pose, Seated Forward Bend Pose, Marichi’s Pose III |
| Follow-up poses: | Corpse Pose, Reclining Bound Angle Pose, Downward-Facing Dog Pose, Seated Forward Bend Pose, Legs Up the Wall Pose |
| Contraindications: | High blood pressure, Pregnancy, Menstruation, Diarrhea, Neck injury, Asthma |
Benefits of Parsva Halasana
Your body benefits greatly from the Parsva Halasana (Revolving Plow Pose). It improves your body posture and tones the muscles of your entire body. In addition, the pose also removes stiffness of your entire back. Here are some benefits of practicing Parsva Halasana (Revolving Plow Pose):
- As this yoga asana extends the muscles of your entire back, it provides a good flow of blood to the muscles around your back and spine. Thus, it tones your spinal nerves, vertebral bones and your other back muscles. Therefore, Parsva Halasana (Revolving Plow Pose) improves spinal alignment, brings elasticity to your vertebral columns, and makes your entire back healthy and mobile.
- The pose employs your neck muscles and stretches them. Therefore, it nourishes your neck muscles and makes them more flexible and stronger.
- This yoga asana exerts the right amount of pressure on your abdominal area. The Parsva Halasana (Revolving Plow Pose) tones your stomach organs and digestive system. Thus, it helps in improving your digestion and reduces your digestive problems like constipation, gas etc.
- This yoga posture improves your metabolism of the body and helps reduce fat from your abdominal area.
- By practicing Parsva Halasana (Revolving Plow Pose), the blood sugar level of your body remains balanced. Thus, it helps in the treatment of diabetes.
- It makes your body energetic and removes fatigue, stress and lethargy.
- It calms your sympathetic nerves running along the central channel nerves and your spinal cord. This action helps in a calm and peaceful state of your brain. Thus, this yoga asana calms your mind and removes negative emotions like anger, depression etc.
- Parsva Halasana (Revolving Plow Pose) works on your hip muscles and pelvis. This removes tension from your hips and nourishes your reproductive organs.
Step by step Parsva Halasana (Revolving Plow Pose)
Practice the asanas such as Kurmasana and Upavistha Konasana to lengthen your lower back muscles and prepare your posterior kinetic chain for the stretch of Parsva Halasana. Additionally, use a twist such as Marichyasana III to prepare your spinal rotators.
Instructions:
- Start with Plow Pose. Lean into your hands, and press your palms into the back to open your chest. This aids to take your weight away from your cervical spine.
- Carefully walk your feet over to one side to rotate your lower body away from your upper.
- Resist with your shoulder on the side you are twisting away from by pressing your elbow into the mat. When your feet reach their final position in the twist, they will be uneven.
- Bend your knee slightly (of your foot that is further away) to walk that foot in line with your other one. Then, with this same foot fixed on the floor, contract your quadriceps to straighten your knee. Note how this balances your pelvis.
- Re-establish Plow Pose before going to the other side. Return to center and then roll out of this posture. Rest on your back for a few seconds to allow your cardiovascular system to readjust.
Anatomy Engaging Techniques
Step-1
- Flex your hips by contracting your psoas, pectineus, and adductors longus and brevis. Visualize your gluteus minimus contracting on the sides of your pelvis to aid in this action.
- Engage your rectus abdominis and oblique abdominals to squeeze and turn your torso. Note that your psoas major will also synergize your quadratus lumborum in arching your lower back.
Step-2
- Lift and extend your lower back by contracting your quadratus lumborum and erector spinae. It will also activate your spinal rotators to turn your trunk.
- Your psoas major is connected neurologically to your quadratus lumborum. This synergizes your quadratus lumborum in addition to the actions described in Step-1.
Step-3
- Press your palms of your hands into the back by bending your elbows. This contracts your biceps and brachialis muscles.
- Supinate your forearms to distribute the weight of your body evenly across your hands. Your biceps aid in this action.
- Engage your posterior deltoids and teres major muscles to press your elbows into the mat. Your posterior deltoids also synergize your infraspinatus and teres minor muscles to externally rotate your shoulders. Note that your shoulder on the side the legs are turning away from will drift forward.
- Counter this by activating all of these muscles more forcefully on that side.
Step-4
- Straighten your knees by engaging your quadriceps. Your tensor fascia lata will synergize extending your knees and also aid in flexing your hips. A cue for contracting this muscle is to attempt to gently drag your feet apart on the mat. You will feel an additional benefit of internally rotating your thighs, which brings your kneecaps to a neutral position.
- Activate your peroneus longus and brevis muscles at the sides of your lower legs to evert the feet. Balance this action by engaging your tibialis posterior to produce an inversion force. These opposing actions create a gentle bandha at your ankles.
- Contract your tibialis anterior muscles to dorsiflex your feet. It draws the tops of your feet toward the shins, also creating reciprocal inhibition of your gastrocnemius and soleus muscles on your calves. Extend your toes.
- All of these actions work together to stabilize your feet and open your soles, stimulating your minor chakras located in this region.
Contraindications
Individuals should be taken care while practicing this bending yoga pose, as the action of squeezing the abdomen, and contraction of the front body can affect breathing; careless practice can cause overall discomfort. So to follow the contraindications, below are some points for reference:
1. Injury and Surgery
Individuals recovering from any injury or injury to joints, muscles, ligaments, tissues, should avoid the practice of Parsva Halasana (Revolving Plow Pose). In addition, those recovering from any internal organs, spine, joints, or any other type of surgery should avoid this yoga pose.
2. Spine problems
Individuals with back injuries, cervical vertebrae and slip discs, severe back pain, severe sciatica, etc. should avoid Parsva Halasana (Revolving Plow Pose).
3. Diseases and Conditions
- Individual who have a history of arthritis, osteoporosis, blood pressure, cardiac problems, asthma (severe), lung issues (severe), spondylosis (especially of the neck), etc., are needed to avoid practicing this pose as well.
- Conditions related to vertigo, epilepsy, glaucoma, severe ear infections, edema etc. are also contraindicated, so it is best to avoid practicing Parsva Halasana (Revolving Plow Pose).
- Individual with severe digestive conditions like inflammatory bowel disease(IBD), irritable bowel syndrome, abdominal hernia, severe diarrhea should avoid this yoga pose.
4. Senior Citizens and Women
- Although a very active and healthy senior citizen can practice Parsva Halasana (Revolving Plow Pose) with the support and guidance of an experienced yoga teacher/instructor, caution should be exercised if they are new to the practice.
- Women in general will benefit immensely from this practice, yet this may not be appropriate under certain conditions, such as during menstruation or pregnancy.


