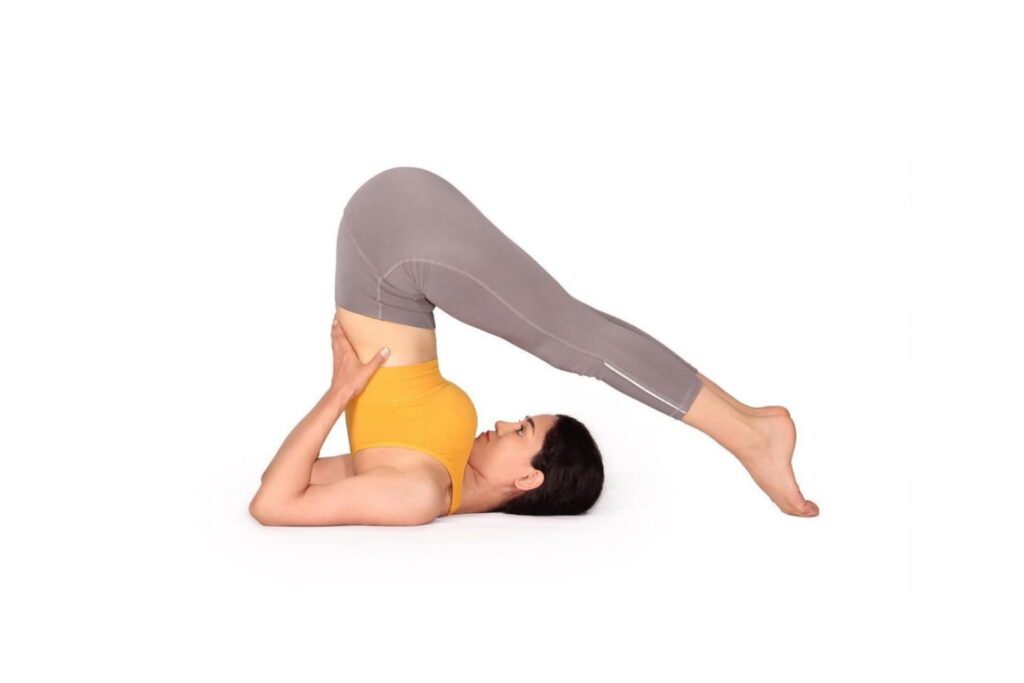
Halasana, also known as Plow Pose, or Plough Pose, is a Sarvangasana variation that combines opening your chest with stretching your posterior kinetic chain.
The pose is typically performed at the end of the practice, during your cool down phase, leading to relaxation.
The Plow Pose gives many of the same potential benefits as the other inverted poses, such as improved venous return and cardiac output and increased parasympathetic outflow. The Halasana (Plough Pose) opens the shoulders and stretches the spine while energizing the thyroid gland. This yoga asana can offer relief to individuals with a backache, headache, restlessness, or sinus problems.
Meaning
Halasana derived from the Sanskrit name that comes from two words — Hala + asana:
- “Hala“= “plow”
- “asana” = “pose or posture”
The plow is a mythological symbol which is included in many stories of Tibet, China, India, and Egypt. Halasana (Plow Pose or Plough Pose) gets its name from ‘plow’ – a popular agricultural tool commonly used to prepare soil for sowing crops in Indian agriculture.
It may be interesting to know that “Raja Janak” got a beautiful baby girl while he was plowing the field. They adopted her and named her “Sita”. She grew up and married “Ram”. The story goes to show how the Plow is used to uncover hidden treasures.
Halasana (Plow Pose), as the name suggests, brings body and mind to deep rejuvenation just as a plow is used to dig up the soil.
Information
| Also known as: | Plow Pose, Halasana, Plough Pose |
| Sanskrit name: | हलासन |
| IAST: | Halāsana |
| Pronunciation: | hah-LAHS-anna |
| Level: | Advanced |
| Total time: | 30 seconds to 5 minutes |
| Drishti: | At the top of thighs |
| Chakra: | Sahasrara Chakra, Ajna Chakra, Vishuddha Chakra, Manipura Chakra |
| Focus: | Shoulders |
| Indications: | Modifications for high blood pressure, backache, restlessness, sinus problems, headache, stimulates thyroid; asthma |
| Counterposes: | Rest on your back |
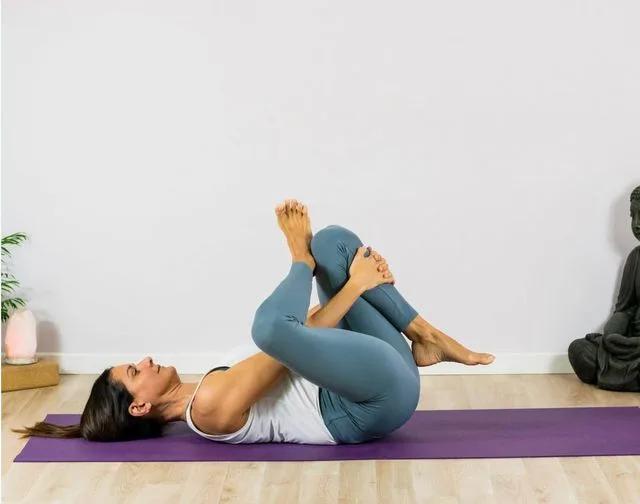
| Preparatory poses: | Supported Shoulderstand Pose, Bridge Pose, Pavan Muktasana, Ubhaya Padangusthasana, Half Plow Pose |
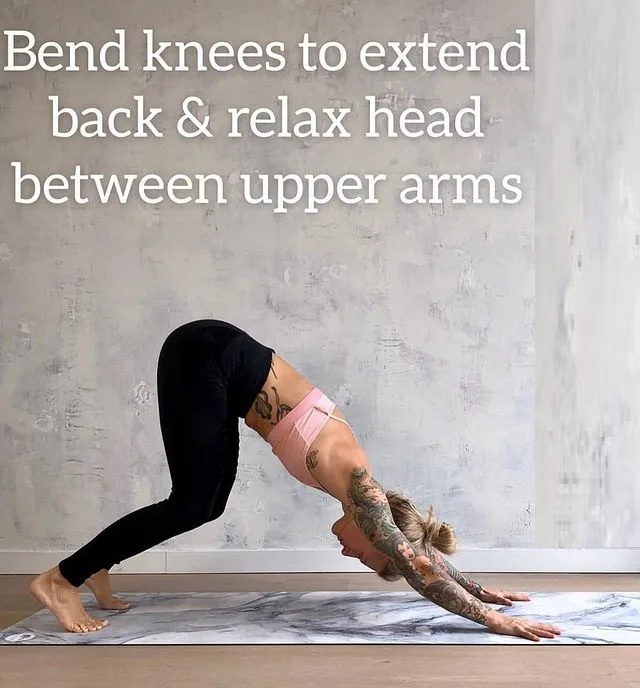
| Follow-up poses: | Corpse Pose, Reclining Bound Angle Pose, Downward-Facing Dog Pose, Seated Forward Bend Pose, Legs Up the wall pose |
| Contraindications: | High blood pressure, Pregnancy, Menstruation, Diarrhea, Neck injury, Asthma |
Benefits of Halasana
In Halasana (Plow Pose or Plough Pose) your body shows the shape of the plow. This yoga posture gives flexibility to the spine overall and strengthens the back muscles. But some more physical and mental benefits are given below:
- Physical Benefits:
- Stretches the shoulders
- Assists in relieving backache
- Strengthens the spine
- Stimulates the thyroid and parathyroid glands
- Helps relieve menopausal discomfort
- Alleviates insomnia
- Mental Benefits:
- Reduces anxiety
- Calms the mind
- Reduces mild stress
Step by step Halasana (Plow Pose or Plough Pose)
- Start in a Salamba Sarvangasana, with the legs pointing up and the hands supporting your back.
- Exhale, as you slowly bend from the hip joints to bring the feet down to the ground over the head. Keep the legs fully extended and the torso straight and vertical. When the toes reach the ground, lift the thighs and the tailbone toward the sky, pulling the inside groin into the abdomen. Visualize the body as suspended from the groin to make it easier. Move the chin away from the breastbone and relax the throat. Breathe continuously.
- Option-1: When the back is stable, lower the arms and clasp the hands together, pressing the arms into the ground.
- Option-2: Flex your elbows to press your palms into the back. Lean into the hands and contract your biceps and brachialis muscles to support the weight and expand your chest forward. This is a key action in this yoga pose. Press the backs of your arms into the mat by engaging your posterior deltoids.
- At the beginning, sustain this posture for 30 seconds, but over time, increase your time length, up to five minutes.
- To release yourself from this position, exhale, as you return the hands to your back and raise the legs to return to a Salamba Sarvangasana. From there, breath in, then as you breathe-out roll out of the Sarvangasana into the Savasana.
Note: Carefully roll out of the pose by placing your hands palms down on the mat behind you; then draw your knees into the chest and bring the small of your back, then your pelvis, and finally your legs onto the floor.
Anatomy Engaging Techniques
Step-1
- Draw your legs over the head to flex your trunk.
- Engage your psoas and its synergists, your pectineus and adductors longus and brevis, to flex your hips.
- Visualize your gluteus minimus at the sides of the hips contracting to synergize your hip flexors.
- Your psoas is connected neurologically to your quadratus lumborum in your lumbar spine region. These muscles work together to support and lift your small of the back.
- Your adductors help to keep your legs together. Gently engage your rectus abdominis to flex your trunk.
- Note the attachment of this muscle on the front of your pelvis (your pubic symphysis).
- The pull of your rectus abdominis opposes the action of your psoas, creating a bandha that aids to stabilize your pelvis.
Step-2
- Arch your lower back by contracting your erector spinae and quadratus lumborum. Because in this pose, these muscles are also stretching, this is an eccentric contraction.
- Leaning back into your hands prepares your chest for expansion in Step-3.
Step-3
- Flex your elbows and press your palms of the hands into the back by contracting your biceps and brachialis muscles.
- There is a tendency for your weight to shift onto the index finger sides of your hands. Balance this by supinating your forearms to spread your weight across your palms.
- Press the back of your elbows into the mat by contracting your posterior deltoids.
- These muscles combine with your infraspinatus and teres minor muscles to externally rotate your shoulders, aiding to open your chest.
Step-4
- Contract your quadriceps to straighten your knees. Your tensor fascia lata synergizes this action and contributes to flexing your hips (with your psoas).
- Note that the pull of your stretching gluteus maximus can externally rotate your thighs. Counter this by further engaging your tensor fascia lata. The cue for this is to attempt to drag your feet apart on the mat.
- Your feet won’t move, but your thighs will turn in and bring your kneecaps back to a neutral position. Bring your tops of the feet toward the shins to dorsiflex your ankles. It engages your tibialis anterior, producing reciprocal inhibition of your gastrocnemius and soleus muscles at your back of the calves.
Step-5
- Evert your ankles by contracting your peroneus longus and brevis muscles. Balance this action by engaging your tibialis posterior, which acts to invert your ankles. These two opposing forces create a bandha that stabilizes your lower legs.
- Use your toe extensors to draw your toes toward the shins. All of these muscles dynamize your arches of the feet and stimulate the minor chakras located in your soles.
Modifying Halasana (Plow Pose or Plough Pose)
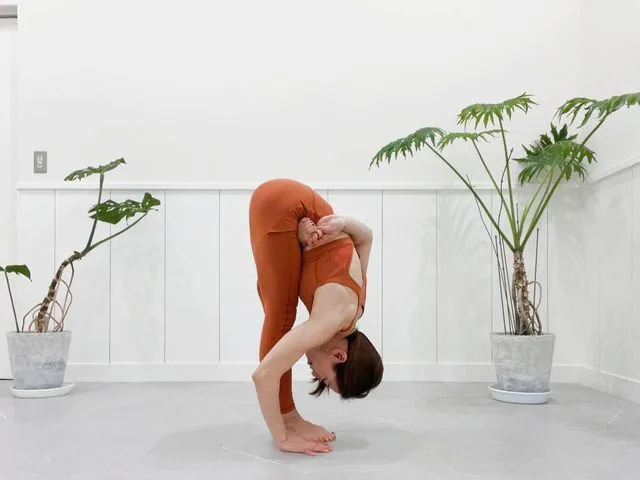
- Use poses such as Tortoise Pose and Intense Dorsal Stretch Pose to stretch your lower back muscles.
- Roll over onto your shoulders, using a blanket for support.
- Rest the tops of your thighs onto a chair or bring your feet onto the wall.
- Then progress to Full Plow Pose by placing your feet on the floor.
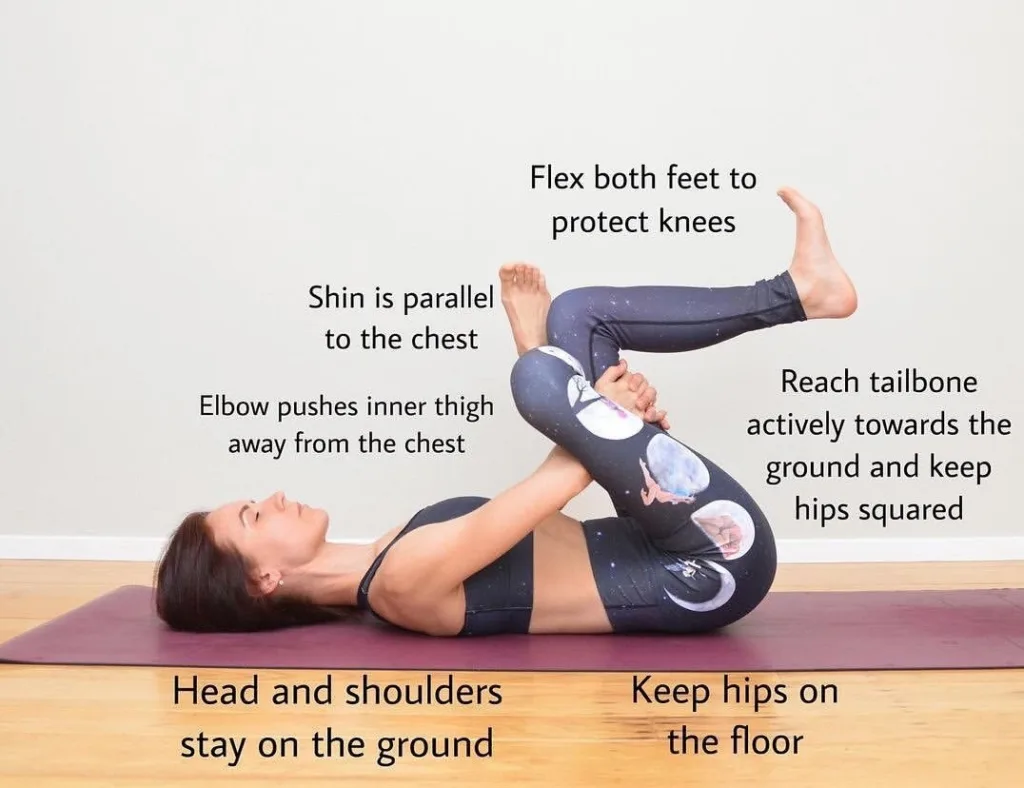
- Carefully roll out of the posture by placing your hands palms down on the mat behind you; then draw your knees into the chest and bring the small of your back, then your pelvis, and finally your legs onto the floor.
- Place a blanket under your head and rest for several moments before coming out of this yoga pose. This allows your cardiovascular system to readjust.
Contraindications
The Halasana (Plow Pose or Plough Pose) can cause discomfort if not practiced with guidance. Some of its main contraindications are as follows:
- Individual suffering from back problems or slip discs.
- Weak or injured cervical muscles.
- Weak legs, weak hamstring muscles or calf muscles.
- Pregnant women should avoid Halasana (Plow Pose or Plough Pose) and also women at the time of menstruation.
- People with enlarged thyroid, spleen, and liver should avoid this yoga posture because during this posture there is a lot of pressure on the lower abdomen.
- Weak blood vessels in the eyes.
- Migraines
- High blood pressure
- Sciatica problem
- Whose digestion is weak


