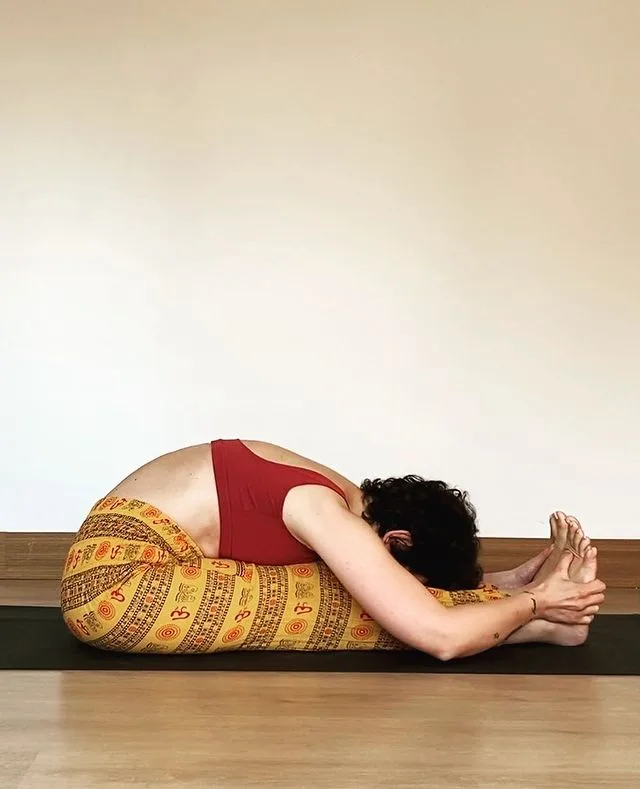
Paschimottanasana, also known as Seated Forward Bend Pose or Intense Back Stretch Pose, is a basic forward bend pose.
It has two lines of energy emanating from your center. One line goes out through the legs, the other out through the spine and arms. Your hips will be in the dog’s flexion.
In this yoga posture, your back, shoulder, arm and leg muscles are toned by stretching them comfortably without tension.
Paschimottanasana (Seated Forward Bend) activates your Manipura Chakra and releases prana through the sushumna, which in turn strengthens your digestive organs and tract. Of course, this doesn’t happen after practicing only once or twice; The exercises should be done regularly on a daily basis. Paschimottanasana (Seated Forward Bend) stretches the entire spinal cord and the central nervous system through which the sushumna runs, thus enabling the nerve and pranic impulses to travel directly to the higher centres.
Information
| Known as: | Paschimottanasana, Seated Forward Bend Pose, Intense Dorsal Stretch, Entire Back Stretch Pose, Intense Back Stretch Pose, West Stretch Pose, Seated Forward Fold Pose, Paschimattanasana, Intense Stretch of the West Pose |
| Sanskrit name: | पश्चिमोत्तानासन |
| IAST: | Paścimottānāsana |
| Pronunciation: | PAH-shee-moh-tun-AHS-anna |
| Level: | Beginner |
| Type: | Forward-bend, hip-opener |
| Total time: | 30 to 60 seconds |
| Drishti: | Closed; At shins |
| Chahra: | Vishuddha Chakra, Swadisthana Chakra, Muladhara Chakra |
| Focus: | Back, spine, hamstrings, hips |
| Indications: | Spinal column, central nervous system, shoulders, hamstrings, insomnia, menstrual and menopausal discomfort |
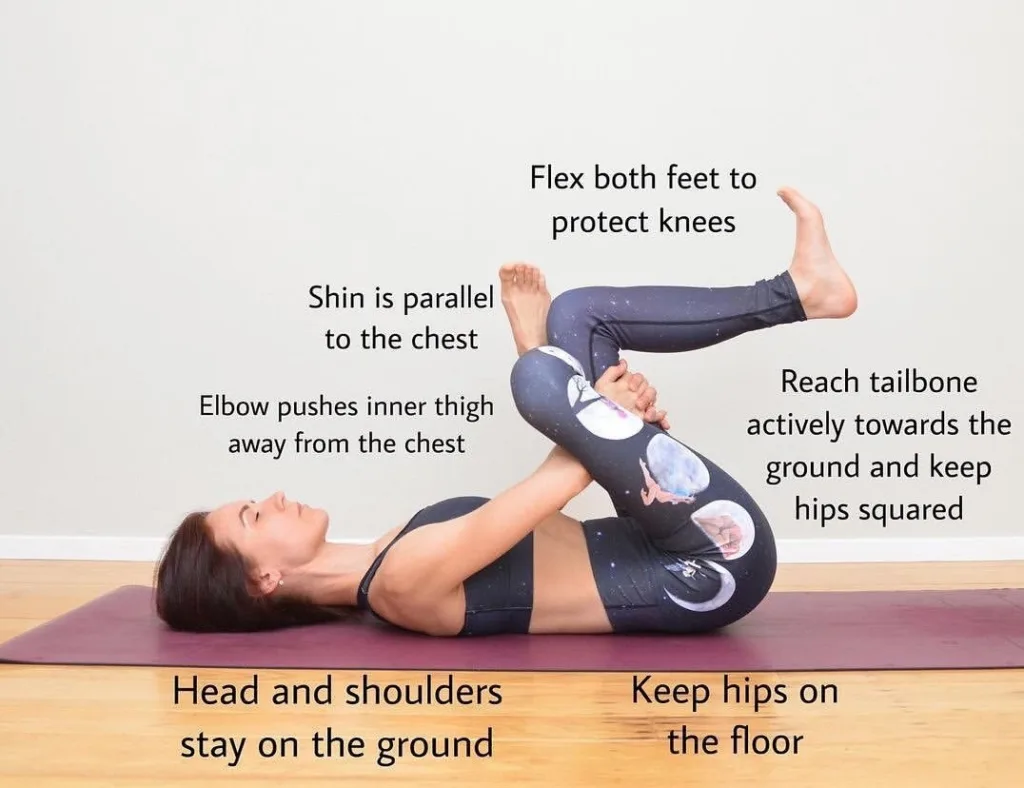
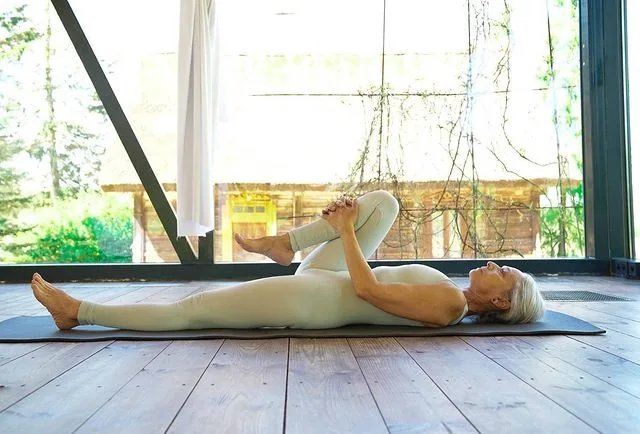
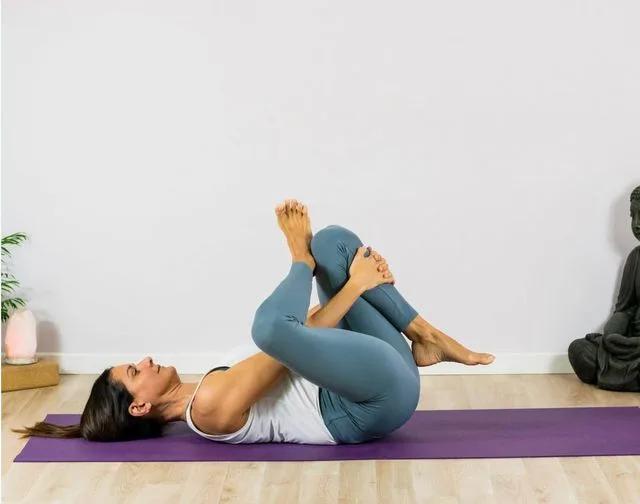
| Counterpose: | Apanasana (Knees-to-Chest Pose), Inverted Plank, Bridge Pose, Staff Pose Hands Back |
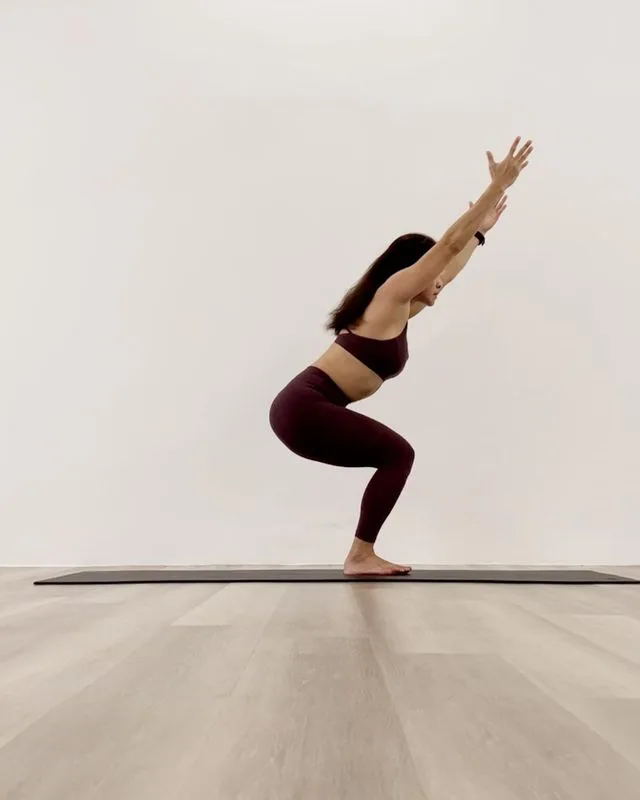
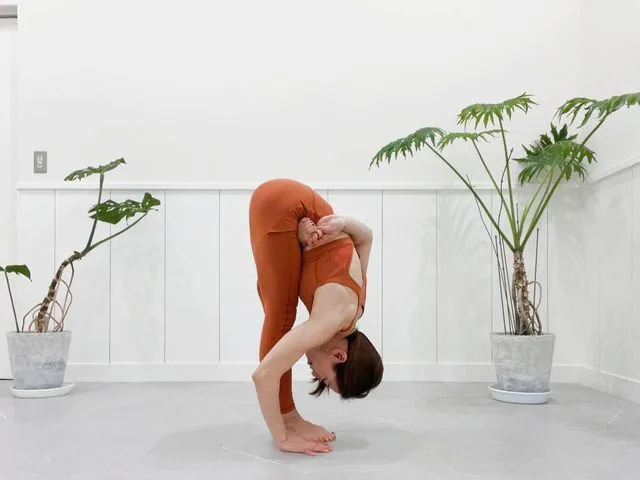
| Preparatory poses: | Bound Angle Pose, Bound Angle Forward Bend Pose, Child’s Pose, Head to Knee Pose, Standing Forward Bend Pose |
| Follow-up poses: | Lord of the fishes pose, Downward Facing Hero Pose, Puppy Dog Pose, Staff Pose |
| Contraindications: | Asthma, low back injury, pregnancy (keep legs wide apart) |
Meaning + Origin
Paschimottanasana is derived from the Sanskrit name, which is made up of three words – Paschim + uttana + asana:
- “Paschim” = “the back of the body or west“
- “uttana” = “intense stretch or extended”
- “asana” = “pose or posture”
Paschima (West) means the back of your entire body from head to heels. The anterior or eastern aspect is the front part of your body from the face to the toes. The crown of the head is the upper or northern aspect, while the soles and heels of the feet form the lower or southern aspect of your body. In this yoga posture, the back of your entire body is intensely stretched, hence the name.
Paschimottanasana is described in the 15th century Hatha Yoga Pradipika.
Benefits of Paschimottanasana (Seated Forward Bend)
Your entire body is stretched in this yoga pose, so the general benefit is that it tones your arms, neck, shoulders, legs, hips and lower back, thus removing unnecessary fat. Therefore, Paschimottanasana (Seated Forward Bend Pose) brings a lot of physical and mental benefits, some of them are listed below:
- Physical Benefits:
- Remove excess fat from abdomen and thighs
- Reproductive organs are toned, and sexual disorders can be relieved
- Helps to increase the height
- Stretches the spine, hamstrings, and calves
- Improves liver, kidney, and colon function
- Stimulates the lymphatic and reproductive systems
- Improves digestion (especially diabetes, constipation, flatulence)
- Massages the visceral organs, especially the pancreas, spleen, adrenal glands, and abdominal muscles
- Increases appetite, reduces obesity, and cures diseases
- Helps relieve menstrual and menopausal discomfort
- Reduces fatigue and insomnia
- Alleviates high blood pressure, infertility, and sinusitis
- Mental Benefits:
- Relieves stress
- Relieves anxiety
- Reduces mild depression
- Soothes the nervous system
Steps to Paschimottanasana (Seated Forward Bend)
- Sit with your legs stretched out. Inhale and press your hands down to the floor to lengthen your spine. Pull your lower back in and up.
- While inhaling, bring the hands above the head. Keep your low back drawing facing in and up. Root your thigh-bones to the floor to straighten the legs and open the hamstrings. Spread your toes and engage your feet.
- Exhale, lean forward, and grasp your big toes with your index and middle fingers. Press your big toe forward with your fingers as opposed to backward. Keep the inner sides of your thighs firmly facing down and extend out through your legs from the core of your pelvis. Tilt your pelvis forward, pulling your lower back in and up, creating an evenness in your lower back. Pull the muscles in your shoulders back with your hands, drawing your shoulder blades deeply into your back.
- Inhale and stretch from your lower abdomen to the top of your head. Slide your hands along the outsides of your feet. Exhale, widen your elbows, and pull your torso forward toward your legs. Keep your legs actively engaged and straight. Press the big-toe sides of your feet forward, while pulling the little-toes toward your knees. Press your hands into the resistance of your feet, pull the muscles back into your shoulders with your hands, and actively widen your elbows to propel your torso deeply. Lead with your heart instead of your head. Continue to stretch your spine and tilt your sacrum forward.
- Stay here for anywhere from 30 seconds to ten minutes. Gradually increase your time. When you feel like it’s time to come up, take three more breaths. Don’t stay in the pose longer than it feels right. Come up when you have the internal prompts to do so. Afterwards, it may feel right to challenge the edges of your endurance by staying longer.
- To come out of the pose, bring your hands in line with your hips, then slowly squat down. Bring your palms together in front of your chest, tilt your head and sit still for a few moments. Taste the after-effects of the pose. Enjoy the way you feel.
Step-by-step Anatomy Engaging Techniques
Step-1
- Contract your quadriceps to straighten your knees, creating a mutual constriction of the hamstrings.
- Your rectus femoris and tensor fascia lata cross your hip joint and contribute to flexion of the femur, synergizing the action of straightening your knee.
- As your femur flexes, your pelvis tilts forward, or tilts forward. Press the sides of your feet into the hands to engage your gluteus medius and tensor fascia lata.
- The force of this contraction will aid in releasing your sacroiliac joint, allowing your spine to flex deeply into the pose. This is an example of nutrition of your sacrum. You can also visualize your gluteus minimus harmonizing hip flexion.
Step-2
- Contract your abdominals to flex your trunk. This creates a mutual constriction of your back muscles, allowing them to relax in the stretch.
- The psoas flexes your femur and draws your trunk to the thighs. This muscle curves at the front of your pelvis and tilts it forward (anteversion).
- Your rectus abdominis attaches to the pubic symphysis and tilts your pelvis back (retroversion); Accordingly, your rectus abdominis and psoas work together to stabilize your pelvis by virtue of their opposing actions.
Step-3
- Activate your biceps and brachialis muscles to bend your elbows and pull your trunk up and forward over the thighs. If your hands reach around your feet, contract your pronator teres and quadratus to bend your palms and turn them outward. Alternatively, if your palms face your trunk while grasping the sides of the feet, engage the supinator muscles of your forearms to attempt to turn your palms upward.
- Keep your hands steady on your feet and try to raise your arms straight up. Notice how this activates your anterior deltoids and draws your torso deeper into the pose.
- Hold your elbows so that the arm bones are parallel to the floor, and rotate your shoulders outward, using your infraspinatus and teres minor muscles.
- Draw your shoulders away from the ears with your lower trapezius. These actions lengthen your entire posterior kinetic chain of the back of your body.
Step-4
Turning the soles outward, activate your peroneus longus and brevis to evert your feet. Extend your toes by contracting your extensor digitorum and hallucis muscles. Notice how it opens and stretches the soles of your feet, stimulating the small chakras located there.
Step-5
Engage your adductor muscles on the inner side of your legs by squeezing the thighs and knees together. When you stretch the back of your body, your thigh and lower leg turn outward due to the pull of your gluteus maximus. Engagement of your thighs helps to counteract this and keeps your kneecaps pointed up.
Precautions and contraindications
The pose requires experiencing the knowledge of the movement of the body and its effect on different parts of the body. Therefore, Paschimottanasana (Seated Forward Bend Pose) needs to be practiced under the guidance of a yoga teacher/instructor, and practitioners needs to inform yoga teacher/instructor about their health before practicing this yoga pose.
The much talked about precautions and contraindications for Intense Back-Stretch Pose or West Stretch Pose are as follows:
Slipped disc
People suffering from slip discs should avoid this yoga pose, as Paschimottanasana (West Stretch Pose) puts a lot of pressure on the lower back when the body is tilted forward.
Hernia
A person suffering from hernia should avoid this yoga asana. When the body moves forward, the internal organs are compressed, thus exerting pressure and may cause further injury to the abdominal wall or intestine.
Pregnant women
Pregnant women should avoid this yoga pose as there will be pressure on your pelvic region and your uterus may not be able to withstand the pressure.
Spondylitis
A person suffering from spondylitis should avoid Paschimottanasana (West Stretch Pose) as bending forward can put pressure on your neck and shoulders.


