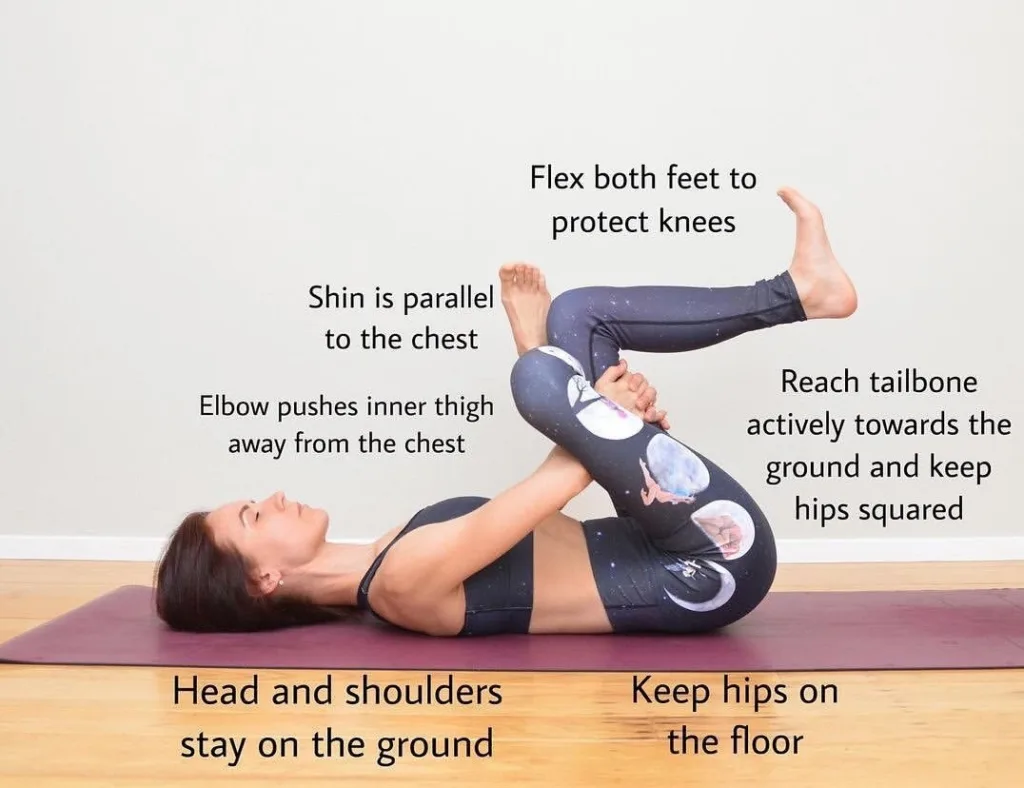
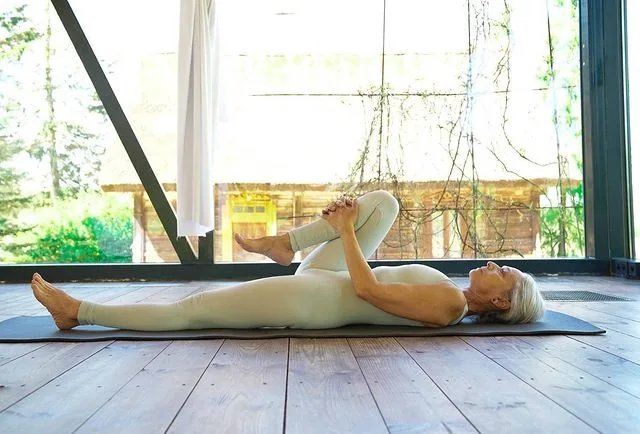
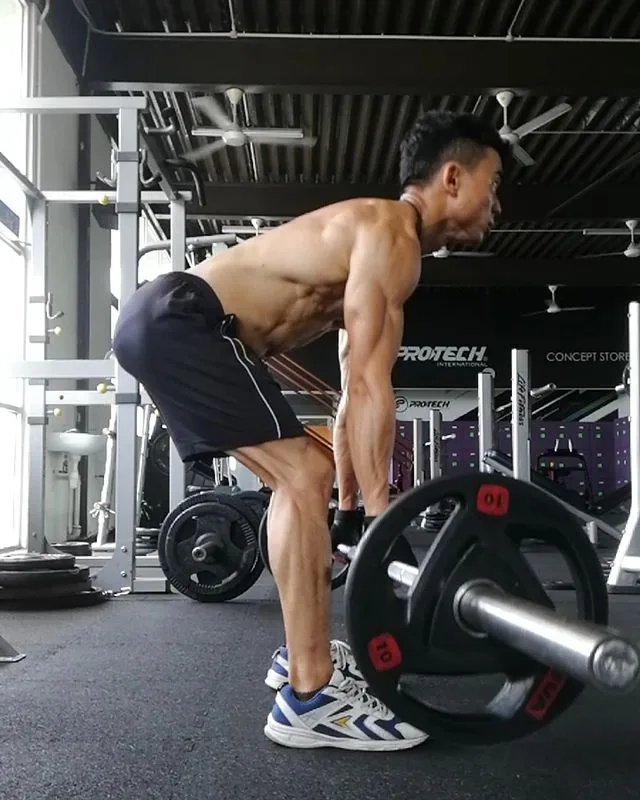
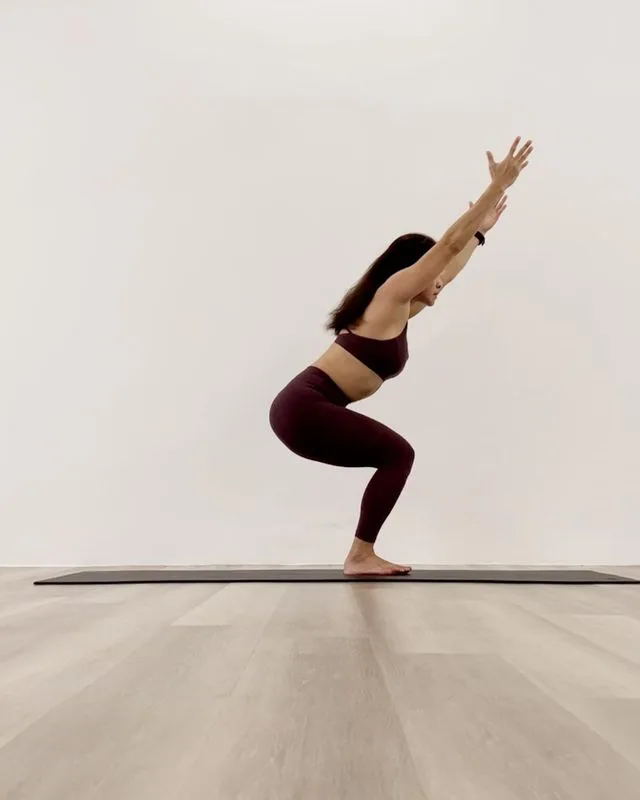
You can do these top 8 abs Shaping Workouts sequence alone or before or after your regular yoga practice. We included 8 yoga exercises that add movement, keeping your spine stable, which is most applicable to life and protects your spine.
In today’s fast-paced life, it’s important to maintain a healthy lifestyle, and a major part of that is keeping our body in shape. The core of our body plays a vital role in our overall well-being, and having strong and toned abs can not only make us look good but also improve our posture and prevent back pain.
While there are numerous exercises to strengthen and tone our abs, yoga is a great way to achieve this goal while also improving flexibility, balance, and mindfulness. In this blog post, we will discuss the top 8 yoga poses that are specifically designed to shape your abs and help you achieve your fitness goals. So, let’s get started!
These yoga postures for abs will improve core strength, help reduce strain on the spine, and prevent injuries by improving posture and balance. Keeping these in mind, we have variations of classic core moves.
These 8 abs shaping workouts will also help you in your strength training and everyday activities. Many people do not feel that the core is more than just the abdominal muscles.
Whether you want to have lower back pain or are dead to lose belly fat, strengthening your core is a great place to start.
As a major muscle group, your core is the command central for strength, helping you move your lower and upper body more effectively, and reducing your risk of injury.
When your core is strong, you can focus on improving the motion in your hips and your upper back.
Top 8 yoga asanas for abs shaping workouts
Complete 15-20 reps of each exercise or perform it for 30 seconds each for 3-4 rounds. Proceed through each trick until you have done all 8 poses. Top 8 Yoga asanas include:
- Mountain climbers
- Cobra pose
- Crouching Panther Plank (Suspended all fours)
- Dynamic downward dog
- Half boat pose
- Supine leg switching
- Supine crunches
- Side leg lifts
8 yoga poses step by step
Many of these movements require a certain breath, which will help to work your transverse abdominis, the deepest layer of your abdomen.
1. Mountain climbers
It’s almost like getting a total body workout with one exercise. Climber exercise works on many different muscle groups include:
- Deltoids,
- Biceps,
- Triceps,
- Chest,
- Obliques,
- Abdominals,
- Quads,
- Hamstrings,
- Hip abductors.
Instructions
- Start with a plank position with your hands and feet.
- Keep your stomach and your body straight. Pull your shoulders away from your ears and squeeze your glutes.
- Push your right knee into your chest.
- As the knee pulls towards the chest, also pull your stomach to relax or come out of your plank position.
- Quickly pull in and pull the left knee in.
- At the same time you push your right foot back, using the same form, pull your left knee towards the chest.
- Keep knees bent. Knees right, left, right, left – always rotate together so you are using a “running” motion.
- When you start becoming more aware of the state of your body and make sure to keep a straight line in your spine and not let your head stop.
- The stability of the core is more important.
2. Cobra pose
Bhujangasana is the Sanskrit name for the cobra pose. It is known for its ability to increase spine flexibility. It helps to tone the abdomen and strengthen the spine and stretch the chest while strengthening the spine and shoulders.
Cobra pose also helps to open the lungs, which is therapeutic for asthma. This pose stimulates the abdominal organs, improves digestion. Other benefits include:
- Tightens buttocks
- Stimulates the abdominal organs
- Helps relieve stress and fatigue
- Opens the heart and lungs
- Sciatica soothes
- Therapeutic for asthma
- Bhujangasana also increases body heat, destroys disease and awakens Kundalini.
Instructions:
If you are in the midst of a Surya Namaskar, you will come to the Cobra with kines, chests and chins. If not, you can start by lying on your stomach.
- Keep your palms straight under your shoulders on the ground.
- Bend your elbows straight back and hug them at your sides.
- Stop for the moment looking straight down at your mat with your neck in a neutral position. Anchor your pubic bone on the floor.
- Inhale to lift your chest from the floor.
- Roll your shoulders back and place your lower ribs on the floor.
- Make sure your elbows continue to hug your sides. Do not let them exit on both sides.
- Keep your neck neutral. Do not crank it. Your gaze should remain on the floor.
- Return to the floor while exhaling (or downward facing dog, push back to the lower mouth, if you are doing Surya Namaskar).
3. Crouching Panther Plank (Suspended all fours)
This exercise helps a lot in working the stomach tissue and can be used with athletes or people with weak abdominal tissue.
This practice is a more complex version of the plank. This not only strengthens your core, but it also activates your leg muscles, lower back, shoulder, and arm.
Instructions
- Get into a plank position, which is basically resting around you in a tabletop.
- Then stretch and lift your knees two inches off from the floor, now make hips and knees in 90 degrees, but make sure they do not touch the floor.
- Maintain that position at least one minute, you may hold for two minutes and then return to the starting position and repeat.
Variation
- If we move the knees mainly on the lower abdominal muscle groups, then it’s become extra intense.
- The elbow is slightly bent at this position. With problems within the arm joint, you can also take a lower position on your forearms.
- Here, its miles help to fold your arms manifold, such as on a bench in a health club.
- Expanding the space between the arms and legs or/and lifting the legs alternately can also make it extra intense.
Tips:
- Keep your abs muscles tight.
- If you have problems with the joint of your hand, then lean down and support your lower forearms.
- Slowly the time increases while you are holding. You can start with 2 seconds and then increase the duration to 30 seconds.
4. Dynamic downward dog
Dynamic downward dog is another variation of downward dog. It acts as a core and gives benefits to your body without any vicissitudes. This includes conditions of benefit:
- Calms the brain and nervous system
- Strengthen the back, hips, legs, hands and shoulders.
- Enlarges the spine and creates space between the vertebrae.
Instructions
- With your hands and knees, pull your belly button up the spine to activate the core.
- To raise your knees on the floor, press your hands and feet firmly and fall into the position of “V”.
- While pulling the legs backwards, bend the knees slightly and bring your heel together towards the floor.
- To make a straight line with your spine from your hands to the hips, pull your belly button up your spine and pull your lower ribs into the body.
- From this starting position, bend your left knee until you straighten your right leg and stretch the hamstrings, calf and ankle while pushing your right heel downward.
- Then swap your feet as well, as if your feet are moving on the spot.
suggestion
- A common mistake in this posture is that of a rounded lower back instead of a straight spine.
- To correct this, especially if your hamstrings (behind the incisions) are tight then bend the knees deeply.
- Aim to bend the coccyx slightly to the ceiling.
5. Half boat pose
This asana proves to be an excellent exercise whenever it comes to abs shaping workouts routine. The Half Boat makes Pause Belly and Core Strengths, in addition to the abdominal muscles, it acts as deep hip flexors. These muscles become lazy when you sit too much. It will also help you to balance yourself.
Instructions
- From the sitting position, grip the hands around the back of the legs and bent the knees in a 90 degree angle.
- Pull both your legs towards the abdomen.
- Here your core is engaged to maintain balance on the sits bones.
- Make sure the back is not rounded.
- The anterior part of the torso lies above the pubis and sternum as the spine extends in both directions reaching upto the sky and rooting down to the earth.
- The gaze is ahead and the “bandhas” are engaged.
6. Supine leg switching (Eka Pada Uttana Padasana)
You won’t want to leave leg day again. With these side legs you can move your fitness game up a notch.
By incorporating this leg exercise into your workouts routine, you will be shaping abs and strengthening your hips, thighs and back. Others include:
- Strengthens the muscles of the abdomen, hip and thigh.
- Stimulate and improve circulation, digestion, excretion, and the function of the reproductive system.
- Helpful for people suffering from gas problems, acidity, arthritis pain, diabetes, heart problems and back, back pain.
- Help lose weight in the stomach area, thighs and hips.
- Stomach muscles are stretched, so it produces a tone.
- Reduce stress and anxiety so that it is also related disease.
Instructions of Eka Pada Uttana Padasana
- Lie in a supine position with the body and palms facing downward.
- Press palms on the floor while inhaling and slowly raise one leg as comfortable as possible (upto 90 degrees).
- Make sure the knee joint is not bending and the hands are along the thigh.
- Hold the position for 1-3 minutes according to capacity.
- Release the same on the other side and repeat.
- While exhaling, move the foot downwards and regain normalcy.
Instructions of supine leg switching (variation of Eka Pada Uttana Padasana)
- Lie on your back on the floor on your yoga mat.
- Support your head and neck using your fingers.
- Raise your shoulders from the floor.
- Now, raise both your legs up until they are perpendicular to the ground.
- Lower your left leg until it is slightly above the floor.
- Now, as you bring your right foot down, raise your left leg – the speed of the scissors.
- Repeat, aim 3-4 sets of 15 reps for each set.
7. Supine crunches
From runners to yogis, fond of CrossFit, athletes favor this simple, no-equipment abdomen, diagonally and hips.
Supine Crunches helps you kick off your “Abs Shaping Workouts” main game. Although the supine crunches target the upper abdomen, it primarily employs the rectus abdominis, transverse abdominis, lower back extensors, and diagonally.
Instructions
- Lie on your back on the floor on your yoga mat.
- Move your hands above your head and place them flat on the ground with your palms facing upwards. You can place the palms on top of each other according to your convenience.
- Bend your knees while your feet are flat on the ground.
- Open your chest and lift your chin up. This marks your starting position.
- Prepare for crunch by contracting your core muscles.
- Exhale and as you exhale, slowly lower your upper body off the floor and raise your arms together.
- Remember, not to lead the pace with your head.
- At the end of the crunch, stop and hold the position for a count of one or two.
- Now, slowly lower your upper body back to the starting position with your hands.
- Repeat and practice 3 sets of 15-20 reps for each set.
8. Side leg lifts
The side leg lift involves abduction, or pushing away, lifting the leg from your midline. This is a great and simple way to build strength in the outer thighs and hip abductors, including gluteus medius and minimus.
It has many benefits, including:
- Better range of motion in hips
- Better body stabilization
- Use of muscles that are not usually active in those who sit for long periods of time each day
- Improve muscular endurance
- Strengthening these muscles through side leg raises can help prevent hip, knee and lower back injuries and pain.
Instructions
- Lie on a mat or floor on your right. Your body should be in a straight line, with your legs extended and feet on top of each other.
- Place your hand directly under your head on the floor or bend your elbows and tilt your head for support. Place your left arm in front or rest it on your leg or hip for extra support.
- As you exhale, slowly raise your left leg above the lower leg. Stop lifting your legs when you feel the muscles in your lower back or diagonally.
- To complete the right leg, turn the leg in and down. Raise your legs again.
- Practice 15-20 reps, then switch to the other side.
- Perform 3-4 sets of 15-20 reps each side.


