Pasasana, also known as Noose Pose, is a complex pose that focuses on opening up your shoulders and chest, as well as stretching your thighs, groin and spine and building strength in your ankles.
The pose can improve both posture and digestion while activating your abdominal organs. Experts prefer Pasasana (Noose Pose) for relieving symptoms of asthma, back tension, indigestion, gas and menstruation.
Information
| Know as: | Pasasana, Noose Pose |
| Sanskrit name: | पाशासन |
| IAST: | Pāśāsana |
| Pronunciation: | posh-AHS-anna |
| Level: | Intermediate |
| Type: | Twist |
| Total time: | 30 to 60 seconds |
| Drishti: | Over the shoulder |
| Chahra: | Manipura Chakra |
| Focus: | Spine, shoulders and chest |
| Indications: | Asthma, indigestion, menstrual symptoms |
| Counterpose: | Dandasana (Staff Pose) |
| Preparatory poses: | Parivrtta Parsvakonasana Namaste Hands, Revolved Triangle Pose, Lord of the Fishes Pose, Bound-Angle Pose, Child’s Resting Pose, Bharadvaja’s Twist Pose 2, Cow Face Pose, Garland Pose, Pose Dedicated to the Sage Marichi 3, Pose dedicated to the sage Marichi I, Revolved Side Angle Pose, Reclining Bound Angle Pose, Reclining Hand to Big Toe Pose, Hero Pose |
| Follow-up poses: | Ardha Matsyendrasana, Marichyasana C |
| Contraindications: | Back injury, knee injury, herniated disk |
Meaning + Origin
Pasasana is derived from the Sanskrit name, which is made up of two words – Pasa + asana:
- “Pasa” = “noose or snare or cord or trap or fetter or bond or tie“
- “asana” = “pose or posture”
The Noose Pose is the western name of Pasasana.
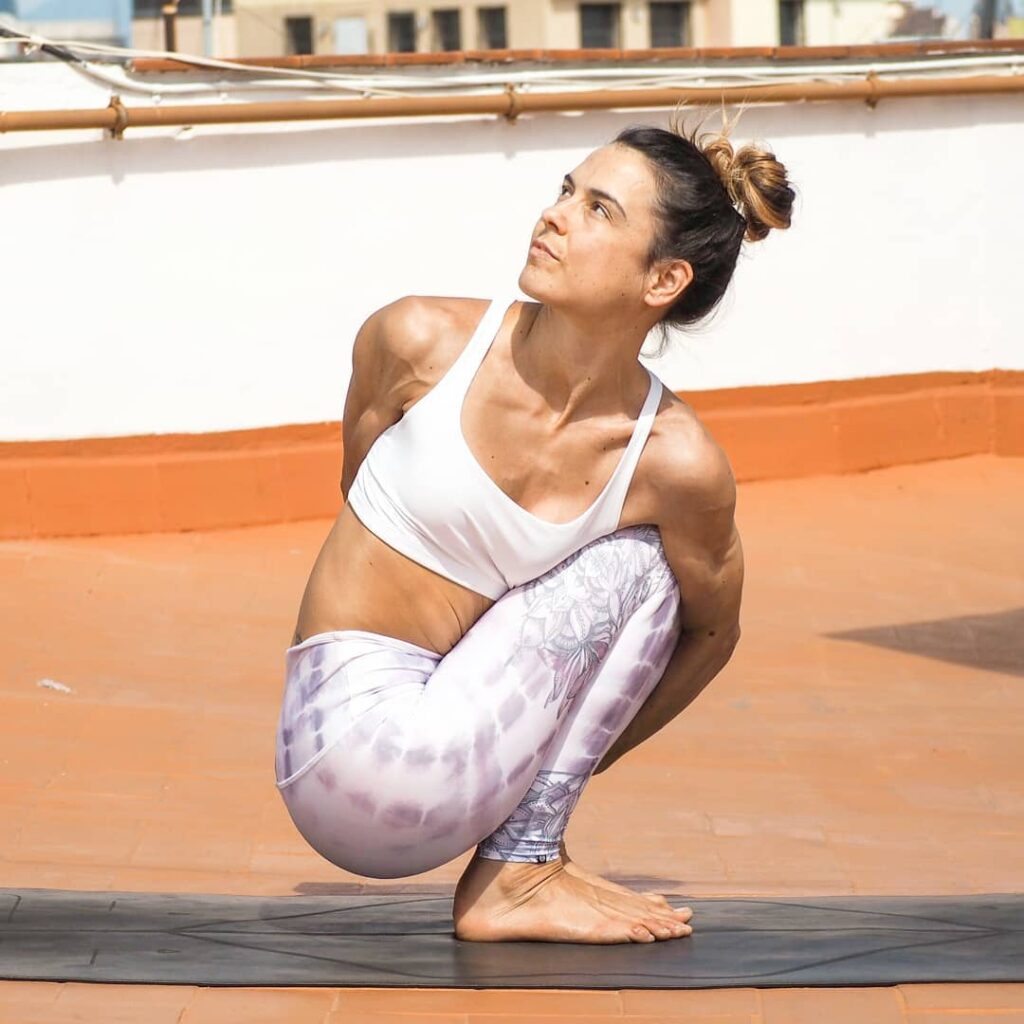
Pasasana is a pose in which the body forms a ‘noose’ as the practitioner wraps their arms around their sitting legs, their hands behind their backs, while turning to one side. It is so called because in this pose the hands are used as a noose to hold the torso to the legs, hence the name.
The asana is described and depicted in the 19th century Sritattvanidhi; A slightly different posture is described in the 1966 Light on Yoga.
Benefits of Pasasana or Noose Pose
Pasasana or Noose Pose is commonly seen practiced in Iyengar Yoga and Ashtanga Yoga, when it is included in, the practice comes with its own physical and mental benefits and these are listed below:
- Physical Benefits:
- Strengthens muscle of the neck, legs and shoulders
- Stretches the spine, legs, chest and shoulders
- Open the heart (as the diaphragm expands with the twist)
- Tones the spine and abdominal muscles
- Toned the liver and the spleen and cease to be sluggish it
- Relieves shoulder sprain and dislocation of shoulder joint and frees movement of shoulder
- Splitting backaches, lumbago and pains in your hips disappear rapidly
- Promotes healthy function of the pituitary gland
- Stimulates the digestive, circulatory, and lymphatic systems
- Massages the abdominal organs
- Improves intestines
- Recommended for persons suffering from diabetes
- Alleviates menstrual discomfort
- Mental Benefits:
- Reduces anxiety
- Reduces stress
- Relieves mild depression
Pasasana or Noose Pose Preparation
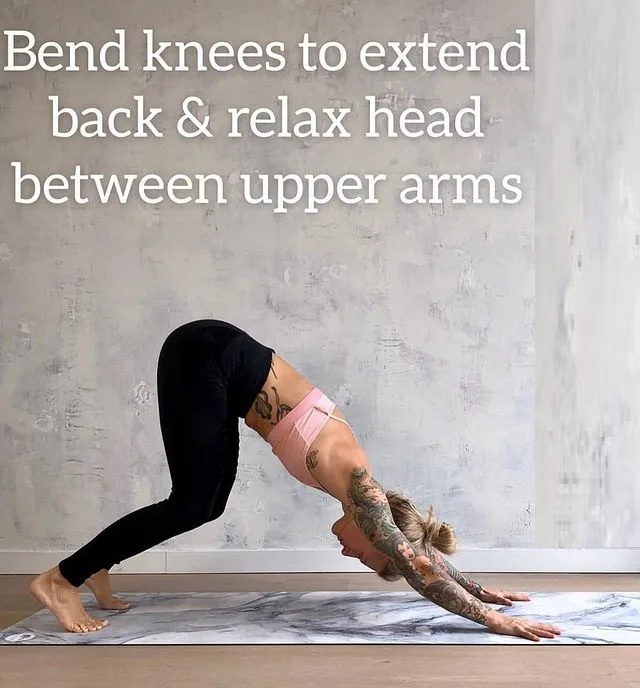
Use Down Dog Pose to stretch your calf muscles as a warm-up. Although the Downward Dog stretch has a slightly different focus than the Pasasana or Noose Pose, it is still useful for gaining length in the gastrocnemius and soleus muscles at the back of the lower legs. Keep your heel on a block at the beginning to aid in balance and compensate for tightness in your calves. Actively engage your muscles on the fronts of the lower legs (via dorsal flexion of the ankles) to bring your heels toward the floor.
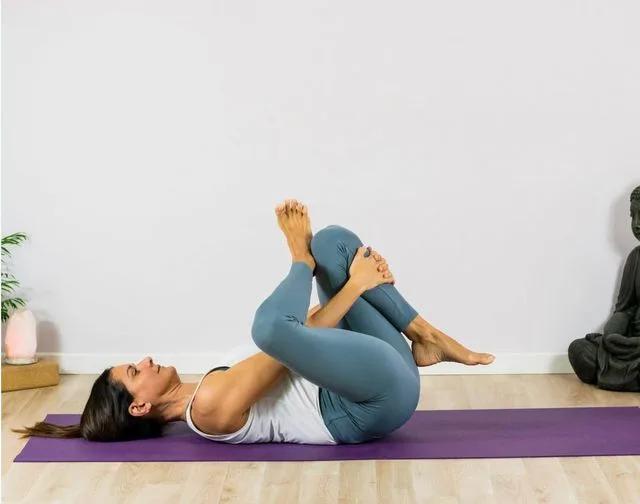
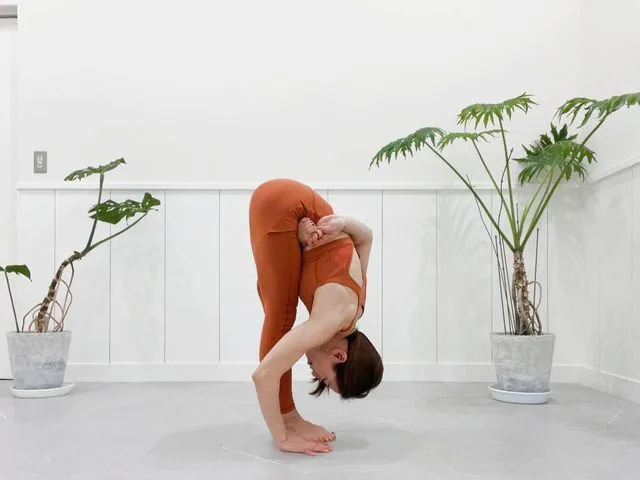
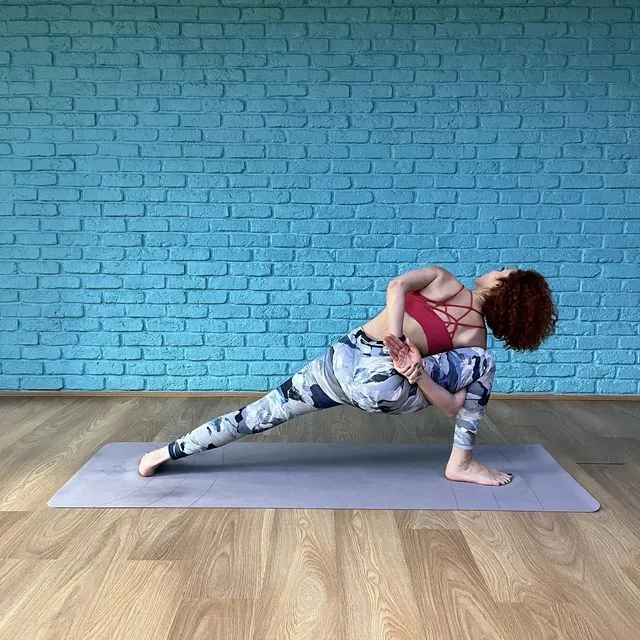
Prepare your hands for internal rotation with reverse namasté (Reverse Prayer Pose) or Cow Face Pose. Practice Marichi’s pose C to prepare your torso for the twist. If you can’t connect your arms behind the back, use a belt. Alternatively, try the Chair Twist. Work towards keeping your heels and soles of the feet on the mat. Then brace your abdominals and carefully release the pose. When you go into the twist, you will notice that your knees are uneven.
Follow the steps in the Anatomy (Muscles) Engaging Techniques section to balance it and create a bandha as well.
How to Do (Steps) Pasasana or Noose Pose
- Sit on the floor, keeping the soles and heels completely on the floor.
- Keeping knees and feet together, lift the asana off the floor and balance.
- Once balance is achieved, twist the torso approximately 90 degrees to the right until the left armpit extends beyond the outer part of the right thigh near the right knee. To get maximum bend, flex the left knee forward about an inch.
- While exhaling, extend the left arm over the shoulder, leaving no space between the left armpit and the right thigh, move the left arm around the right thigh and bend the left arm towards the left leg and bring the left arm to the left hip. Take a breath
- Exhale, twist the right arm behind the shoulder, bend the right elbow and place the fingers behind the back near the left hip.
- Grab the palms slowly and when it becomes easy, clasp the wrists.
- Tighten the calf muscles to maintain balance, twist the spine as far to the right, and hold the pose for 30 to 6o seconds with normal breathing. Bend the neck and gaze over both shoulders.
- Release the hand clasp and repeat the pose on the other side. Here twist the torso to the left, bring the right arm around the left thigh, bend the right elbow and bring the right hand to the right hip. Then while exhaling, bend the left arm behind the shoulder, bend the left elbow and hold the right hand from the left behind near the right hip.
Props and modifications
To easily modify Pasasana or Noose Pose, use the following props:
Use the blanket
If there is a gap between the floor and the heel while maintaining the posture, then place the folded blanket under the heel.
Use yoga blocks
Stack some blocks one on top of the other. As you squat, you can rest your buttocks on the blocks. Adjust them to your limit to go down.
Against the wall
Hold the pose against a wall. After lowering into the squat, you can bring your hands to the wall as you turn. It helps to balance the body while holding this asana.
Step-by-step Anatomy Engaging Techniques
Step-1
- Pasasana or Noose Pose has a tendency to flex the knees using only body weight and gravity.
- Instead, make it an active pose by contracting your hamstrings to bend your knees. This creates reciprocal inhibition of your quadriceps, allowing them to relax in the stretch.
- Dorsiflex your ankles to lower your heels. Do this by drawing the tops of your feet towards the fronts of your shins. It activates your tibialis anterior muscles on the fronts of your lower legs, as well as signalling your gastrocnemius and soleus muscles to relax (mutual inhibition).
Step-2
Laterally flex and rotate your torso by engaging your lower-side oblique abdominals. Add to this lateral flexion by contracting your erector spinae and quadratus lumborum. The cue for this is to gently arch your back.
Step-3
- Knees will become uneven due to twisting of your pelvis. Work towards bringing them together. Notice that your hip you are turning is flexing more than the other hip. Balance it with extension by contracting your gluteus maximus (squeezing the buttocks) on this side.
- Your second hip contributes to the disparity because it is more extended. Remedy this by engaging your psoas (main hip flexor) to bring your knees in line with each other.
- A cue for engaging this muscle is to squeeze your thigh upward against your torso. Co-activating these two muscles creates a “wrinkling” effect in your pelvis and tightens your sacroiliac ligaments (ligamentotaxis).
- The result is a bandha that stabilizes the posture.
Step-4
- Once you have connected your knees with each other by engaging the muscles described in Step-3, squeeze your knees together on the inner side of the thighs to lock them in place by contracting your adductor group.
- Then press the balls of your feet into the mat by activating your peroneus longus and brevis muscles on the sides of your lower legs.
- Balance this action by contracting your tibialis posterior to slightly inverting your ankles and lifting the arches of your feet. This helps to distribute the weight evenly across your soles.
Step-5
Engage your pectoralis major, anterior deltoids and subscapularis muscles to internally rotate your shoulders. A cue for this is to imagine raising the hands from your lower back.
Precautions and contraindications
Below are some precautions and contraindications to keep in mind while practicing this yoga pose, which is a challenging twisting:
Injury and surgery
As Pasasana or Noose Pose puts pressure on your lower back, hips, neck, abdominal organs, any injury to the muscles and joints involved is contraindicated, so it is best to avoid the practice of this yoga pose.
Also, yoga practitioners with a chronic injury or surgery related to any part of the body should also avoid this yoga pose, as this pose activates the entire body with almost all the muscles in contraction.
Disease and physical strength
Practitioners who cannot balance their weight in Pasasana or Noose Pose should practice other yoga balancing poses such as toe balancing yoga in a sitting position to gain confidence. The reason, since Pasasana or Noose Pose is hard on the body (joints and muscles), with issues related to yoga practitioners:
- Spondylitis (pressure in the muscles of your spine, including your neck)
- IBD (Inflammatory Bowel Disease) (as in fully squeezing the abdominal area)
- Arthritis (related to the ankles, shoulders, hips, or knees)
- Diastasis recti (not safe due to squeezing action)
- Blood pressure (as the twisting action puts pressure on the heart and lungs, with the calf muscles contracting – stopping the flow of blood back to the heart)
- Weak immune system
All are contraindicated, and yoga practitioners should not start this practice under the above circumstances.
Also, if there are any other related health conditions, yoga practitioners should be aware of it.
Sciatica, heart problems, headache, or dizziness
When this pose is practiced with a wall (to keep hands on the wall when turning), bolster or yoga mat (keep placed for legs to lift the floor – this also helps to give better range of motion with the arms helps), or leash (to help with tying, if the hands can’t reach that far), yoga practitioners with certain physical conditions may benefit from this practice.
Example sciatica, although it should be done with proper instructions. This squeezing action puts pressure on the calf muscle (the second heart), which stops blood flow to the heart and lungs, causing headaches or dizziness for some people. For such cases, the practice should be done slowly, taking a break and moving towards each step, before going into full twists. And at any time, if there is discomfort, the yogis should be taken out of the pose slowly and carefully.
During pregnancy
Women should not practice this yoga pose during pregnancy.
Children/Kids
Children/Kids should also avoid this yoga pose, even if their body is well-formed, their spine cannot take such a twist.


