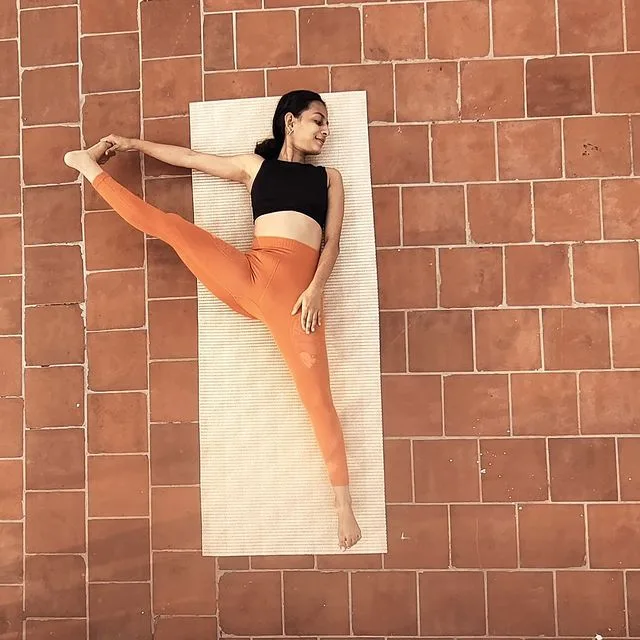
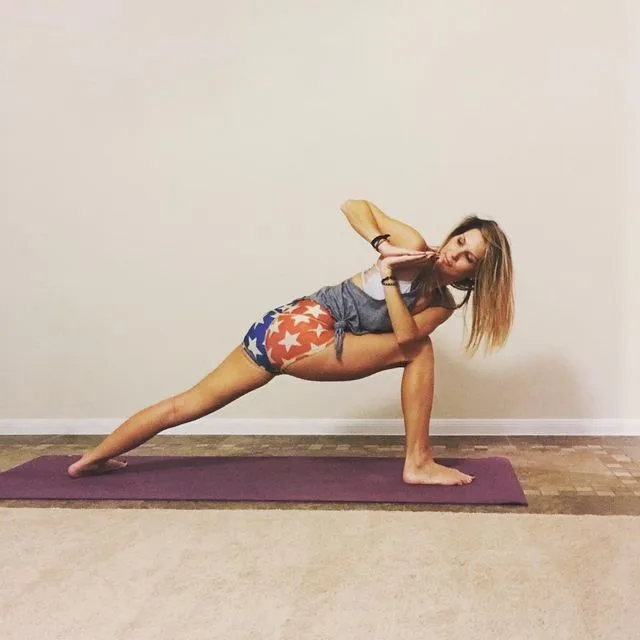
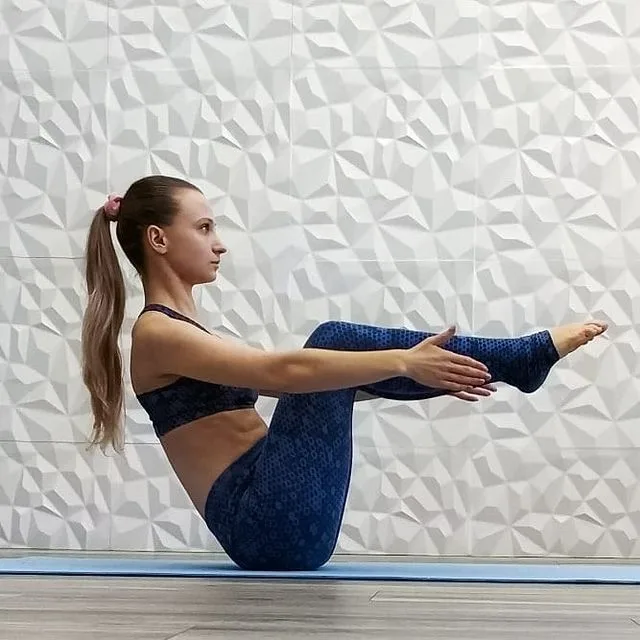
Supta Padangusthasana B or Reclining Big Toe Pose B, or Sleeping Big Toe Pose B, is a tremendous leg stretch and strengthener, opens the hips, adductors, strengthens the abdomen.
Information
| Known as: | Supta Padangusthasana B, Reclining Big Toe Pose B, Sleeping Big Toe Pose B |
| Sanskrit name: | सुप्त पादाङ्गुष्ठासन |
| IAST: | Supta Pādāṅguṣṭhāsana |
| Pronunciation: | soup-TAH pod-ang-goosh-TAHS-anna |
| Level: | Intermediate |
| Type: | Reclining, relaxation, restorative, supine |
| Total time: | 30 seconds to 2 minutes |
| Drishti: | At ceiling; At big toe |
| Chakra: | Swadisthana Chakra, Muladhara Chakra |
| Focus: | Legs |
| Indications: | Prostate gland, menstrual, back discomfort, hip joints and prevents hernia, sciatica and paralysis |
| Counterpose: | Apanasana (Knees to Chest Pose) |
| Preparatory poses: | Uttanasana, Baddha Konasana, Adho Mukha Svanasana, Ardha Pavanamuktasana, Sleeping Big Toe Pose |
| Follow-up poses: | Standing Poses, Seated Forward Bends |
| Contraindications: | High blood pressure, Diarrhea, Headache |
Meaning
The Supta Padangusthasana is derived from the Sanskrit name, which is made up of four words — Supta + Pada + Angustha + Asana:
- “Supta” = “recline or lying down”
- “Pada” = “foot”
- “Angustha” = “big toe”
- “Asana” = “pose or posture”
Benefits of Supta Padangusthasana B (Reclining Big Toe Pose B)
This Reclining Leg Stretch Series is a combination or cycle of five different poses name Supta Padangusthasana Knee-to-Chest, Leg Pull, Leg to the Side, Single Leg Reclining Lunge, and Two Leg Reclining Lunge; performed one after the other. You’ll do the first four poses to the right and then to the left, and then you’ll do the fifth pose. Of course, you can do each of these individually, but they flow well together that way.
The pose tremendous leg stretch and strong. Opens your hips, adductors, strengthens your abdomen, lower back, legs, ankles, hamstrings, hips, pelvis. Especially if your hamstrings are tight, these stretches are the best for you. The floor supports your back as your hamstrings stretch.
Supta Padangusthasana B (Reclining Big Toe Pose B) Practice Guide
Reclining Big Toe Pose B flexes, abducts, and externally rotates the hip of the raised leg and straightens the knee. If you over-straighten the knee or swing the leg upward, you intensify the stretch of the hamstrings. It’s an example of a triangle, in which the origin of the hamstring at the ischial tuberosity represents one point of the triangle and the insertion on the lower leg represents the other.
The hamstrings are the top or center point. Actions that move the origin and insertion away from each other cause the hamstrings to stretch. By externally rotating the thigh, the semimembranosus and semitendinosus (inside hamstring) lengthen.
The shoulder and arm perform a secondary action that affects the focal point of this story. If you raise the arm and try to bend the elbow, you can pull the leg up. The trunk assists in this action when we arch the back slightly and swing away from the raised leg.
Then there is the leg which remains extended with the mat. The foot of this foot has a tendency to lift off the floor and rotate outward. Use paired joint movements to address this: Extend the lumbar spine and hip to bring the foot back to the ground. Then press the heel into the mat and try to pull it to the side. It engages the cue muscles that turn the thigh inward, counteracting the outward rotation of the leg.
Step-by-step instructions to Supta Padangusthasana B
Instructions
Step-1
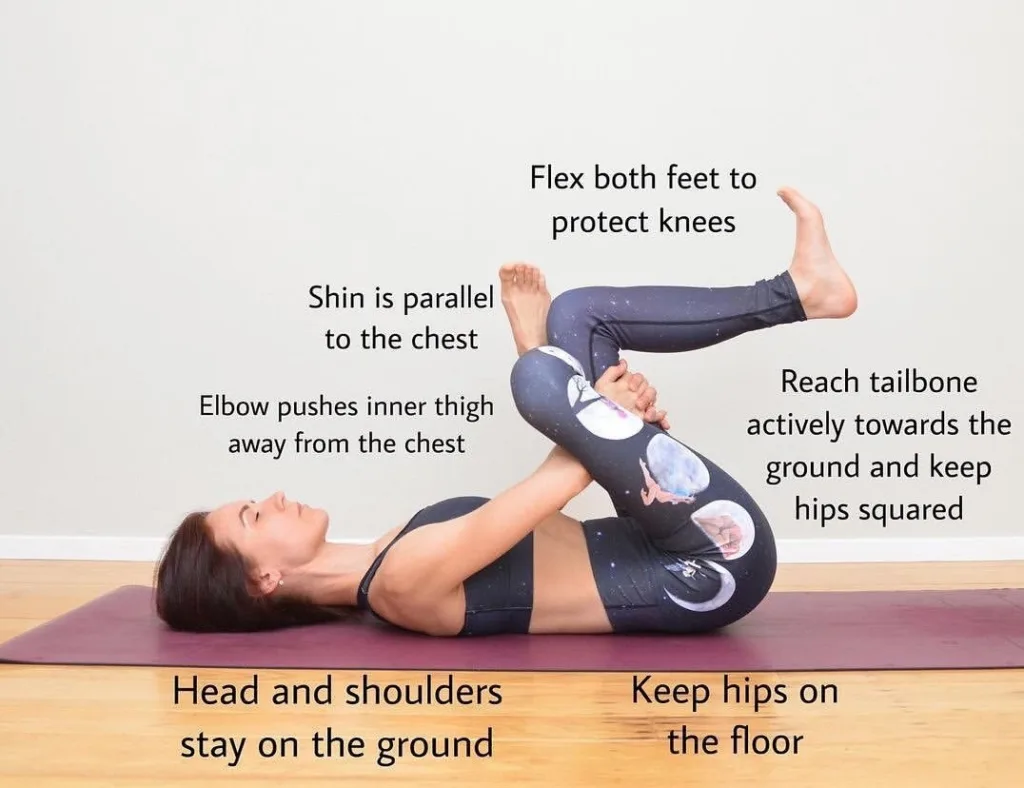
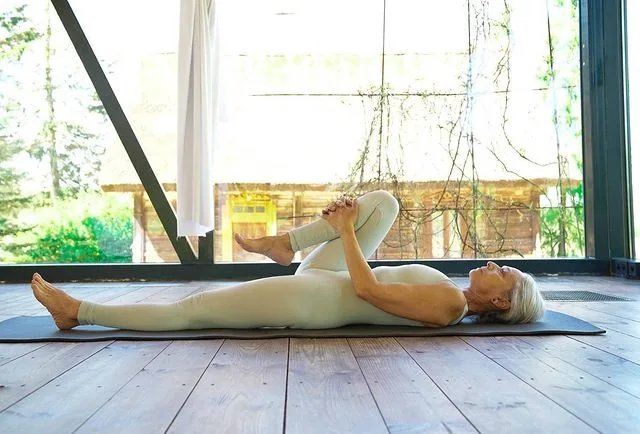
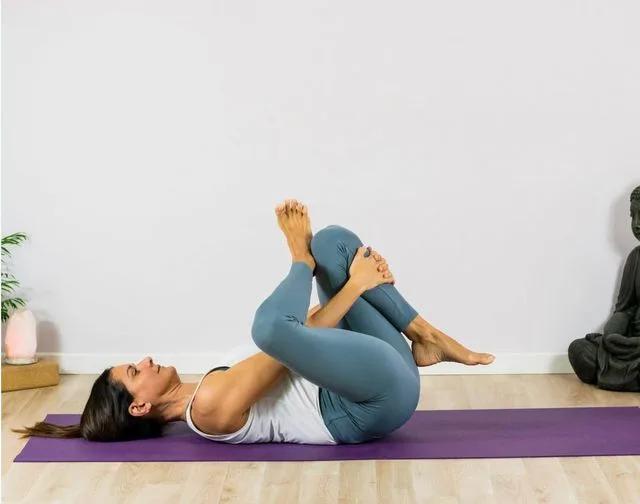
Lie on your back with your legs bent, both feet flat on the floor. Bring the right knee towards you, grasp the knee with both hands and gently pull it towards your chest. It’s not vigorous. Stay here for several breaths.
Step-2
Straighten the left leg; Start at the center of the back of your left heel, then slide the heel away from you. Roll the left thigh inward until the knee is toward the ceiling, extend your toes, and push outward through the ball of the foot, channelling energy outward through the foot. The foot line is now a long spiral. Press the sacrum down so that there is a slight lumbar curve, pull in with your hands, and flatten the shoulder blades into the floor, rounding your chest toward the ceiling. Keep your throat relaxed. In the sky, gaze towards infinity, and breathe easily. Stay here for several breaths.
Step-3
Raise your head; Pull up with your arms, and try to touch your nose with your knee. Be relaxed while doing this. Keep shoulders down, away from ears. Stay here for several breaths.
Step-4
Bend your spine, rest your head on the floor, and bring the left leg back to the starting position.
Step-5
Straighten your right leg above your head and grasp the leg with both hands. I like to put my left thumb between the big toe and the second toe, and my right thumb between the little toe and thumb. It gives me a good grip and helps to stretch the toes. If you can’t reach your foot, use a belt to stretch the gap, or hold your ankle, calf, or thigh.
Step-6
Press the right leg completely straight, tighten the quadriceps and raise the heel toward the ceiling. Then spread your toes and press the ball of the big toe away from you so that the leg line turns slightly inward and is directed outward in the direction the foot is pointing. As you do this, press the sacrum firmly into the floor and gently pull the leg toward you, flattening the shoulder blades and rounding your chest. Breathe smoothly. Wait for the stretch sensations to subside before proceeding. Stay here for several breaths.
Step-7
Slide the left leg straight onto the floor. Begin at the center of the back of the left heel as before, and roll the left thigh inward until the knee is toward the ceiling. Then spread your toes and push outward with the ball of the foot.
Step-8
Keeping the sacrum pressed firmly, continue to drive your shoulders toward the floor so that the shoulder blades are flattened, and press both feet away from you as you gently pull the leg tight. Breathe smoothly and immerse yourself in the feeling of stretching. Stay here for anywhere from thirty seconds to two minutes.
Step-9
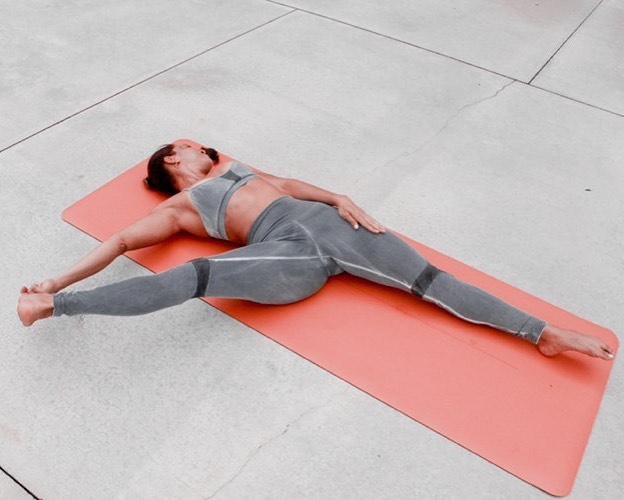
Step the right foot to the right. Let it go with your left hand, grab the right leg with only the right hand, and move your left hand to the left as you move your foot to the right. Your arms will form a straight line.
Step-10
The tendency here is to lean to the right in an effort to touch the right foot to the floor. Instead, keep the sacrum pressed flat on the floor and move the foot only as far as it can go without bending it. Do not allow the right foot to touch the floor until you are also able to keep the sacrum flat. Prevent tipping by pulling the left leg in more forcefully, pressing the back of the left thigh down into the floor.
Step-11
Lift your chest away from the waist, flatten the shoulder blades into the floor, round your chest, and press both feet away from you. Press the right foot into your right hand, so the line of energy extends out through the foot in the direction it’s pointing, not past the knee.
Step-12
Breathe comfortably, with emotion. Build the right degree of intensity, not too much, not too little. If this stretch is too intense, bend your legs. Gaze at the sky; Stay here for anywhere from thirty seconds to two minutes.
Step-by-step Anatomy Engaging Techniques
Step-1
Flex and externally rotate your hip of the raised-leg using your psoas and its synergist, the sartorius. Notice how your psoas wraps around the front of your pelvis. Contracting this muscle tilts your pelvis forward, while simultaneously flexing and externally rotating the femur. It is an example of coupled joint motion. Engage your quadriceps to straighten your knee.
Step-2
- Use the shoulder-lifting muscles to lift your foot—your upper pectoralis major and lateral deltoids.
- Once you feel these muscles contract, focus on them to refine and stabilize your lift. Rotate your forearm externally by engaging your supinator muscle, and bend your elbow slightly by contracting your biceps and brachialis.
- These actions in the upper extremity connect to raise your leg, showing how to use your muscles away from your target joint (here, the hip) to move that joint.
Step-3
There is a tendency for your bottom foot to rise off the floor. Extend your hips by squeezing the buttocks to contract your gluteus maximus, and arch the lower back to engage the erector spinae and quadratus lumborum muscles. Synergize it by engaging your hamstrings and adductor Magnus to extend your femur and press your foot down onto the mat.
Step-4
- Activate your quadriceps of the lower leg to extend your knee. You can use the “lift the kneecap toward the pelvis” cue to engage this muscle.
- Turn your ankle out, straighten the sole of your foot and open it by contracting your peroneus longus and brevis muscles. Stabilize this action by creating an inversion flexion on your ankle with your tibialis posterior muscle.
- Extend your toes to dynamize your arch.
- Press your heel into the mat and try to drag your foot to the side. It engages your tensor fascia lata and gluteus medius and internally rotates your leg and foot.
Step-5
Press your arm onto your thigh to activate your latissimus dorsi and lower two-thirds of the pectoralis major. While contracting the triceps, straighten the elbows. Pronate your forearm and engage your wrist flexors to press your palm into the leg.
Precautions and contraindications
Here are some precautions and contraindications to keep in mind while practicing Supta Padangusthasana B:
- The hamstrings and quadriceps should primarily be avoided by athletes, as these muscles will deeply expand during the practice of this yoga pose.
- The strength of the legs and hips is tested in this yoga asana, and therefore if one has weak legs and hips, this yoga asana should be practiced under the guidance or support of an expert yoga teacher/instructor. It is also better to go slow with Supta Padangusthasana B (Reclining Big Toe Pose B).


