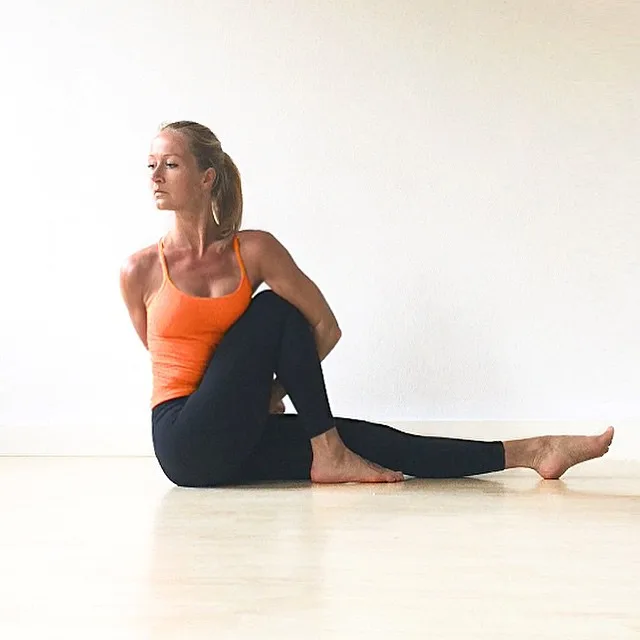
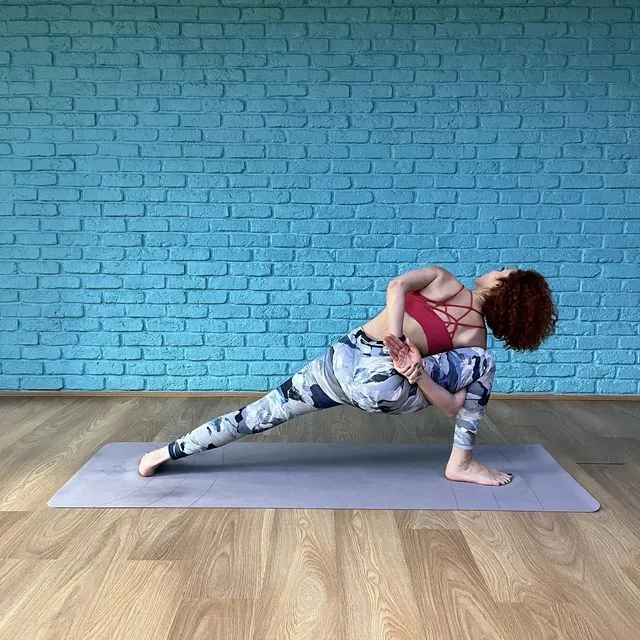
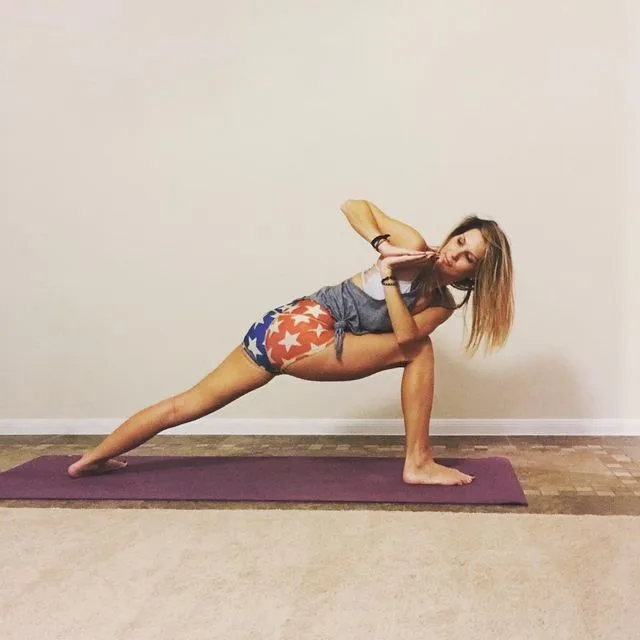
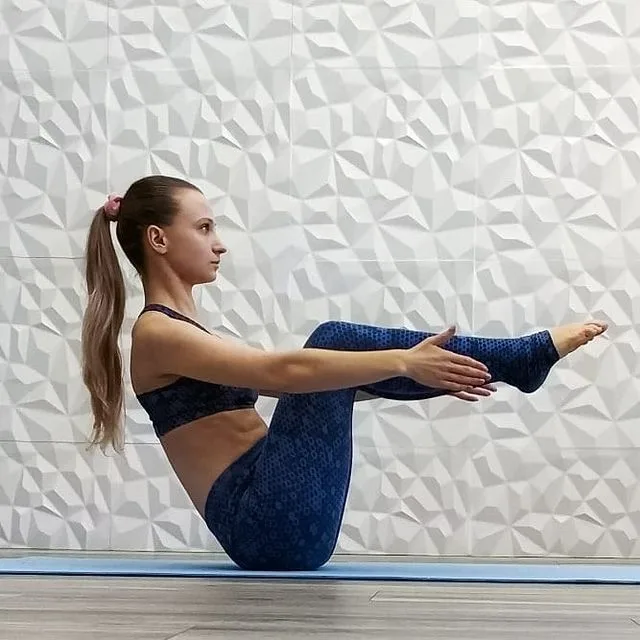
Marichyasana C, also known as Pose Dedicated to the Sage Marichi III or Seated Twist Pose III, is a seated twist with one leg bent and one leg outstretched.
Like many twist poses, Sage Marichi C is said to be a cleansing and purifying pose. The pose is stimulating and invigorating as it improves the flow of prana throughout the body. It is said that physical twitching is a symbol of resolving ourselves on an emotional level from the problems we face in life. Marichyasana C is said to teach us how to deal with these problems systematically.
In this version of Marichyasana, you bend the upper body away from your straight leg and towards the flexed knee. Similarly, the lower body, through your legs down from the pelvis, turns away from your upper body. Your curved trunk and vertebral column connect your shoulders and hips. Each area of your body forms a subplot that contributes to the main story of the Marichyasana C.
Information
| Known as: | Marichyasana C, Seated Spinal Twist III, Sage Twist Pose C, Sage Marichi C, Marichi’s Pose C |
| Sanskrit name: | मरीच्यासना III |
| IAST: | Maricyāsana III |
| Pronunciation: | mar-ee-chee-AHS-anna III |
| Level: | Intermediate |
| Pose type: | Twist |
| Total time: | 30-60 seconds |
| Drishti: | Forward; Over shoulder; Eyes closed |
| Chakra: | Manipura Chakra, Swadisthana Chakra, Muladhara Chakra |
| Focus: | Spine |
| Indications: | Hip pain, neck pain, backache, second trimester pregnancy, sciatica |
| Counterpose: | Dandasana (Staff Pose) |
| Preparatory poses: | Cobbler’s Pose, Head-on-Knee Forward Bend Pose, Hero Pose, Bharadvaja’s Twist Pose, Reclined Hand to Big Toe Pose, Marichi Sage Twist Pose |
| Follow-up poses: | Seated Forward Bend Pose, Head of the knee pose (Janusirsasana) |
| Contraindications: | Low blood pressure or high blood pressure, diarrhea, insomnia, back or spine injury (only with the supervision of experienced), headache, digestive discomfort, menstruation |
Meaning + Origin
Marichyasana is derived from the Sanskrit name, which is made up of two words – Marichi + asana:
- “Marichi” = “ray of light (of the sun or moon)“
- “asana” = “pose or posture”
Marichyasana, dedicated to great Hindu Sage Marichi, is a mythological Hindu figure and the son of Brahma.
Marichi was one of the seven sages of the religion who had the right to declare the righteousness of the laws of the universe or dharma. In Indian mythology, Marichi is known as the Vedic Adam or the father of mankind.
The western name of Marichyasana C is Marichi’s Pose C. The pose is associated with balancing and purifying the Manipura Chakra.
Marichyasana is part of the primary series in Ashtanga yoga, where the first four forms of Marichyasana A, B, C and D are performed in sequence.
Benefits of Marichyasana C (Sage Marichi III)
- Physical Benefits:
- Strengthens muscle of the neck
- Stretches the spine, legs and shoulders
- Tones the abdominal muscles
- Opens the chest and shoulders
- Relieves shoulder sprain and dislocation of shoulder joint and frees movement of shoulder
- Splitting backaches, lumbago and pains in the hips disappear rapidly
- Stimulates the digestive, circulatory, and lymphatic systems
- Toned the liver and the spleen and cease to be sluggish it
- Massages the kidneys
- Improves intestines
- Mental Benefits:
- Reduces stress
- Relieves mild depression
- Reduces anxiety
Steps to Marichyasana C (Sage Marichi III)
- Reach around the knee and bend the elbow to pull the torso toward the thigh. Press the knee into the chest. Then push the edge of the foot into the hand and feel how it helps to twist the body.
- Press the other hand to the floor a few inches behind the sacrum, and straighten the elbows to lift the chest. Then try scrubbing forward with your hand to increase the twist.
- As you become more flexible, keep the outer elbow against the knee. Then fix the knee and thigh as a stable object, and press the elbow against the side of the foot to twist the body.
- Isolate this by fixing the elbow as a stationary object and pressing the knee into the back of the elbow.
- Finally, press the knee and elbow evenly into each other. Observe the various effects of these actions. After this, rotate the front arm internally and reach the hand around the knee.
- Similarly, turn the shoulder of the back inwards and take the hand behind the back.
- Link hands to a belt and pull with hand wrapped around knee to draw upper body deeper into twist.
- Finally, join the hands, first by locking the fingers together and then by clasping the wrist. Push the wrist of the backhand forward to lock the grip.
- Don’t forget the story of the straight leg. As you twist forward from the upper body, the straight leg begins to rotate internally.
- Balance this by engaging the buttocks to press the back of the foot to the floor, and then rotate the thigh out so that the knee is directly overhead.
Step-by-step Anatomy Engaging Techniques
Step-1
- Flex your hip by activating your psoas and its synergies. Note the rhythmic action of your femur flexing and pelvis simultaneously tilting forward.
- Contract your hamstrings to bend your knee. Remember that your knee has some ability to rotate and thus contribute to twist.
- Engage your outer hamstring—your biceps femoris—to create this movement. The cue for this is to try to place the ball of your foot into the mat and gently turn the foot into an outward rotation.
- With your knee bent, your thigh and lower leg move as a unit. This means that external rotation of your tibia causes internal rotation of your hip. This action contributes to the turning of your lower body away from your upper body, deepening the twist.
Step-2
Press the outside of your knee into the arm to engage your tensor fascia lata, gluteus medius, and gluteus minimus. These muscles also have fibers that internally rotate your hip; they turn your lower body away from your upper body to deepen the twist.
Step-3
As you deepen the twist, your ribs have a tendency to bulge backward. Counter this by engaging your erector spinae and quadratus lumborum in the muscle actions described in Step-1 and Step-2. Engaging these muscles draws the rib toward your knee, helping to turn your body and expand your chest.
Step-4
- Activate your quadriceps to extend your straight-leg knee. Your upper body will draw this leg into some degree of internal rotation.
- You want to rotate it away from your upper body, but only to the point where your kneecap is facing up (no more to one side or the other). Balance the inner and outer rotation of your thigh.
- Engage your gluteus maximus by pressing your entire back of the leg into the floor. Lower your tailbone to activate the deep external rotator.
- These actions will turn your leg out slightly and bring your kneecap to face straight up. Offset this by engaging your tensor fascia lata and gluteus medius to stabilize your thigh.
Step-5
- While rotating your shoulder internally, wrap the hand over your knee.
- Engage your pectoralis major to initiate this action. You can feel this muscle contraction by placing one hand on your chest and the other hand behind your back, lifting the arm off the lower back.
- Your anterior deltoid, teres major, and subscapularis muscles coordinate this internal rotation.
- In this posture, your back shoulder also rotates internally. Begin by straightening your elbows and pulling them away from behind by contracting your triceps and posterior deltoids, respectively.
- Activate your triceps of the arm that is wrapped more tightly around your knee than the other arm to draw your trunk deeper into the twist.
Step-6
Engage your rhomboids to draw the back-arm shoulder blades in toward your spine. Activate your serratus anterior to move your front shoulder blade away from the midline (as if pushing an object away from you). These two actions coordinate to turn your thorax from your shoulders.
Step-7
- Rotate your forward shoulder towards your knee. It engages your internal oblique abs in the front and your external oblique abs in the rear.
- You can isolate these muscles by flexing your torso forward toward your opposite knee. Twisting your thorax causes your ribs to contract, and contracting your abdominal muscles compresses your abdominal contents upward toward the diaphragm.
- These combined compressions make breathing shallow. You can counteract this to some extent by using the auxiliary muscles of breathing, specifically your pectoralis minor and serratus anterior, to actively extend your ribcage.
Precautions and Contraindications
- Abdominal massage motion may prove negative for practitioners with low or high blood pressure.
- For a person with a stomach ulcer or peptic ulcer, hernia or hyperthyroidism, Marichyasana C can be carefully practiced under the guidance of a teacher.
- Individuals with spinal cord injury or severe slip disc problems will benefit from this asana. But they should practice Marichyasana C under the supervision of a doctor and with the permission of the doctor.
- Do not do this yoga in case of diarrhea or upset stomach
- People suffering from headache, migraine and insomnia should practice yoga marichyasana for a limited time only.
- Women should not do Marichyasana at all during their pregnancy and menstruation, as there is a strong bend in the abdomen in this yoga pose.


