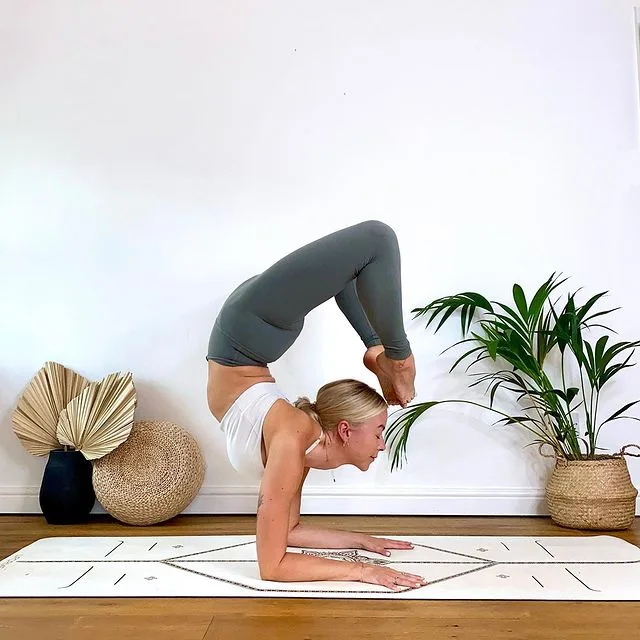
Scorpion Pose, also known as Vrischikasana, combines an arm balance, backbend and inversion to produce the look of a scorpion.
The pose improves flexibility in the shoulders and hips. This is an excellent posterior trunk-bend posture exercise. This requires spinal flexibility and well-controlled balance.
Experts believe that in the practice of Scorpion Pose (Vrischikasana), the lungs are fully expanded when the abdominal muscles are stretched. The entire spine is strongly toned and remains healthy. The pose also have psychological significance. The head, which is the seat of knowledge and power, is also the seat of arrogance, anger, hatred, jealousy, intolerance and malice. These feelings are far more deadly than the venom in a scorpion sting. The Yogi attempts to eradicate these self-destructive emotions and passions by stamping his head with his feet. By kicking on the head he wants to develop humility, calmness and tolerance and thus wants to be free from arrogance. By controlling the ego, happiness and prosperity come.
Information
| Known as: | Scorpion Pose, Vrischikasana, Vrschikasana |
| Sanskrit name: | वृश्चिकासन |
| IAST: | Vṛiścikāsana |
| Pronunciation: | vrish-chi-KAHS-uh-nuh |
| Level: | Advanced |
| Time: | 30 sseconds |
| Type: | Forearm balance and backbend |
| Drishti: | Third eye, between the eyebrows (Bhrumadhye or Ajna Chakra) |
| Chakra: | Sahasrara Chakra, Ajna Chakra, Vishuddha Chakra |
| Focus: | Arm, Back, Shoulder |
| Indications: | Respiratory system, flexibility, stamina, coordination and tenacity |
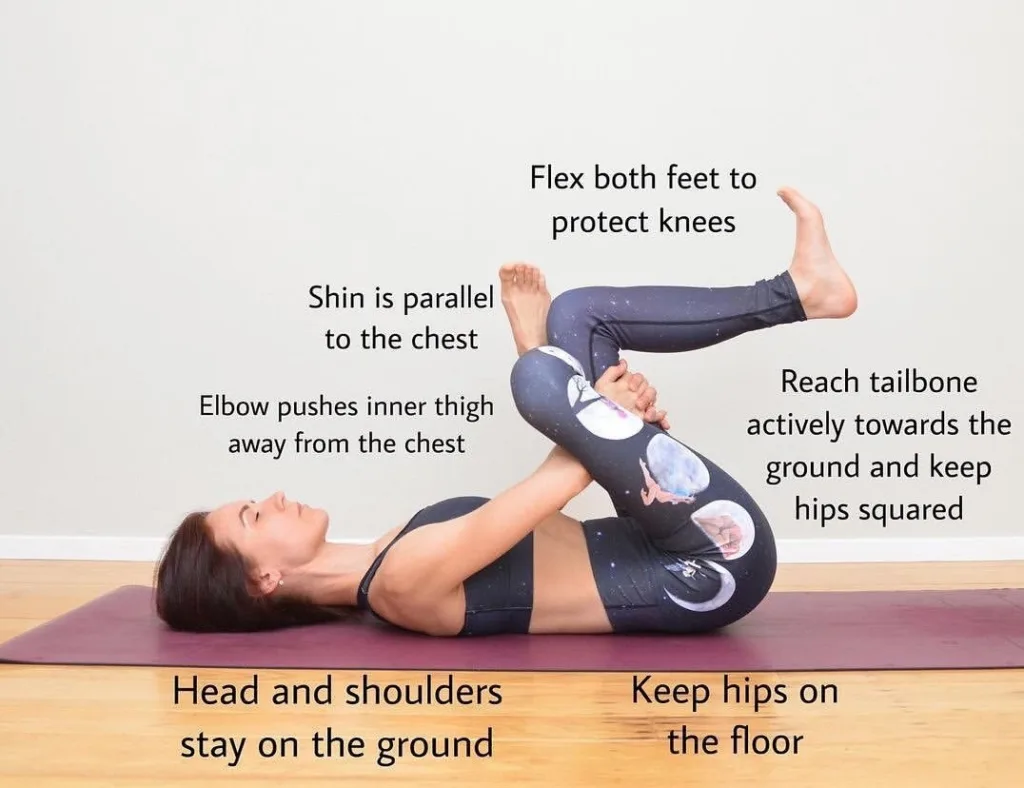
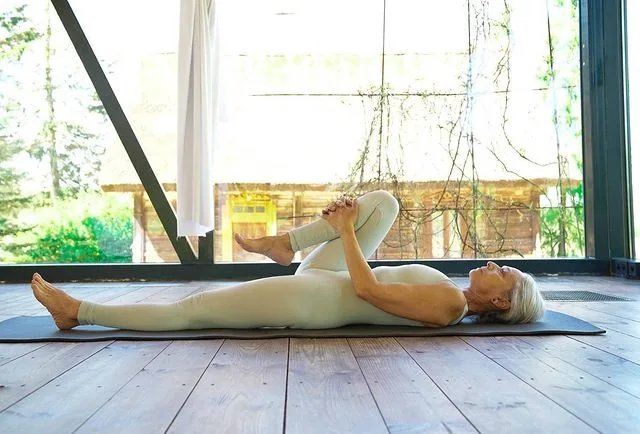
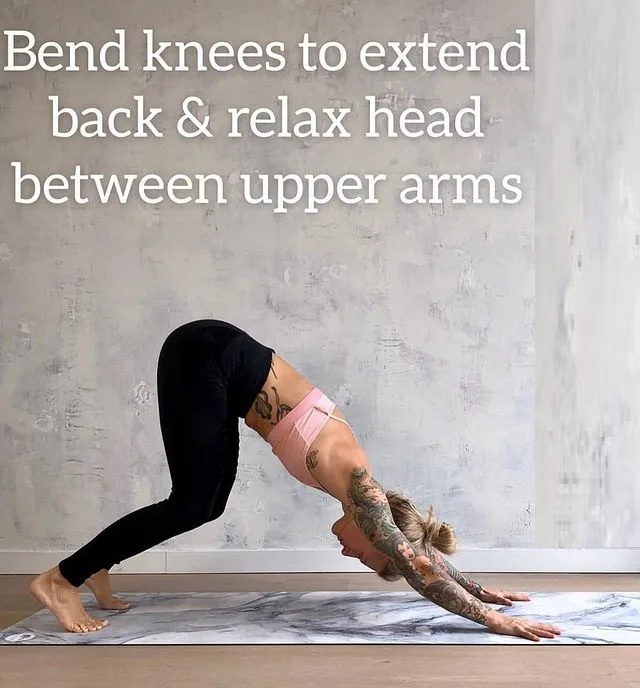
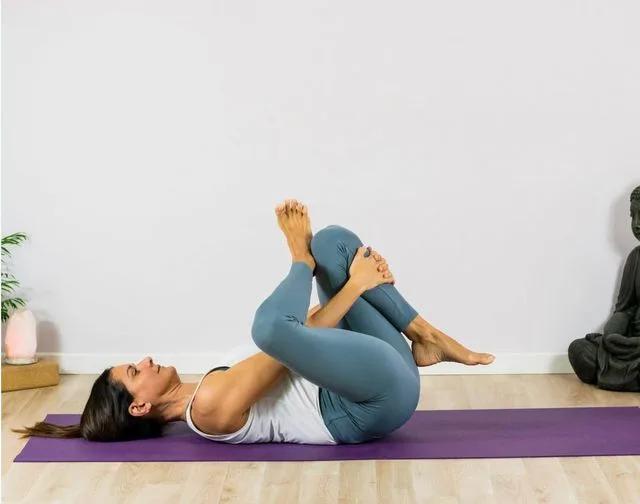
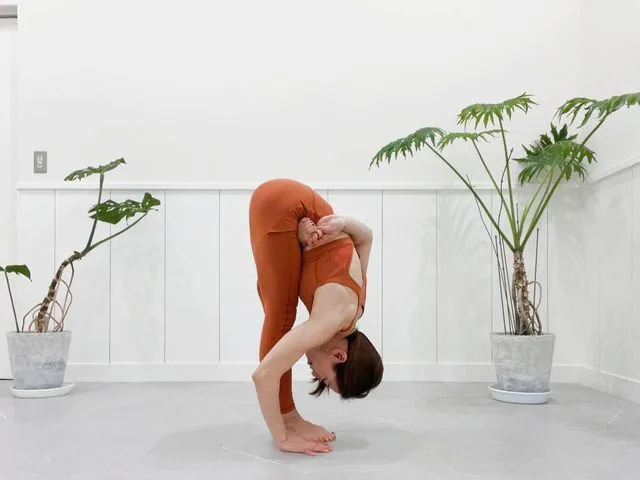
| Counterpose: | Child’s Pose, Standing Forward Bend Pose, Knees-to-Chest Pose |
| Preparatory pose: | Baby Crow Pose, Feathered Peacock Pose, Dolphin Plank, Headstand, Forearm Wheel Pose, Pigeon Pose |
| Follow-up poses: | Adho Mukha Svanasana, Catur Svanasana |
| Contraindications: | Pregnant women, high blood pressure, neck issues, stroke vulnerability, or vertigo, eye issues, elbow issues, weak arms, hip injury, back related problems |
Meaning
The Vrischikasana is derived from the Sanskrit name, which is made up of two words — Vrischika + asana:
- “Vrischika” = “scorpion”
- “Asana” = “pose or posture”
To sting its prey, the scorpion swings its tail over its back and then strikes it in front of its head. This posture resembles a striking scorpion, hence the name.
Benefits of Scorpion Pose (Vrischikasana)
Physical and mental benefits of Scorpion Pose (Vrschikasana) are listed below:
- Physical Benefits:
- Stretches the elbows, biceps, triceps, deltoid muscles, trapezius, upper, middle and lower back muscles, transverse, iliopsoas, rectus, oblique, chest cavity, along with the diaphragm muscles, hip muscles like psoas, gluteus maximus, adductor
- Strengthens back, torso, leg muscles along with hip flexors, forearms and shoulders
- Tones the abdomen muscles, and reducing the excess fat
- Vigorously toned the entire spine
- Increases flexibility of the spine, shoulders and upper arm
- Improves the blood flow to the brain
- Improves the efficiency of the respiratory system
- Helps in expansion of lungs and increases oxygen intake
- Improves the functions of thyroid glands
- Increases stamina, coordination and tenacity
- Massages facial muscles, and reduces wrinkles around the neck and facial area
- Improve overall balance
- Mental Benefits:
- Calm the mind
- Promotes happiness and energy
- Reduces anxiety
- Reduces stress
Scorpion Pose (Vrischikasana) Practice Guide
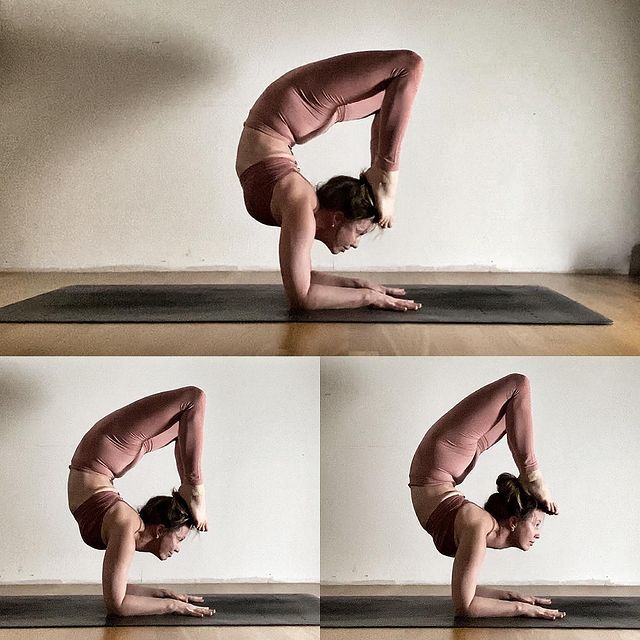
Vrschikasana (Scorpion Pose) consists of three separate stories at once:
- Backbend
- Arm balance
- Inversion
Rebuild the pose in these elements and then work on each separately.
For example, use isolated comfortable stretching to develop flexibility in the hips and shoulders. Work on the subplot of the inversion and arm balance components by practicing poses such as Forearm Balance (Pincha Mayurasana). Then combine the parts to form the complete Scorpion Pose (Vrschikasana).
- Observe the principles of physics and biomechanics working in arm balance.
- In the ideal situation, your body weight “perches” on the bones of your humerus, so that the direction of gravity—the mechanical axis—aligns with the anatomical axes of the humerus.
- The muscular stabilizers of the shoulders also play an important role in the pose.
- Optimal stability requires that you engage each layer of your shoulder musculature, from deep to superficial.
- Deep muscles include the rhomboids, which secure your scapula, and rotator cuff, which stabilizes your glenohumeral joints.
- The superficial shoulder muscles include your trapezius, deltoids, and pectorals.
- All of these combine to stabilize your shoulder girdle, which is key to balance in this inversion pose.
- Externally rotating the humerus also creates ligamentotaxis by tightening your capsule and other fibrous structures to fix the tendon.
Remember that aligning gravity against the long axes of the bones uses mechanical power to support the weight of the body. Neither bone alignment nor ligamentotaxis require muscle energy to exert its effect once the bones are in place. Accordingly, use muscles to set up the body in a way that allows you to access these more spontaneous events.
Step-by-step instructions to Scorpion Pose (Vrischikasana)
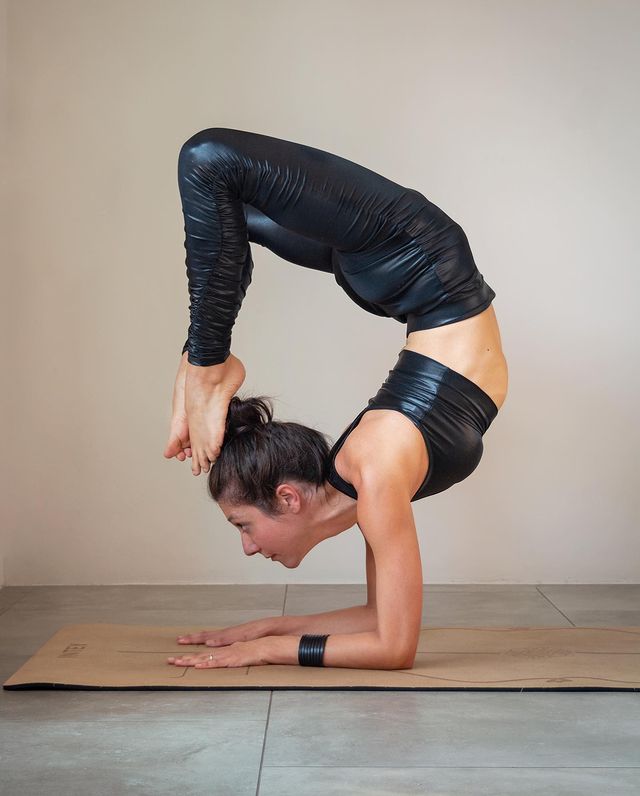
Reposition the pose and use different convenient stretches to improve flexibility in the shoulders and hips. Practice Feathered Peacock Pose (Pincha Mayurasana) against the wall to gain confidence with the inversion component of the posture, once you feel comfortable there, start practicing Vrischikasana (Scorpion Pose).
Instructions
- Kneel on the floor, lean forward and rest your elbows, forearms and palms parallel to each other on the floor. The distance between your forearms should not be wider than the distance between your shoulders.
- Extend your neck and lift your head off the floor as much as possible.
- Exhale, rotate your legs and lift your torso and try to balance without dropping your legs beyond the head. Keeping your arms perpendicular to the floor from your elbows to your shoulders, raise your chest area vertically. Raise your legs vertically and balance. This is Pincha Mayurasana.
- After balancing on the forearms, exhale, bend your knees, lift your neck and head off the floor, stretch your spine from the shoulders and lower your legs until your heels touch the crown of the head. Knowing this, try to keep your knees and ankles together and the toes pointed. Your feet should be perpendicular to the head from your heels to your knees. Your shin and upper arms should be parallel to each other.
- Since your neck, shoulders, chest, spine and abdomen are all extended in this pose, your breathing will be very fast and heavy. Try to breathe normally and stay in this pose for about 30 seconds.
- After holding the pose to the best of your ability, drop your feet on the floor in front of the head, lift your elbows off the floor and straighten your arms to perform Urdhva Dhanurasana.
- Then, either stand in Tadasana (Mountain Pose) or do the Inverted Chakrasana.
- To relieve the strain on your back caused by Vrischikasana (Scorpion Pose), bend forward and touch your palms on the floor without bending your knees – Uttanasana.
Step-by-step Anatomy Engaging Techniques
Step-1
Extend your spine by contracting the deep back extensors, including your erector spinae and quadratus lumborum muscles. Note the paired movements and joint rhythm between your spine, your pelvis tilted forward (ante-verting), and your extended femurs. The actions of your erector spinae and quadratus lumborum together with your spine connect your shoulder girdle and pelvis, forming the shape of a scorpion.
Step-2
- Extend your hips by engaging your gluteus maximus, minimus and posterior medius.
- The fibers of your gluteus maximus draw your femur into an outward rotation, causing your knee to separate.
- Stretching your psoas also brings your femur into an external rotation. Ideally, your femur should project directly from your hips toward parallel. This position requires flexibility in the fronts of your hips and strength in hip articulation and internal rotation.
- Activate your adductor magnus muscles to draw your knees together.
- Then imagine pressing the sides of your knees outward against a resistance.
- It engages the more anterior fibers of your tensor fascia latae and gluteus medius, helping to internally rotate your thighs.
Step-3
- Starting at the mound of your index finger, contract your pronator teres and quadratus muscles of your forearms to press the palms of your hands to the floor.
- Spread your fingers and lightly grip the mat.
- Contract your triceps to bring your elbows at a right angle, so that the anatomical axes of your humerus bones are aligned with the mechanical axis of gravity, thereby supporting the weight of your body.
- Note that the long head of your triceps also crosses your shoulder joint and attaches to the bottom of the socket. This enables your triceps to act as a muscle stabilizer for your shoulder joint, synergizing with other stabilizers including your rotator cuff.
- Draw your shoulders forward away from your hands, as if raising your hands over the head.
- It engages your anterior deltoids, levator scapula, and upper trapezius.
Step-4
- Gently contract your abdominals to engage the “air bag” effect.
- Note how your rectus abdominis emerges from your ribcage and inserts on the front middle of the pelvis at your pubic symphysis.
- The drawing of these areas towards each other causes your pelvis to tilt back and ease some off some of your lumbar hyperextension.
- Add to this protective effect by tying the mula bandhas together, through your Kegel maneuvers.
- It contracts your pubococcygeus muscle and nourishes the sacrum within your iliac bones.
Step-5
- Engage your serratus anterior and trapezius muscles to rotate your scapula outward and lift your torso above the shoulders.
- Note how this places your glenoid process (shoulder socket) at the head of your humerus (the ball of the shoulder joint).
- This position supports the torso on your shoulders.
- Stabilize the head of your humerus in the socket by engaging your rotator cuff muscles, including your infraspinatus and teres minor.
- A sign for this is to rotate your shoulders outward.
- It has the added benefit of tightening the capsule of your shoulder, as well as your inferior glenohumeral ligament, which is the main ligamentous stabilizer of your shoulder in this position.
- This is an example of using ligamentotaxis to further stabilize your posture.
Precautions and contraindications
- As a beginner yogi, don’t be in a hurry to do this yoga pose. Try to specialize in all the poses that serve as its basic poses. It is only after that flexibility and control is achieved that you move on to such an advanced pose.
- Contraindicated in conditions such as elbow issues, weak arms, wrists, or problems with the hips and shoulders.
- If you have any injures or issues like spine, back pain, disc, ligament pain and hernia, then you should avoid the practice of this yoga posture.
- People with high blood pressure or heart disease should ignore Scorpion Pose (Vrischikasana).
- Pregnant women do not practice this yoga posture.
- People with dizziness or vertigo should also not do this yoga asana.


