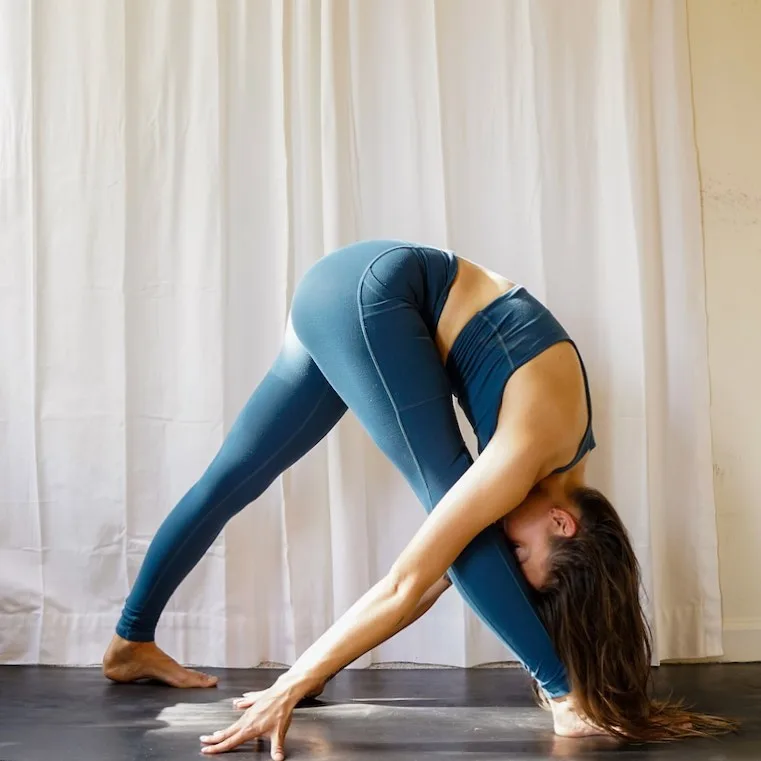
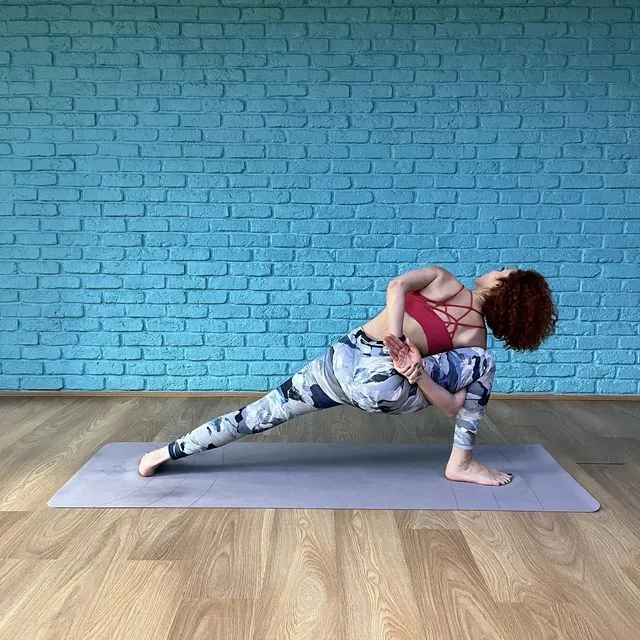
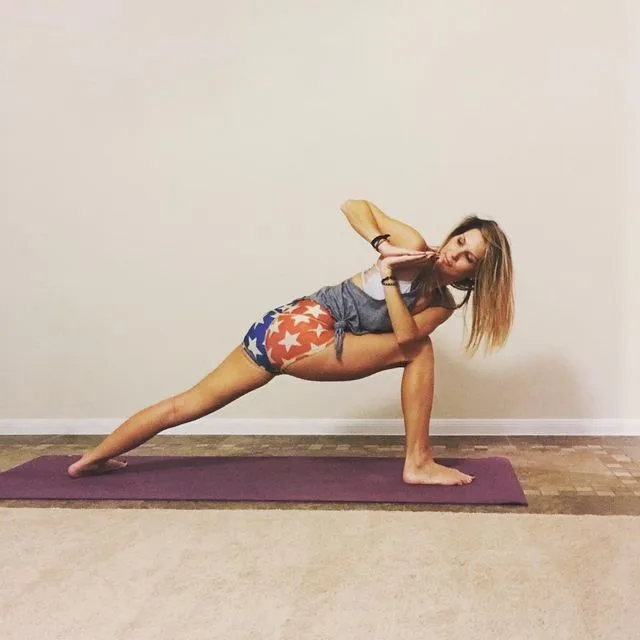
The Pyramid Pose (Parsvottanasana) also known as Intense Side Stretch Pose, works strongly on the feet, which develops strength and softness in them.
The shoulders and wrists in the full arm position can be challenging, although this area of the posture needs to ensure that the chest is kept open to the best ability of each person. This asana relieves stiffness in the legs and hip muscles, corrects round and doping shoulders, and makes it easier to breathe deeply.
Meaning + Origin
- Meaning:
- “Parsva” = “side”
- “Ut” = “intense”
- “Tan” = “stretch”
- “Asana” = “posture or pose”
Anyone can perform the Pyramid Pose (Parsvottanasana). It is simple enough for beginners, but it can be intensified along with getting better at practice.
For example, if you come in a pose with an extremely tight hamstring, you will have to use a block or some other tool to help reduce the distance that you have to reach the bottom. It’s like “bringing the floor closer to you”. You can also perform the Pyramid Pose (Parsvottanasana) with a chair or bench in front and rest the hands on the chair when you come forward. The important thing is that when you hold this yoga pose (or any other stretch for that matter) you are able to breathe and let the tightness go away.
Another important factor in the Pyramid Pose (Parsvottanasana) is your alignment, you want to set the feet in line as if you are standing on a balance beam. This is how the balance element is practiced, in addition, this alignment will encourage the outer hip and low back to achieve a deeper stretch.
Information
| Also known as: | Pyramid Pose, Single Leg Forward Bend Pose, Intense Side-Stretch Pose, Parsvottanasana |
| Sanskrit name: | पार्श्वोत्तानासना |
| IAST: | Pārśvottānāsana |
| Pronunciation: | parsh-voh-than-AH-suh-nuh |
| Level: | Beginner |
| Type: | Forward-Bend |
| Total time: | 10-60 seconds |
| Drishti: | Upward; Forward; On shins |
| Focus: | Core, spine, shoulders, hamstrings, hips, wrists |
| Chakra: | Sahasrara Chakra, Vishuddha Chakra, Manipura Chakra, Swadisthana Chakra, Muladhara Chakra |
| Counterposes: | Uttanasana, Ardha matsyendrasana, Natarajasana, Upavistha konasana |
| Preparatory Poses: | Adho mukha svanasana, Janu sirsasana, Uttanasana |
| Follow-up poses: | Parivrtta Trikonasana, Virabhadrasana I, Urdvha prasarita eka padasana |
| Indications: | Abdominal organs, digestion, balance, spine, hamstrings |
| Contraindications: | Low or high blood pressure, pregnancy, back injury |
Benefits of Pyramid Pose (Parsvottanasana)
Pyramid Pose (Parsvottanasana) pose creates a deep stretch along the hamstrings, and helps to open the hips, spine, shoulders, and wrists. The effect of this pose can be particularly beneficial for runners to take out tight calves and hamstrings before or after the big race.
- Other benefits:
- Strengthens the legs
- Improves posture and sense of balance
- Improves digestion
- Calms the brain
- Reduces stress
- Stimulates the abdominal organs
- Stretches the spine, hips, and hamstrings, shoulders and wrists (if in the full pose with arms behind the back)
Step by step Pyramid Pose (Parsvottanasana)
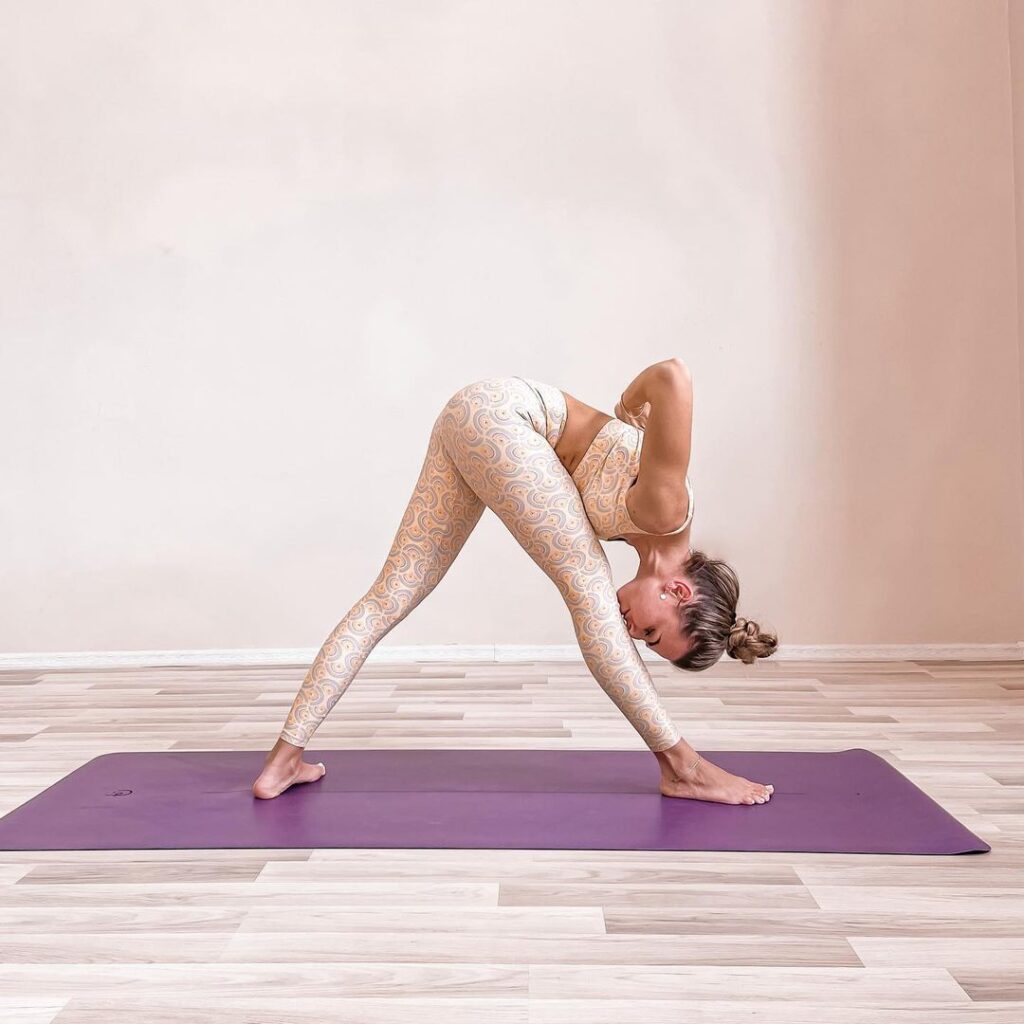
Instructions
Step-1
- Stand with the feet together in Tadasana (Mountain Pose).
- Bring the hands behind the back in an upside down namaste, prayer pose:
- Start with the fingers together behind your back, pointing down, then turn the hands inward and bring them up.
- Hold this position for a few moments as you gently stretch the chest away from the waist, roll the shoulders and elbows back, and press the palms together.
- Raise the hands when you can. The more you get them, the more comfortable it will be. If you can’t get the hands to pray in reverse, either clasp the elbows behind the back, clasp the wrists, or rest the hands on the hips.
- Wait for the internal signal to start, when you’re ready, exhale.
Step-2
As you inhale, step the left leg to the left until the feet are about a leg’s length apart. The leg is now form an equilateral triangle with the floor. You can have the feet further apart if you want.
Step-3
As you exhale, twist the feet, hips and chest to the right. Pivot on the heel as you first turn the left foot inward at a 45 degree angle and then the right foot out at a 90 degree angle. Then turn the hips and chest towards the right leg.
Step-4
Bring the left frontal hip bone forward until the abdominal floor is facing the front and the chest is toward the right leg. Straighten both legs, pull the knees up by tightening the quadriceps, and plant the entire sole of each foot firmly on the floor and make sure you are grounded.
Step-5
As you inhale, twist the head and chest up, lift the chest, press the sternum upward, and round out. Gently pull the shoulder blades down the back and keep the navel pulled back towards the spine.
Step-6
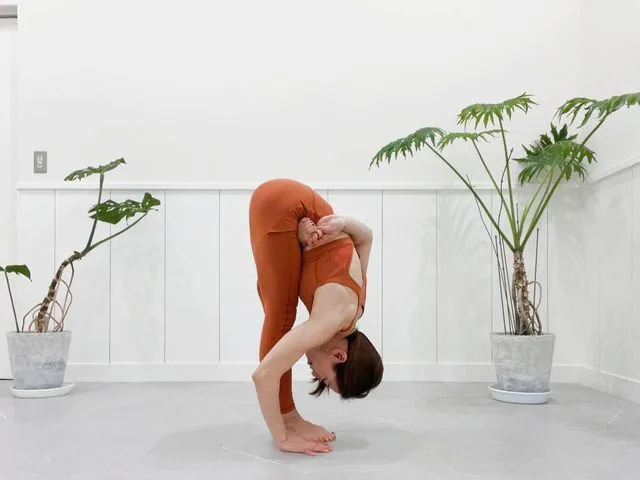
As you exhale, twist forward, lowering the entire torso onto the right leg — or as close to it as you can. Initially lead with the chest, move the sternum forward so that you can stretch the leg, then gently tuck the chin in, lengthen the back of the neck, and bring the forehead to the shin. As you come into the pose, extend the spine out through the crown of the head.
Step-7
- Breathe smoothly, adapt to the stretch, then refine the alignment.
- You’ll feel a stretch in the hamstrings, but the job is to keep the sacrum level by making sure the pelvis stays square in front and then fully lengthening the spine.
- Press the right sit bone back and bring the left frontal hip bone forward so that the sacrum remains level—don’t let the left shoulder or hip arch upward—then through both sit bones, lengthening the core.
- Press back and up. Drive the torso forward away from the pelvis.
Step-8
If someone’s back is dome-shaped, rounded, even though the sacrum is flat, the pelvis hasn’t moved forward enough for dog tilt. If so, come up slightly, push both sit bones back to increase the dog inclination, and try to lengthen the spine. The longer you stay, the more flattering you will be. Then fold into the pose again.
Step-9
- Raise elbows, expand the chest, and slide shoulder blades down the back toward the waist.
- Breathe smoothly, stay grounded and keep the core lengthening. Keep the feet firmly in the floor as you try to achieve maximum extension from the tailbone to the crown of the head.
- Immerse the awareness in the various sensations of stretch and the smooth flow of breath.
- Do not tighten Relax with intensity. Breathe through it, stay here for about 60 seconds.
Step-10
Inhale as you come up, then twist the legs, hips and chest to the left and repeat the process for the same duration on the other side. When you are finished, come back to the center, release the hands and stand quietly in Mountain Pose. Close the eyes and taste the way you feel.
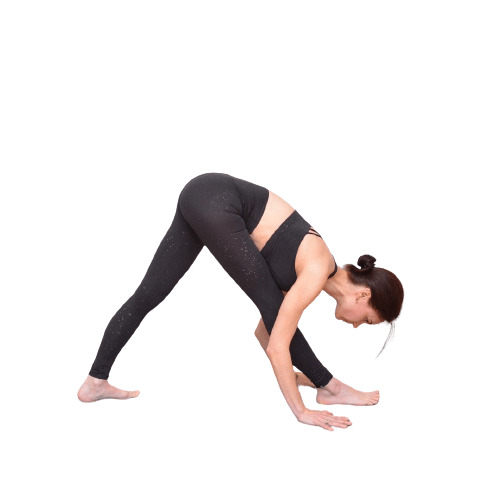
Pyramid Pose (Parsvottanasana) Supported Variation
Instructions
- Stand with spine lengthened and stand with your feet about 3 feet apart.
- Allow your hands to come in front and on the floor or lower leg.
- Rotate the right foot and the entire upper body to the right so that it is directed at the right leg. See that the knee is centered over the shin bone and there is no torque to the left or right.
- Engage right thigh to feel the knee cap being lifted.
- Inhale, and lift up from the waist, making a gentle backbend.
Precautions and contraindications
- Blood pressure patients, or someone who usually has high blood pressure, should consult their physician before practicing Pyramid Pose (Parsvottanasana).
- If you have a back or shoulder injury, you can place your hands on your hips.
- A very low back is a hindrance to going deep into the posture and should be avoided to prevent injury. When the hamstrings are tight, they shorten and pull the pelvis into a tucked position, which flattens your lumbar curve and can cause low-back tension. To find the length in the hamstrings, the pelvis has to bend forward to pick up the sitting bones.
- Do not lock the knee joints. Bend the knees slightly, if you feel a stretch in the hamstrings.
- Pregnant women should avoid this asana.
- Since this is a balanced posture, do not keep your eyes closed in the final position.


