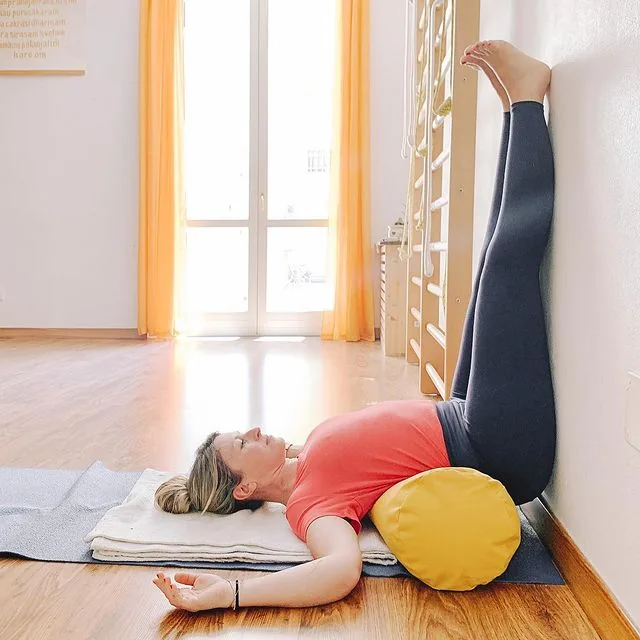
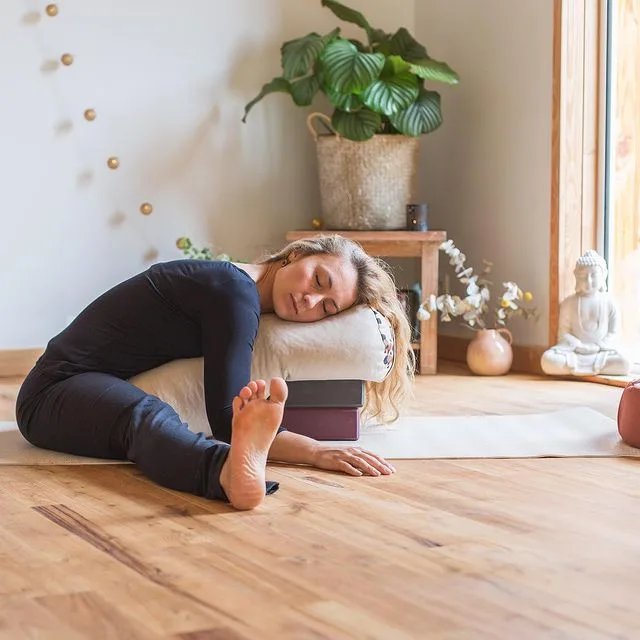
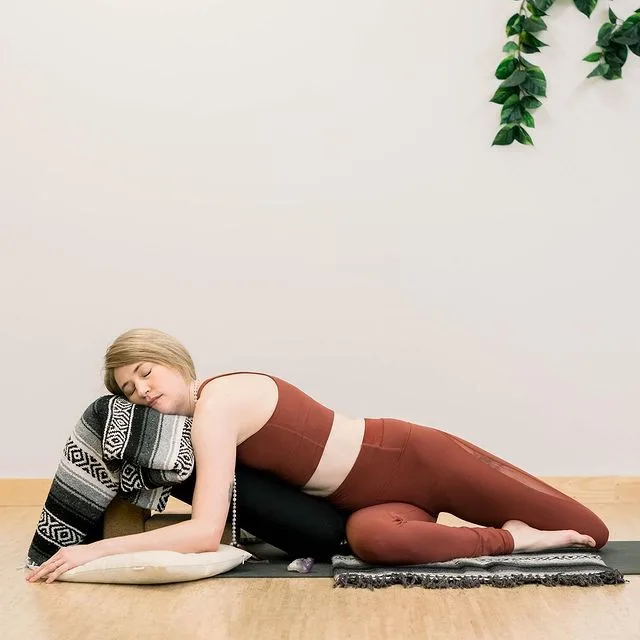
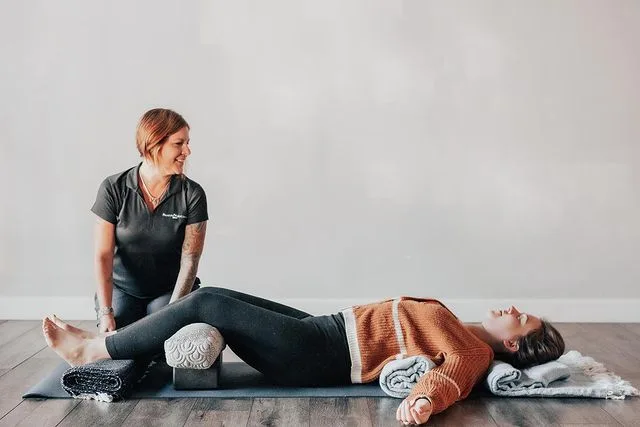
The Elevated Legs-Up-the-Wall Pose (Viparita Karani Mudra) focuses on stretching the front of your body along with your legs and neck. It can treat tight legs and feet while relieving minor back pain.
Relax the body in the elevated Viparita Karani Mudra. This pose gently stretches the back to balance the flexed muscles. It is also a mild reversal with beneficial effects on the cardiovascular system, including a temporary lowering of heart rate.
Experts credit this yoga pose with relieving a range of conditions, including arthritis, blood pressure problems, trouble sleeping, menstrual symptoms, headaches and digestive/respiratory problems.
Information
| Known as: | Elevated Legs-Up-the-Wall Pose, Viparita Karani Mudra, Legs Up the Wall Pose, Upside-down seal pose, Viparita Karani Asana, Inverted Lake Pose, Supported Legs-Up-the-Wall Pose |
| Level: | Beginner |
| Type: | Relaxation, Restorative, Inversion Pose |
| Total time: | Up to 15 minutes |
| Drishti: | Eyes closed |
| Focus: | Legs and Feet |
| Indications: | Blood pressure, digestion, respiration |
| Counterpose: | Savasana (Corpse Pose) |
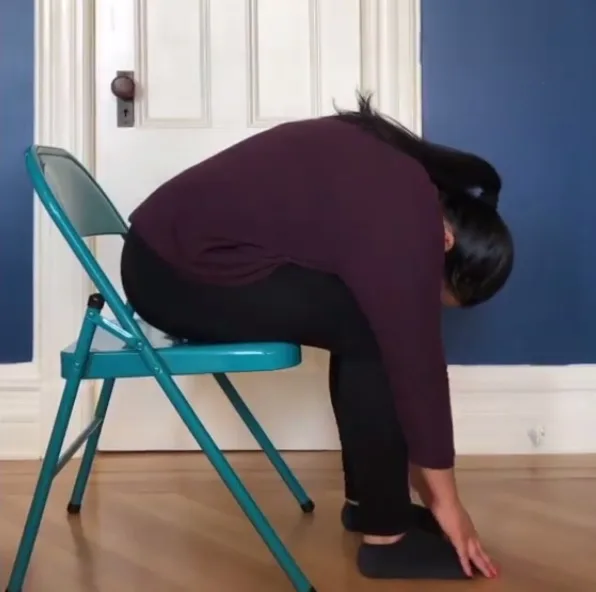
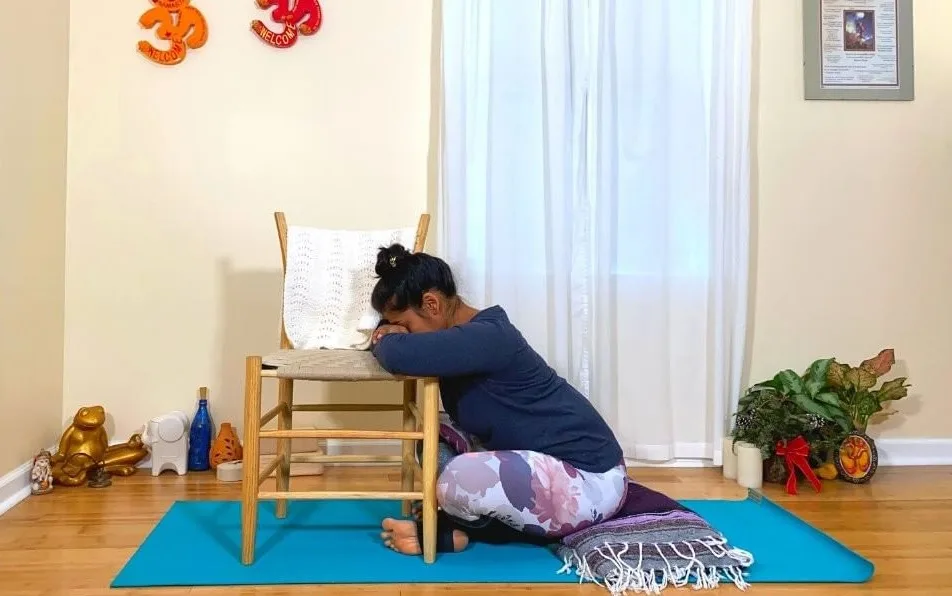
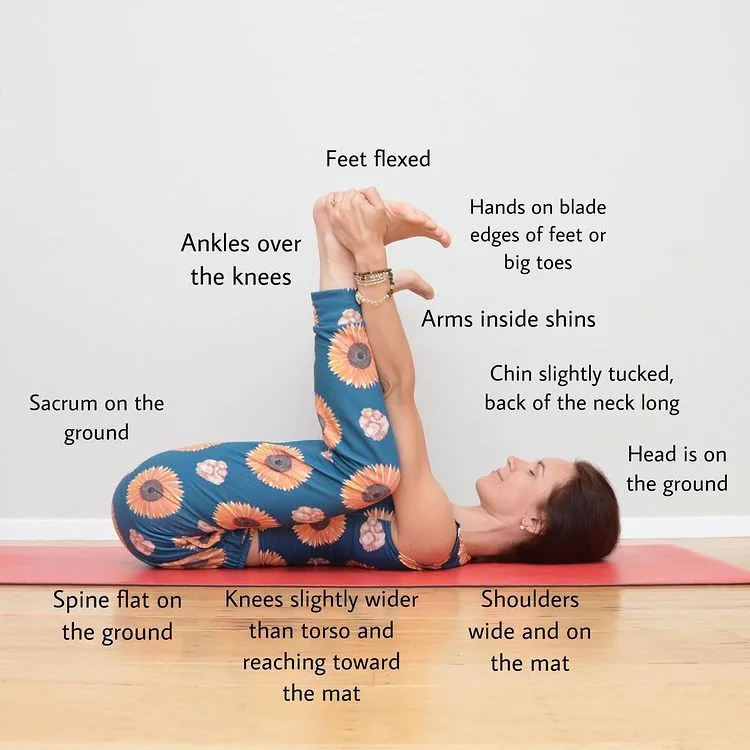
| Preparatory poses: | Setu Bandha Sarvangasana, Balasana, Uttanasana |
| Follow-up poses: | Wall Sarvangasana, Dragonfly on the wall, Figure four on the wall |
| Contraindications: | Serious neck or back problems, Glaucoma, Spondylolisthesis or spondylolysis, Sinus infection |
Benefits of Elevated Legs-Up-the-Wall Pose or Viparita Karani Mudra
The Elevated Legs-Up-the-Wall Pose reduces the systemic effects of stress. It calms the mind and refreshes the heart and lungs. This is especially beneficial for people who have varicose veins, who stand for long periods of time, who have a tendency to retain water, or whose feet swell easily.
Elevated Legs-Up-the-Wall Pose or Viparita Karani Mudra Practice Guide
Elevated Legs-Up-the-Wall Pose is another gentle inversion pose. The pelvis and torso are supported in a gentle back bend, while the wall supports the legs. With the help of gravity, the shape of the pose creates a waterfall, as fluid falls down into the legs, pools in a lagoon created by the shape of the abdomen, and then spills into the chest.
You may find the Elevated Legs-Up-the-Wall Pose one of the most useful in the restorative series. It simultaneously revitalizes the legs and gives relief to the back. Even children found this yoga pose comfortable.
Equipment needed
- Prop:
- Optional Props:
- Double-fold blanket
- Extra blanket for warmth
- Standard-fold blanket
- Towel
- 1 or more single-fold blankets
- Pillow
- Eyebag
- Clock or timer
Step-by-step Elevated Legs-Up-the-Wall Pose or Viparita Karani Mudra
Step-1
Place the long side of the bolster parallel to the wall, leaving about 6-10 inches between the wall and the bolster. Lay the single-fold blanket on the floor at a 90-degree angle to the middle of the long side of the bolster.
Step-2
- Sit on one end of the bolster, the length of the bolster behind you and your one shoulder against the wall. Roll back and simultaneously lift your feet off the wall.
- This might take some practice to get it right. People are usually too close or too far from the wall the first time; do not be discouraged. Practice this part a few times until you feel you can do it easily and easily.
- If you still have trouble getting up, try the movement without the bolt, so you learn the proper connection to the wall. A common limitation in elevating the legs off the wall is tightness in the back of the legs.
- If you have this tightness, simply move the props away from the wall and try again.
Step-3
Once in position, your legs are almost vertical and your torso is in the shape of a half-dome. Remember, this is a relaxing pose, not stretching. If the backs of your legs are stretched too much, then you will not be able to relax. In this case, you may need to re-adjust the props so that they are away from the wall.
Step-4
Make sure your lower back is supported. Most people feel best when the ribs closest to the waist are supported by a bolster. If you’re uncomfortable with a bolt on, experiment by using a blanket. If you need a narrower support, try a double-fold blanket over a single-fold blanket; If you need wider support, 2 or 3 single-fold blankets may be your answer.
Step-5
The height of the prop is also very individual. If the props are too high or too low, you will not enjoy the currency. If you have a long, flexible torso, you may need a standard-fold blanket or single-fold blanket over your bolsters for added height.
Step-6
- To maintain the natural curve of your neck, be careful not to tuck your chin into your chest. To counteract this tendency, use a rolled-up towel to support the vertebra (C7) at the base of your neck, near the shoulders.
- Use a standard towel, the thinner, the better. Fold the towel in half lengthwise, and then fold one end over about 6-8 inches.
- Starting at the fold, roll up the towel and place it at the base of your neck and parallel to your shoulders. Do not take support in the middle of the neck, where the curve is greatest.
- Experiment with the size of the roll, so you’re comfortable. You can always reduce the size of the roll and spread the unrolled part under your head.
Step-7
Allow your arms to remain on the floor, either at your sides or overhead. If your arms are facing up, you can support them on another bolster or blanket. Place the eyebag over your eyes.
Step-8
Stay still, allow yourself to be supported by the bolster and the floor. Forget the outside world for a few minutes; Allow yourself to do the important work of doing nothing. Take slow and steady breaths. As your chest is supported in an open position, such as in Supported Bridge Pose, you may experience a feeling of release. Enjoy the feeling of fatigue as your legs, your back and shoulders open up and your mind calms down.
Step-9
Practice the elevated legs-up-the-wall pose for 15 minutes. To come out of this pose, remove the eyebag and bend the knees. Press your feet into the wall and lift your pelvis slightly. Push the bolt toward the wall with your hands, and push your body away from the wall, pressing with your feet. Lie on the floor for a few moments, with the lower legs supported by the bolster. Roll to the side and slowly rise.
Precautions and contraindications
- There are conflicting beliefs about whether or not women experiencing menstruation should do this yoga pose. If you have any questions, consult an experienced instructor.
- This pose is not recommended for people who must avoid inversion: hiatal hernia, eye pressure, retinal problems, heart problems, neck problems and menstruating women. If you have any concerns about practicing inverted poses, consult the health care professional.
- Some people find this pose difficult for their lower back, especially in the beginning. If this happens, bend your knees and place your feet on the wall or cross your ankles loosely and support your feet and legs against the wall.
- This pose is recommended for people with mild hypertension, which is currently being controlled with medication. In fact, it can help the lower blood pressure.
- Do not practice this pose if it creates pressure in the head.
- Avoid practicing if you are menstruating.
- Do not practice this yoga pose after the third month of pregnancy or if there is a risk of miscarriage.
- Avoid this yoga pose if you have spondylolisthesis or spondylolysis.
- Do not practice this yoga mudra if you have a sinus infection. Inverted Lake Pose can make this condition worse, including forcing the infection into the Eustachian tube of the ear. However, if you have normal fullness, this pose can help clear your head.


