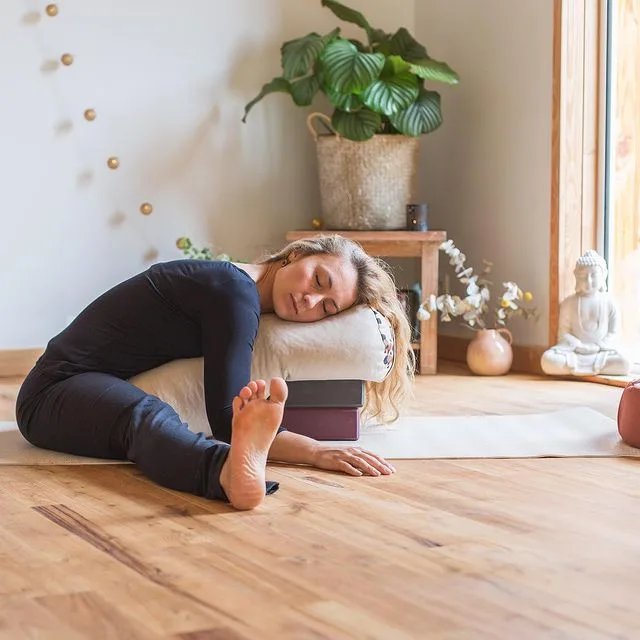
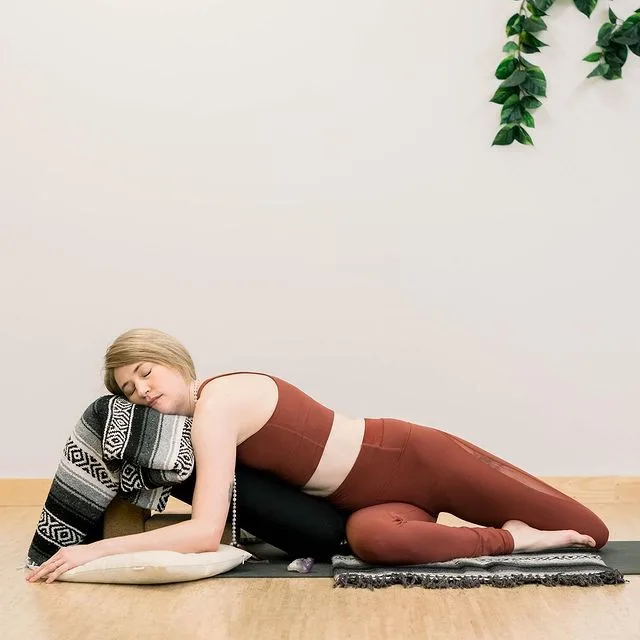
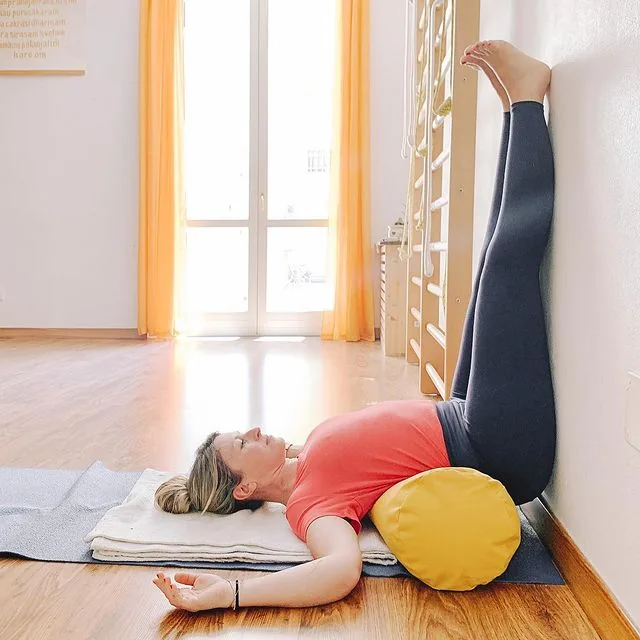
Mountain Brook Pose (Salamba Matsyasana Blankets) counteracts the slumped posture of sitting that strengthens many of your daily activities.
This restorative pose uses props to make your pose accessible and easy for practitioners who may not have the strength, flexibility, or balance needed to perform the same pose without props.
Information
| Known as: | Mountain Brook Pose, Supported Fish Blankets Pose, Salamba Matsyasana Blankets |
| Level: | Beginner |
| Type: | Relaxation, Restorative Pose |
| Total time: | 1 to 15 minutes |
| Drishti: | Eyes closed |
| Chakra: | Sahasrara Chakra, Ajna Chakra, Anahata Chakra |
| Focus: | Neck, Spine |
| Indications: | Improves digestion, reduces fatigue |
| Counterpose: | Basic Relaxation Pose (Restorative Savasana) |
| Preparatory poses: | Usually performed after Pranayama as well as dynamic yogic postures like Sun Salutation after each yogic session |
| Follow-up poses: | Basic Relaxation Pose, Simple Supported Back Bend Pose, Sukhasana (Easy Pose) |
| Contraindications: | More than three months pregnant women, spondylolisthesis, spondylolysis, or disc disease |
Benefits of Mountain Brook Pose (Supported Fish Blankets Pose)
Salamba Matsyasana Blankets counteracts the slumped sitting posture that so many of your daily activities reinforce. Plus, it opens up the chest to help you breathe more fully. This yoga pose also reduces fatigue, improves digestion, and can lift your mood if you feel down.
Mountain Brook Pose (Salamba Matsyasana Blankets) Practice Guide
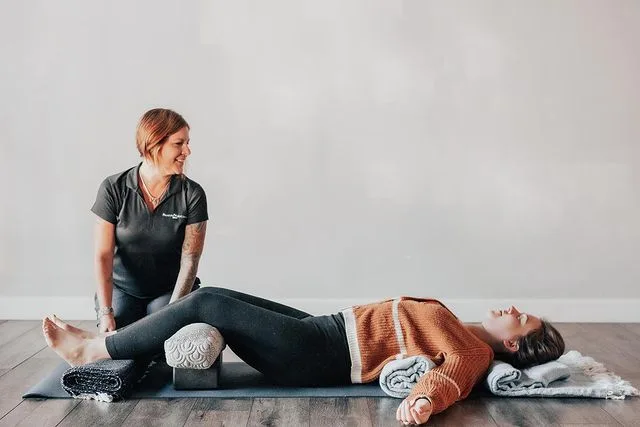
In Mountain Brook Pose (Salamba Matsyasana Blankets), your body is gently draped over the props in a wavy pattern, like water flowing over stones in a mountain brook. While opening your chest, as in Simple Supported Back Bend Pose, Mountain Brook Pose adds two supports: one under your knees and the other behind your neck. With the help of props, this pose allows openings in the three areas we usually protect: the throat, heart, and abdomen.
Equipment needed
- Prop:
- Bolster
- Long-roll blanket
- Standard fold blanket
- 2 single-fold blankets
- Optional Props:
- Facecloth
- Extra blanket for warmth
- Pillow
- Eyebag
- Clock or timer
Step-by-step Mountain Brook Pose

Step-1
- Sit facing the long edge of 2 stacked single-fold blankets. Lie on top of them to determine if the height and location feel right. For most people, the midline of the blanket is placed just below the shoulder blades.
- If you feel overloaded, use only 1 single-fold blanket or 1 standard-fold blanket with single-fold blankets.
- As always, take the time needed to find the correct height for your props.
- Now roll to one side and slowly get up and sit down.
Step-2
- Place the bolster under your knees, and place a long-roll blanket to support your neck.
- Lie back with these three props.
- Scan the body to make sure you are comfortable. The arch of your neck should be fully supported.
- Your head gently tilts back, and your throat is open and relaxed.
- The bolster under your knees protects your lower back.
- Your arms are placed at about 90 degrees to one side, but whatever is comfortable is fine.
Step-3
If you feel any discomfort, then lie on one side and slowly get up and sit down. Lower the height of the middle blanket or raise the height of the prop below your knees, and lie back. I cannot often stress enough that when this pose is set properly, your neck should be completely relaxed. Close the eyes and place an eyebag over them.
Step-4
- This restorative pose is unique because it is performed with the head hanging back, with the cervical spine (neck) extended, or bent back.
- When you’re setting up, make sure your head is turned back, so the throat is open, as are your chest and abdomen. You can enjoy a small, rolled up facecloth under your lower neck to support the cervical spine.
- Don’t support the middle of the neck, as this will only accentuate the curve, not support it. If you’re feeling uncomfortable after trying to support your neck, maybe skip this pose. Don’t skip this pose if you’re worried about keeping your cervical spine in extension.
Step-5
Stay still, breathe normally. Let go of all the parts of your body you use, starting with the muscles behind your ears, down the jawline and down to your chin. Allow your lips to part ways. Allow your tongue to rest comfortably in your mouth, and allow your cheeks to feel as if they are hollow and hanging from the cheekbones. Swallow to soothe any tension in your throat. Leave out any unsaid words.
Step-6
- As you continue to breathe and feel the support of the prop, slowly bring your attention to your heart. Receive whatever feelings arise from your heart. One may find that this pose brings forth feelings of sadness; Others experience oceanic feelings of peace. Whatever happens, be present.
- And now for the stomach, a more favourable name for the stomach. Anatomically, this region begins at the diaphragm, located at the base of the breastbone, and ends at the lower pelvis.
- With each exhalation, let your stomach move in toward your spine. Imagine that your body is softening and expanding.
- As you continue to relax, you will feel more spacious and loose, breathe normally, enjoy the freedom you feel in your throat, heart, and abdomen.
Step-7
- Practice Mountain Brook Pose for 5 minutes. If you are very comfortable or are a seasoned yoga student, pause for 15 minutes.
- If you have a stiff back, start with just a few minutes and gradually increase your time in the pose.
- To come out, remove the eyebag and use the hands to gently lift the head. Then use your hands to help slide the props toward your head. Allow your feet to rest on the bolter, lie on the floor for a few minutes before rolling to one side and getting up.
Precautions and contraindications
- The back feels too stretchy or stiff after the first few times: This could be due to overstretching the muscles and ligaments in the back, which can cause discomfort and stiffness. If your back feels too stretchy or stiff after the first few times, try this next time: Bring your legs one by one to the chest as you exhale, before coming out of this yoga pose. Then roll to the side and sit down.
- More than three months pregnant: Mountain Brook Pose (Supported Fish Blankets Pose) can place pressure on the uterus and potentially harm the developing fetus. It is generally advised for pregnant women to avoid this pose.
- Spondylolysis or spondylolisthesis: These conditions involve fractures or slippages in the vertebral bones, and the pose could worsen these conditions by putting additional stress on the affected area.
- Disc disease: This condition involves problems with the discs in the spine, and the pose could exacerbate the problem by placing added pressure on the affected discs.
It is always important to listen to your body and avoid any poses that cause discomfort or pain. If you have any underlying medical conditions, it is best to consult with a healthcare professional before starting a yoga practice.


