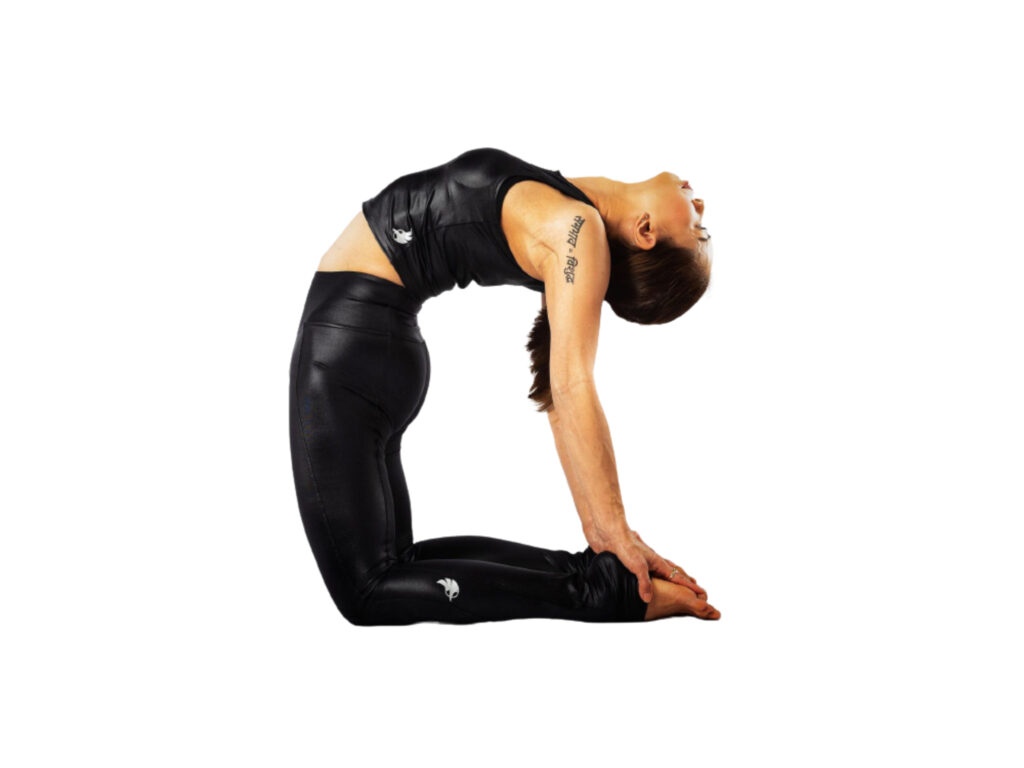
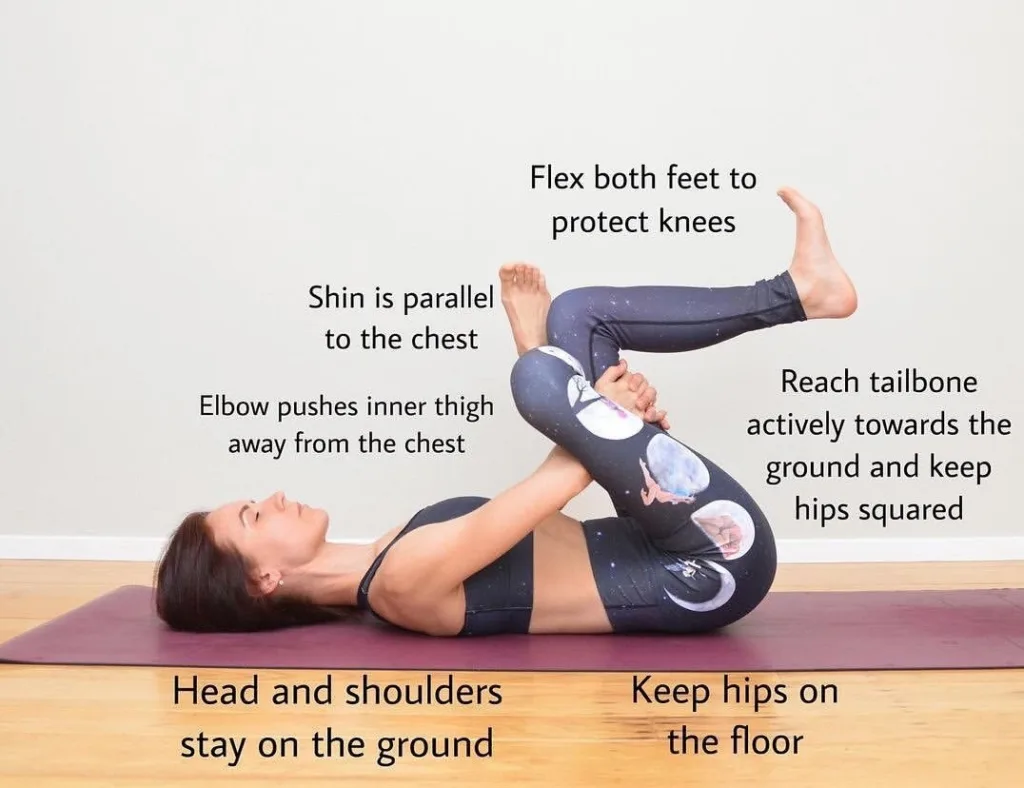
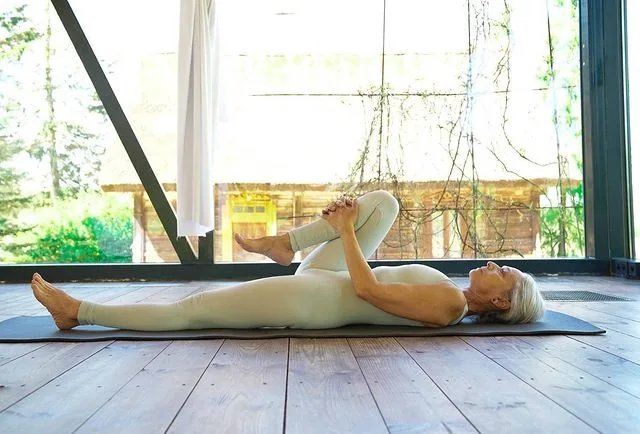
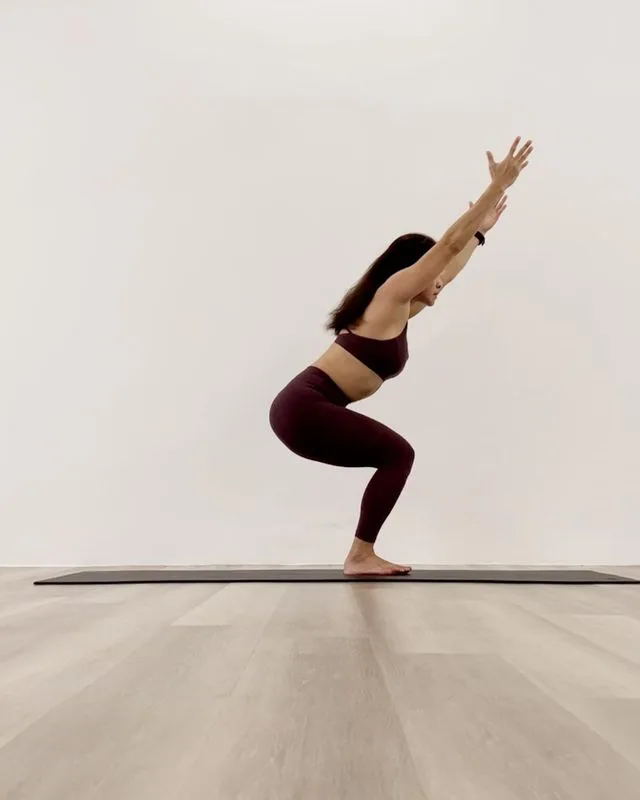
Camel pose, also known as Ustrasana, strengthen the back muscles while stretching the entire front part of the body, including the abdomen, groin, chest and waist.
This yoga pose is a great way to stretch the back, deep hip flexors and improve the posture.
Experts believe that Camel Pose (Ustrasana) can provide relief for symptoms of respiratory illness, back pain, anxiety and premenstrual symptoms.
People with sloping shoulders and hunched will benefit from this asana. The entire spine is pulled back and toned. Elderly and even people with backbone injury can easily try this pose.
Meaning
The Ustrasana is derived from the Sanskrit name which is made up of two words — Ustra + asana:
- “Ustra = “camel”
- “asana” = “pose or posture”
Camel pose is so named because the shape resembles the hump on a camel’s back, although there are other ways to consider the name when approaching the pose. The pose is also known as heart opening yoga pose that stimulates and balances the fourth and fifth chakras located at the heart and throat centers, respectively.
Camels are known for their slow, steady, almost systematic walk. Camels use their humps as a storehouse of food, such that well-packaged bags are ready for use when needed. This type of physical preparation, which is a part of the camel’s natural adaptation for survival, is also necessary for this yoga pose.
In many practitioners, the heart and throat centers are often closed and protected, as evidenced by bowing, chin down, and poor posture. For this reason, the practice of Camel Pose (Ustrasana) can sometimes arouse emotions more in the practitioner than other postures. It is important to have a calm awareness of your emotions while practicing this yoga pose; Fear of your feelings can lead to body stiffness and injury.
Information
| Know as: | Ustrasana, Camel Pose, Ushtrasana |
| Sanskrit name: | उष्ट्रासन |
| IAST: | Uṣṭrāsana |
| Pronunciation: | ooh-STRAHS-uh-nuh |
| Level: | Intermediate to advanced |
| Type: | Backbend, chest opener |
| Total time: | 30-60 seconds |
| Drishti: | Upward; Closed |
| Chakra: | Sahasrara Chakra, Ajna Chakra, Vishuddha Chakra, Anahata Chakra, Manipura Chakra |
| Focus: | Entire body |
| Indications: | Backache, respiratory illness, anxiety, menstrual symptoms |
| Counterposes: | Uttanasana (Standing Forward Bend Pose), Balasana (Child’s Pose) |
| Preparatory poses: | Cobra pose, Bow pose, Locust pose, Crescent lunge pose, Bridge pose, Upward facing dog pose |
| Follow-up poses: | Paschimottanasana, Happy baby pose, Balasana, Dandasana |
| Contraindications: | Low blood pressure, neck injury, spinal injury, low back injury, migraines, insomnia |
Benefits of Camel Pose (Ustrasana)
Since Camel Pose (Ustrasana) makes the body resemble the back of a camel and since the camel is considered a strong back, the pose also works to strengthen your back and tone the muscles around your spine. The physical and mental benefits of Camel Pose (Ustrasana) are as follow:
- Physical Benefits:
- Strengthens the legs, pelvis, and lower back region
- Stretches the thighs, torso, chest, shoulders, and throat
- Improves posture
- Increases spinal flexibility
- Opens the hips and hip flexors
- Stimulates circulation
- Aids digestion
- Mental Benefits:
- Relieves mild depression and anxiety
- Relieves stress
- Energizes the mind
How To Do Camel Pose (Ustrasana)?
- To begin, kneel on the floor parallel to your thighs and rest your palms on your hips. Point your feet straight back and press your toenails to the floor. While inhaling, move your thighs backwards. On the next exhale, scoop up your tailbone to lengthen your lower back.
- Inhale and expand from your pelvis through your head. Exhale and reach back to place your right hand on the right heel. Repeat with your left hand. Press your shins into the floor. Keeping the tailbone facing down, bring your pelvis forward. Lift your heart to the sky and roll your shoulders back. Then bend the spine.
- Because this is a fairly advanced pose, work first to condition the back muscles—the erector spinae and quadratus lumborum—in this intermediate position.
- Keep your neck long and slide the sides of your neck straight back. Keeping the length in your neck, twist your head back.
- Contract your quadriceps to extend knees and bring your thighs to an upright position perpendicular to the floor.
- Slide the hands down to the soles of your feet. If you can’t reach your feet, place your hands on your hips. When you have gained enough flexibility, place the palms of the hands on the soles of the feet. Take care not to rotate your body during this movement.
- Stay in this position for a few breaths. Exhale, powerfully root through your shins into the floor, and lift behind your heart and lower your head as you come up. Maintain gentle and steady breathing throughout. Relax by sitting back on your heels for a few breaths.
Step-by-step Anatomy Engaging Techniques
Step-1: Activating the erector spina and quadratus lumborum
- Activate your erector spinae and quadratus lumborum to extend your back evenly throughout the length of your vertebral column.
- Notice how these muscles connect to your sacrum and ilia of the pelvis. This creates a lumbopelvic rhythm, causing your pelvis to tilt forward as your back extends to create the final pose.
Step-2: Engaging the Gluteus Maximus
- Engage your gluteus maximus to extend your hips and femur. It also tilts your pelvis back, tilting it back and down and pulling it in the opposite direction to your back muscles. This combination of forces stabilizes your pelvis.
- The fibers of the posterior third of your gluteus medius assist your gluteus maximus in this movement. The posterior tilt of your pelvis helps to counteract the hyperextension of your lumbar spine.
- Your hamstrings coordinate the actions of tilting your pelvis back and down and extending your femur (when your lower leg rests on the mat). Relax your hamstrings as you deepen the pose, or they will bend your knees and pull your thighs away from their vertical position.
Step-3: Connecting the Posterior Deltoids
- Engage your posterior deltoids to extend your shoulders. Contract your infraspinatus and teres minor muscles to externally rotate your shoulders.
- Use your triceps to extend your elbows, and contract your supinator muscles of the forearms to rotate your palms so that the outer sides preferably push down onto the feet.
- Then balance the supinator action by pressing your mound at the base of your index finger into the sole, engaging your pronator teres and quadratus muscles of your forearm.
Step-4: Engaging of the Quadriceps
- If your pelvis drifts backwards toward your lower legs, most people’s instinct to push their buttocks forward. It can actually pull your pelvis back more, as your gluteus maximus is tilting it back and down.
- A more efficient but less obvious action is to engage your quadriceps. It increases your angle between your thighs and your lower legs and moves your pelvis smoothly forward.
- The cue for engaging your quadriceps is to press your tops of the feet into the floor, as if trying to straighten your knees.
Step-5: Rhombus, Rectoralis and Serratus
- Contract your rhomboids to connect your shoulder blades toward the midline, opening your chest upward.
- Then engage your pectoralis minor and serratus anterior to extend your ribcage. To engage your pectoralis minor is to hold the scapula backward at the joint against your spine, and then attempt to roll your shoulders forward.
- Your shoulders will not move, so the force of contraction is carried to the origin of the muscle on your ribcage, lifting it.
- To engage your serratus anterior, hold your scapula in place and imagine your hands pressing outward against a door frame.
Step-6: Activating the Rectus Abdominis
- Finalize the pose by activating your rectus abdominis. This produces your abdominal “air bag” effect, in which increased intra-abdominal pressure supports your lumbar spine.
- Your rectus abdominis also pulls upward over the pubic symphysis. It synergizes the action of the gluteus maximus to rotate your pelvis backward, thereby preventing lumbar hyperextension.
- Use your pubococcygeus and piriformis muscles to engage your root ligament (mula bandha) and nutate the sacrum. This aligns your sacrum with your iliac bones, thereby helping to prevent hyperextension of your lumbar spine.
Modifying Camel Pose (Ustrasana)
- Camel Pose for Prenatal: Strong backbends such as Camel Pose (Ustrasana) are not recommended for mothers who are prone to uterine compression and over-stretching of the abdominal muscles.
- Camel Pose for Beginners: If you can’t reach the heels, lower the toes so that the heels rise or use yoga blocks placed on the outside of the ankles. Place a block between the thighs to keep your thighs engaged in and out of the pose.
- Advanced Camel Pose: For a deeper pose, walk the hands toward the calves.
- Camel Pose for Weak Knees: For weak knees individuals, place the knees on a blanket or towel and keep them hip-width apart.
- Ustrasana for Weak Shoulders: If you have weak shoulders, avoid full expression of this pose and place the hands on your lower back.
- Camel Pose for Tight Hips: If you have tight hips, don’t go into the full expression of this pose. Place the hands on your lower back for support, and make sure the knees stay hip-width apart.
- Place the folded blanket under your knees or below the ankles.
- If you can’t reach the heels, use yoga blocks next to your ankles or a sturdy cushion above your ankles to support your hands.
- If you can’t reach the heel, come on your toes.
- Keep your hands on your sacrum.
Contraindications
Just as there are many benefits when practicing a certain yoga posture with your body awareness, there are also some contraindications to keep in mind while practicing Camel Pose (Ustrasana). You can get better guidance on this only under the supervision of an experienced yoga teacher/instructor.
- Do not force your body into the pose; Instead, move in and out of the pose slowly and mindfully.
- If you have any pain with the posture or other limitations, try variations and modifications of the pose, or imagine doing the full expression of the pose in any position.
- Always ask your health care team if you are unsure about what you can and cannot do with your particular health concerns. Also, seek out a qualified yoga instructor or yoga therapist to help you customize the pose individually for safety.
- If you feel any pinching or pain in your lower back, avoid or modify the pose by not going as deeply.
- Avoid or modify if you have shoulder pain, arthritis of the shoulder, or a shoulder injury.
- Avoid or modify if you have any back pain or injury, including surgery.
- For most, it is best not to leave your head behind in this pose, especially if you have a neck injury or are at risk of stroke. Instead, lift the chin slightly and use the neck muscles to stabilize your head.
- Individuals with low or high blood pressure consult expert before performing Camel Pose (Ustrasana).
- If you are pregnant, rest, and be careful not to stretch your belly too much, especially during the third trimester, to avoid tearing the abdominal wall.


