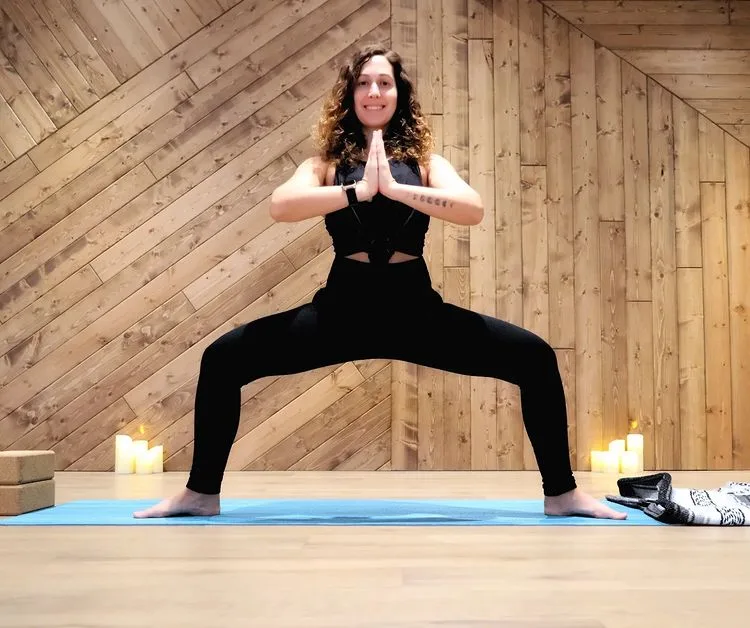
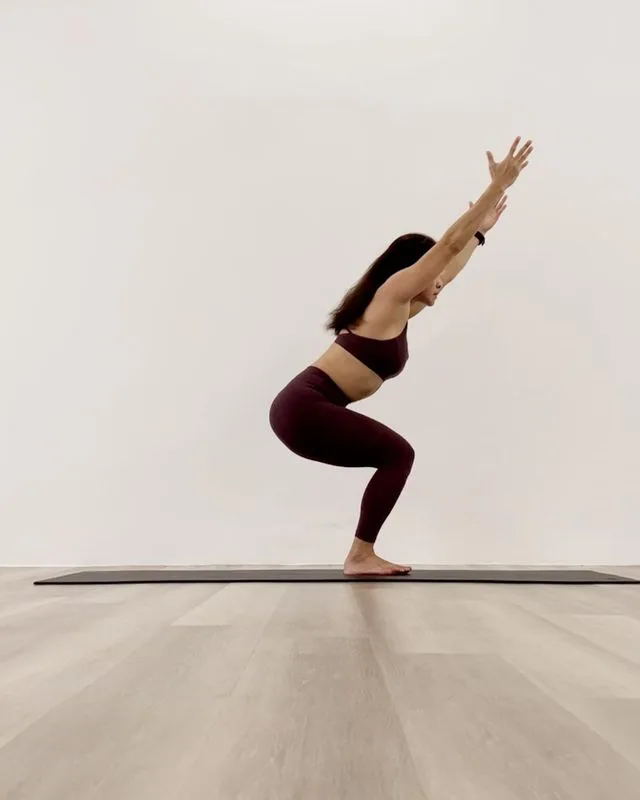
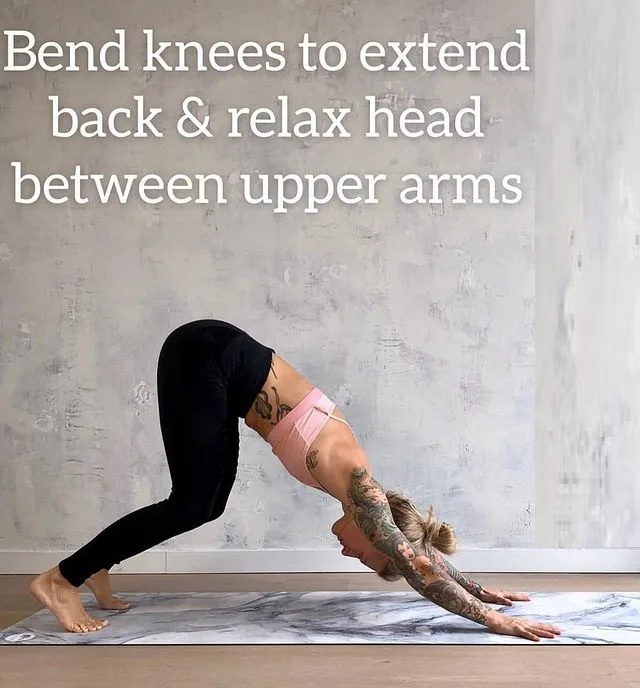
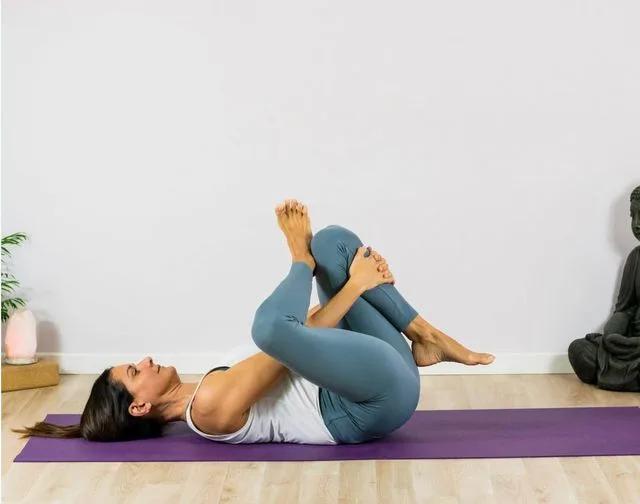
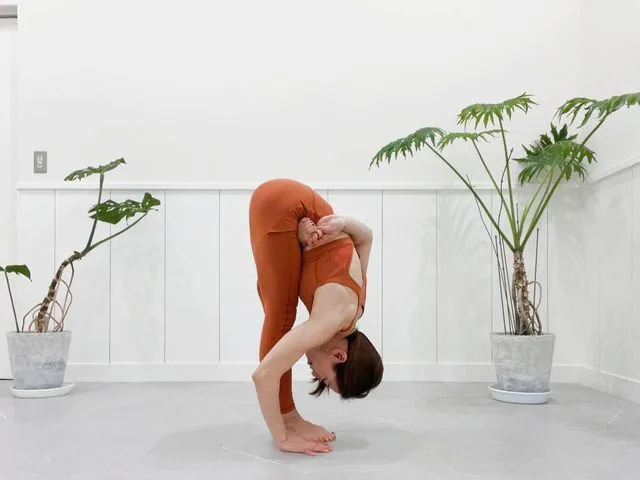
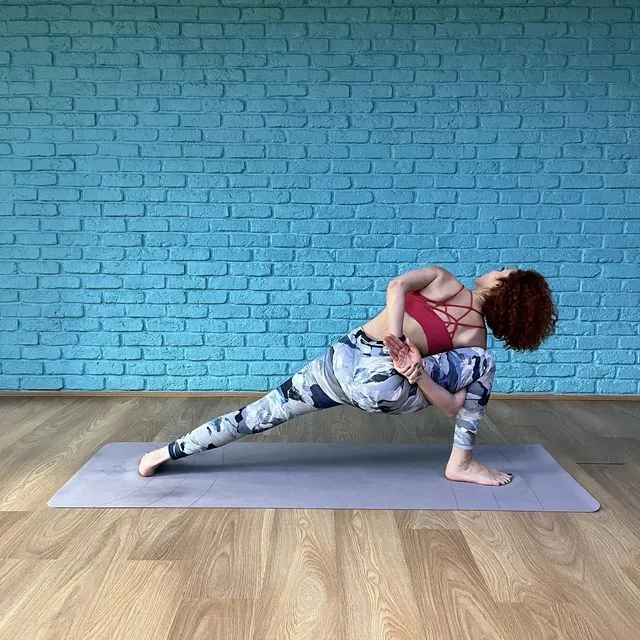
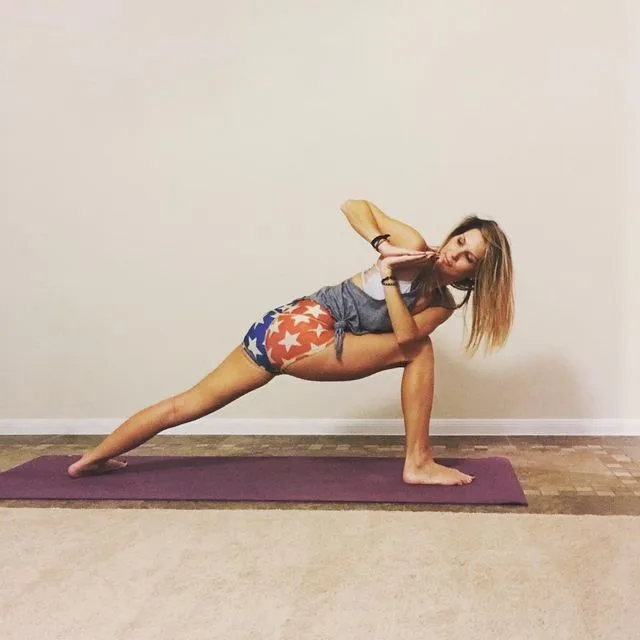
Temple pose builds your entire lower body, it strengthens your thighs and glutes. This pose also helps in activating the base energy centers while stretching and toning the lower body.
Temple Arms is a beginner-level pose that you can use as part of a sequence of multiple poses, as part of an overall yoga practice, or as a standalone exercise. Some of the hip opening poses are asymmetrical poses, where the left and right sides of the body are working separately.
Information
| Known as: | Temple Pose, Mandirasana, Goddess Arms, Temple Arms Pose |
| Sanskrit name: | मंदिरासन |
| IAST: | mandirāsana |
| Pronunciation: | mahn-deer-AHS-anna |
| Level: | Beginner |
| Type: | Standing, Stretch, Hip Opener |
| Total time: | 30 to 60 seconds |
| Focus: | Legs, spine, arms, shoulders |
| Drishti: | Nose (Nasagrai or Nasagre) |
| Chakra: | Muladhara Chakra, Svadhisthana Chakra |
| Indications: | Stress, arthritis, sciatica, digestion, reproductive organs, fertility, diaphragm muscles |
| Counterpose: | Wide legged Forward Fold Pose (Prosarita), Standing Forward Bend Pose (Uttanasana), Eagle Pose (Garudasana) |
| Preparatory poses: | Reclined Bound Angle Pose (Supta Baddha Konasana), Standing Figure Four Pose (Eka Pada Utkatasana), Standing Forward Bend Pose (Uttanasana), Extended Side Angle Pose (Utthita Parsvakonasana), Garland Pose (Malasana), Chair Pose (Utkatasana), Crescent Low Lunge Pose (Anjaneyasana), Warrior I (Virbhadrasana I), Goddess Pose (Utkata Konasana) |
| Follow-up poses: | Cactus Arms (Cactus Pose), Side Lunge Pose, Firefly Pose (Titibasana) |
| Contraindications: | Hips, pelvis, knees, calves, hamstrings, or leg injuries, hypertension, pregnant women |
Benefits of Temple Pose
Temple Pose warms up and activates the entire body, especially the lower body. You will feel a beautiful freedom of motion in the hips when incorporate this yoga pose into the practice.
As you practice this yoga pose, be mindful of the feminine energy at work. This energy can be felt in your daily life, as a part of this pose, and also in the alignment of emotions, practices, and mantras wherever you go.
However, the physical and mental benefits of this yoga pose are listed below:
- Physical Benefits:
- Strengthens the legs, glutes, calves, ankles, spine, and pelvic floor
- Stretches the chest, inner groin, and inner legs
- Opens the hips
- Releases tension of hips
- Aids digestion
- Creates space in the pelvis, hence it’s beneficial for pregnancy
- Mental Benefits:
- Calms the mind
- Relieves stress
Temple Pose Practice Guide
The pose will prepare you for the peak pose. As the muscles gradually open up, bring you into the pose several times to give you a feeling of progress. The main alignment to watch is to make sure the knees are pointing in the same direction as the feet and the knees don’t drop inward.
Once you’ve settled the lower body pose, the best way to stay the course is to try different arm arrangements. Both distract you from the intensity of the pose and give you a chance to work on shoulder strength.
It may help to find the alignment of the pose using some support before the pose on the mat. Try the pose by sitting on the corner of a chair and feeling a strong hip opening without the intensity of the pose, or try it with a back up against a wall to get a sense of the straight position of the spine in the pose. Then come back to Matt with these blueprints and see what this freestanding version sounds like.
Step-by-step instructions to Temple Pose
- Begin in Mountain Pose, feet wide apart from Mountain Pose, and arms extended.
- Bring the feet out under the hands, where the wrists are parallel to the ankles.
- Keep the toes on the floor, try to stick the toes out, do not move the lower back or bend forward.
- Engage the quads and glutes to make sure you’re comfortable with the pose.
- To get used to the pose, gently rock up and down, then side to side.
- While inhaling bring the palms in prayer posture and bend both the knees. exhale.
- Inhale, and pull the shoulders towards the ears, then as you exhale, push the shoulders back.
- Inhale back up, and extend arms over head in a wave-like motion as you lower into a squat, now exhale again.
- Descend deeply into the squat, and repeat the arm motions over the head.
- Stay here for 30 to 60 seconds, then release the pose.
Precautions and contraindications
Do not push your body more than you are comfortable with and maintain deep breaths. Consult your doctor before starting any new exercise program, especially if you have a chronic health condition or are recovering from a physical injury.
Some precautions and contraindications keep in mind while practicing this yoga pose, which are listed below:
- Avoid practicing this yoga pose if you are recovering from injuries or have recently had surgery on the shoulders, rib cage, hips, pelvis, knees, ankles and toes.
- Injuries to the hamstrings, quadriceps, calves, gluteus, pelvic floor, biceps and triceps, chest, groin muscles are forbidden, and exercises should either be done with care or avoided altogether to assess injury.
- People with a history of blood pressure should do it under the supervision of an experienced yoga teacher/instructor, or better hold it against a wall and for a short period of time.
- Even though it is beneficial for pregnant women, care should be taken not to over-stress the pelvic region, especially during the last trimester, while practicing Temple Pose.
- The pose should be done under the guidance of a registered parental teacher/instructor.

