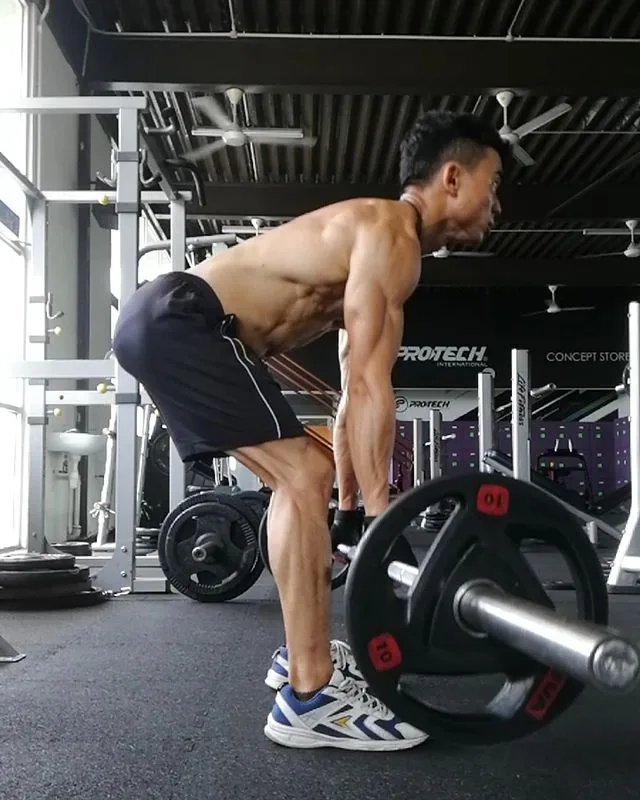
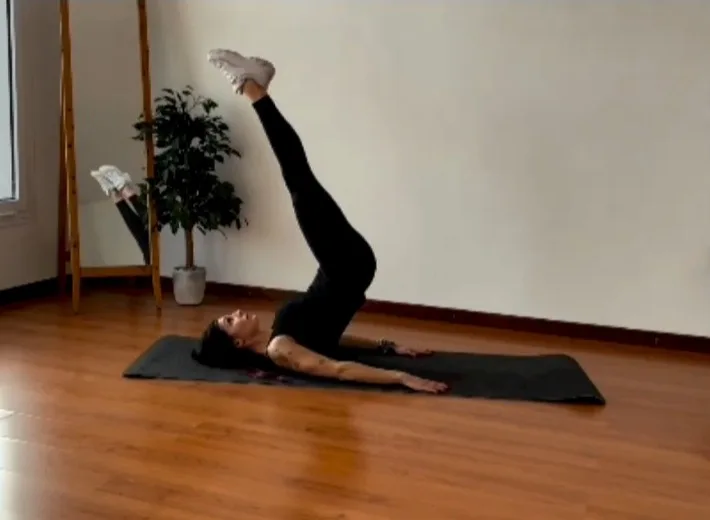
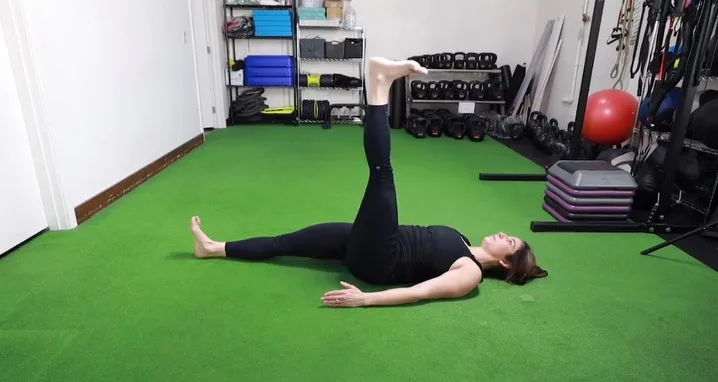
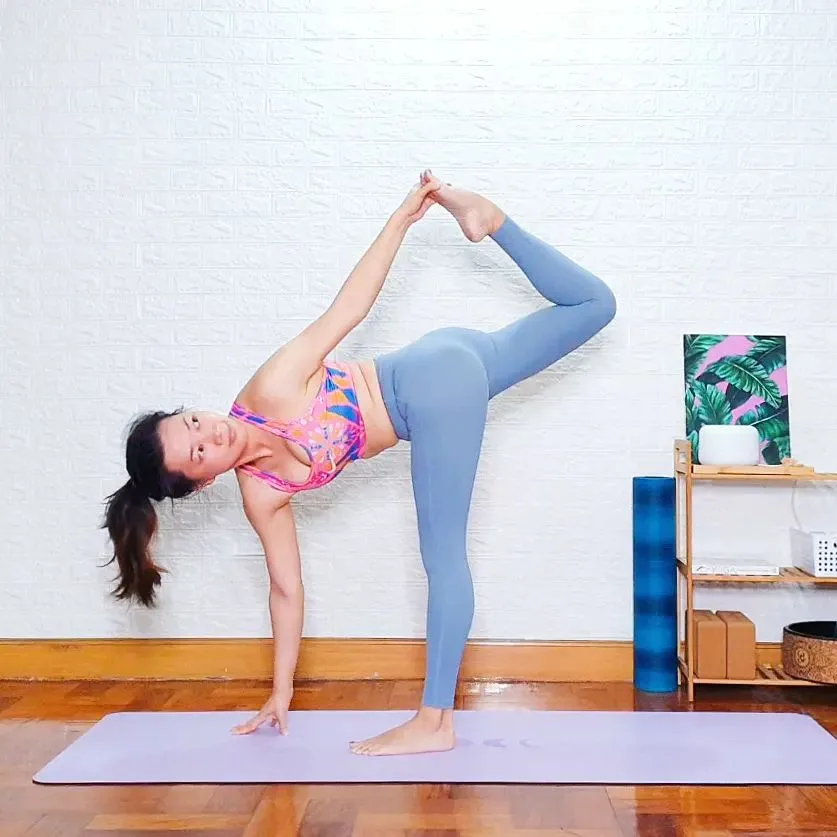
Push press, also known as Power press, is a better exercise. It’s more than just cheating the press with your legs.
The primary muscles worked in the push press exercise are the front deltoid and the secondary muscles worked are the quads, glutes, adductors, lower back, trapezius, triceps, and lateral deltoid.
What is a push press?

The push press is a ballistic strength exercise that can be broken down into 3 phases: Dip – a counter-movement involving simultaneous flexion of the hips, knees, and ankles; Drive – an explosive triple extension of the hips, knees, and ankles vertically; Extension at the elbows – Full extension at the elbow joints is required to complete the lift, and how easily this is achieved is dependent on the load.
How to do the barbell push press?
The push press uses the momentum generated by the hips and knees to start the bar, and then uses the shoulders and triceps to move into lockout like a normal press.
The movement begins with a stretch reflex, where the knees and hips unlock, you drop slightly, and then you drive back up—the extensors lengthen slightly and then immediately contract forcefully into lockout.
This fast extension provides enough drive to get the bar off the shoulders and start on its way.
It’s not really a “push” as much as it is a lunge, because the knees and hips don’t unlock and then stop in the unlocked position. It’s just like you’re trying to hurl the bar off your shoulders using your hips and legs.
While commonly used with a barbell from the “front position” across the shoulders, variations exist including performing from behind the neck and using 2 dumbbells. While dumbbells can be used as a viable alternative, the greater amount of instability is likely to result in lower power output when using 2 objects instead of one.
This bounce requires that the bar is resting on the flesh of the deltoid when this upward force reaches there.
If the bar is being held in the hands – resting on the palms or fingers rather than sitting firmly on the shoulders – the force of the bounce is absorbed into the elbows and wrists rather than transferred to the bar.
This may mean that the grip for the push press is a power-clean grip, which is wider than the grip you use for the press; Because the long forearms allow the bar to be set on the delts with a standard press grip.
The solid connection between the bar and shoulders allows for the full effects of hip and leg drive to propel the bar up. Taking a full breath before each rep braces the torso and makes the push more solid.
1. Setup
- Stand with feet hip-distance apart.
- Hold the barbell at shoulder height across your chest so that it rests on your collar bone.
- Use an overhand grip; The hands should be placed on the bar slightly wider than shoulder distance, with the palms facing forward.
- Remove the bar from the power rack and away from the pins, supporting the bar against the collar bone.
- Elbows are down and resting slightly in front of the bar.
- Legs should be straight but not locked.
- The knees and ankles should be aligned directly under the hips.
- Maintain a neutral spine during the movement.
2. Movement
Step-1: Dip phase
- Once set, sink the legs into a quarter squat position. The hips should go straight down a few inches as the knees point toward the toes.
- Dip with chest up. Dips are incorporated into the beginning of the movement to set the legs in the correct position for power production.
- The total joint displacement should be small and under control at all times, ensuring that the bar is going down vertically.
- Horizontal deflection of the bar is undesirable during this step, and may indicate application of less force than vertically.
- Coaches should also be wary of athletes who “dip” through their toes—the foot should remain flat during this phase.
- Finally, there must be a minimum amount of time between the end of the dip and the start of the drive phase; Thus, optimizing the preloading strategy in preparation for vertical force application.1
Step-2: Drive phase
- Following the dip, an explosive triple full extension of the hips, knees, and ankles vertically occurs as the bar flies off the shoulders.
- On successful extension of the lower extremity joints, momentum is used to accelerate the bar overhead as explosively as possible.
- Note that the bar path may not be “strictly vertical” when done from the front position, as the head must be retracted to allow for a faster bar path.
Step-3: Full extension at elbow joints phase
- Full extension at the elbow joints is required to complete the lift, and how easily this is achieved is dependent on the load.
- Keeping the torso properly aligned; It should not feel like the chest is expanding forward, or the hips are rolling back.
- If you struggle to fully extend your elbows (due to fatigue within sets or mobility issues), this can result in an increased risk of injury if the bar cannot be held in a safe position.
- Once the bar is over your head, lower it back to its original position and a little further.
- Return the bar to the starting position to begin another repetition.
3. Tips
- Along with optimal shoulder flexion range of motion, it is important that you have sufficient mobility before starting ballistic exercises, such as push press. 2
- It is suggested that you practice comprehensively as measured by
- Goniometry methods are consistent across multiple tests to ensure results are consistent with routine data collection techniques. 3
- A better approach is to keep the two exercises as separate as possible in your mind, choosing the working weights carefully so that a set of five presses doesn’t turn into a set of two presses and triple push presses.
- After completing the last set of presses, you can add additional work in the form of two heavy sets of push presses.
- Or better yet, you can use the push press as an entirely separate exercise on a different day, after the bench press, or as your primary upper body exercise on its own.
- In addition to similar problems affecting the press, the push press has its own set of problems that arise from the involvement of the knees and hips.
- The most common error is the tendency to dip forward onto the toes when pushing off.
- The bounce must come from the entire foot, not the toes, or the lifter/barbell system becomes displaced forward.
- If the dip has a forward component, the downward and forward motion is up and forward rather than straight down and straight up.
- You then have to “chase” the bar as it moves along the way, diluting your shoulder drive.
- Correct this error by making sure your dip is to your mid-foot, and if you’re dipping forward, the easiest way to ensure a straight dip is to tuck your big toes inside your shoes before each rep.
- Your weight will shift back toward your heels, and once you get used to the feel of it, the problem will stop without your big toes for each rep.
- It’s an easy trick to learn, especially if you’ve entertained the prospect of any Olympic weight lifting; The dip before the split jerk is essentially the same as the push-press dip, and if you get it right now, it won’t be an issue later.
- Push press can be hard on the knees, believe it or not.
- The extensor tendons of the knee are subjected to some high forces during heavy push presses, and this is especially true if you’re dipping your toes.
- Stay off your knees as much as possible to reduce abuse.
- Knee wraps can help, but good form helps the most.
- Just so you won’t think they’ve been forgotten, assistance exercises for the power clean fall entirely under the purview of Olympic weightlifting and are beyond the scope of this article.
- Those of you interested are encouraged to contact a competent weightlifting coach and develop a relationship with the sport.
- There’s no better way than using barbells to train for power production.4
Bottom line
Exercisers typically incorporate the push press into their training after they have mastered the overhead press (also called a strict press or military press), but before moving on to the more advanced push jerk or split jerk.
While the exercise has many benefits, the push press is an advanced movement that requires the use of multiple muscle groups and coordinated skills.
In recent years, the push press—which adds a lower-body push to the overhead press—has been adopted in CrossFit gyms; in weightlifting rooms across the country as a more effective way to increase strength while improving speed, power, endurance, and core strength for more effective athletic performance.
If the knees bend at all after the initial dip and drive, the lift is no longer a push press, but a push jerk. If the legs remain completely flat during the leg drive, the drive is not difficult or long – the heels will lift at least slightly if the leg drive is sufficient. Each rep of a multi-rep set should start from a dead stop and full jerk rack position.
The push press is an effective upper body strength exercise for the jerk, which is more commonly used than the press because larger weights can be used. Additionally, it helps to train proper dip and drive for the jerk, since that part of the movement should be similar to the jerk.
Sets of 1–6 reps can be used depending on time and specific requirement. 4–6 reps with hypertrophy and some strength will help more; 3–5 reps will generally be most effective for strength work and some hypertrophy; 1–2 reps would typically be used for testing max lifts, but will also improve strength.
- Bishop, Chris MSc; Chavda, Shyam MSc, CSCS; Turner, Anthony PhD, CSCS*D. “Exercise Technique: The Push Press.” Strength and Conditioning Journal 40(3):p 104-108, June 2018. DOI: 10.1519/SSC.0000000000000321.[↩]
- Howe, Louis P. MSc; Blagrove, Richard C. MSc, CSCS. “Shoulder Function During Overhead Lifting Tasks: Implications for Screening Athletes.” Strength and Conditioning Journal 37(5):p 84-96, October 2015. DOI: 10.1519/SSC.0000000000000163.[↩]
- Turner, Anthony MSc, CSCS*D1; Brazier, Jon MSc, CSCS2; Bishop, Chris MSc1; Chavda, Shyam MSc, CSCS1; Cree, Jon MSc1; Read, Paul MSc, CSCS3. “Data Analysis for Strength and Conditioning Coaches: Using Excel to Analyze Reliability, Differences, and Relationships.” Strength and Conditioning Journal 37(1):p 76-83, February 2015. | DOI: 10.1519/SSC.0000000000000113.[↩]
- Source: Starting Strength – Basic Barbell Training by Mark Rippetoe. Available here: https://amzn.to/3V1OHXK[↩]


